Best Camera Settings for Real Estate Interiors: The Complete Cheat Sheet
~8 min read · Updated 2026-05-10
shutyouraperture-20). Buying through these links costs you nothing extra and helps fund our free guides.
This is the camera settings cheat sheet for Real Estate Interiors: the mode, aperture, shutter speed, ISO, and focus combination that works — explained, then broken down into three real scenarios you will actually face. No filler. Pin the cheat sheet, read the scenarios, and shoot.
Table of contents
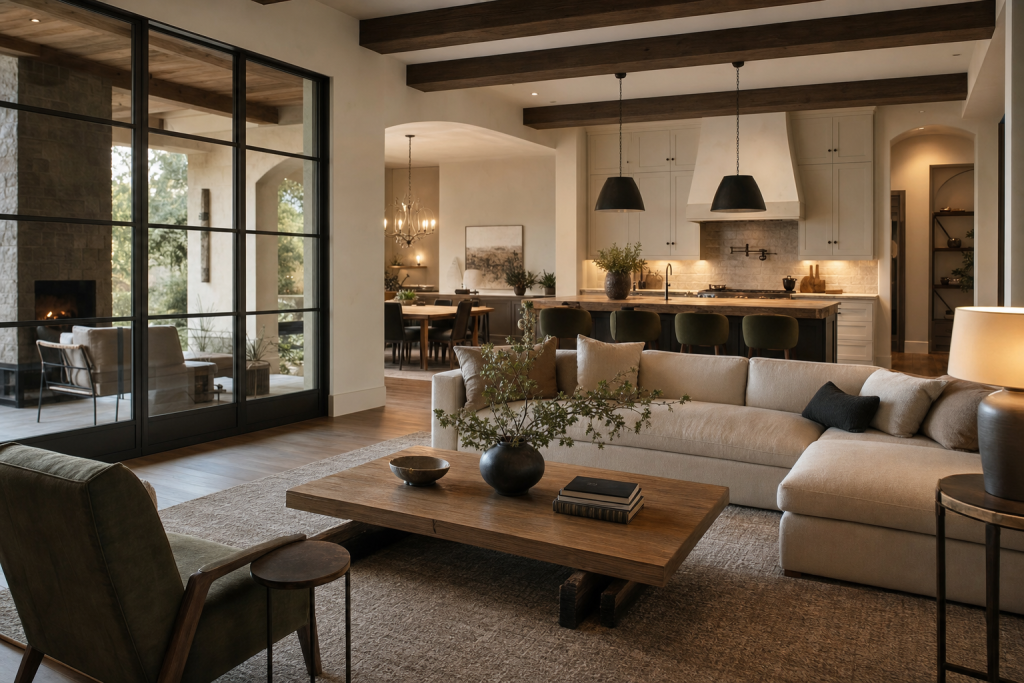 Save
Save1-minute cheat sheet: Real Estate Interiors
- Mode: Aperture Priority (Av) for HDR bracketing, Manual for single exposures
- Aperture: f/7.1-f/11 (maximize depth of field — you want everything sharp)
- Shutter Speed: 1/15-2 sec (tripod required; let it meter naturally)
- ISO: 100-400 (lowest usable ISO — image quality matters for print MLS)
- Focus: Single AF, focus one-third into the room from the camera position
Pin this. Come back to it before every real estate interiors session.
Get the complete Real Estate Interiors settings guide (PDF, $47): The ShutYourAperture Real Estate Photography PDF guide: 55 pages covering room sequencing, flash setup diagrams, vertical correction, and MLS delivery standards.
Preset pack ($19): ShutYourAperture Real Estate preset pack: 4 presets covering overcast natural, HDR merged, flash-ambient blend, and twilight exterior — one-click MLS-ready processing.
Bundle both for $54 — save $12. Browse the ShutYourAperture Shop.
Why these settings work
Real estate interior photography is a technical balancing act between bright windows and dark room interiors that can span 6-8 stops of dynamic range. The professional solution is HDR bracketing (3-5 exposures at 2-stop increments) merged in Lightroom or Photomatix, or a single RAW exposure with aggressive shadow and highlight recovery. Shoot on a tripod at low ISO (100-400) for maximum sharpness and minimum noise. A wide-angle lens (16-24mm on full-frame) is the standard — it makes rooms appear larger and captures more of the space in a single frame.
3 scenarios with full settings tables
Three situations you will encounter, with the exact settings for each:
Scenario 1: HDR bracketing for high window contrast
| Mode | Aperture Priority with AEB |
|---|---|
| Aperture | f/8.0 |
| Shutter Speed | -2EV to +2EV (5-shot bracket) |
| ISO | 100 |
| Focus Mode | Single AF, then switch to manual after lock |
| White Balance | 5500K (balanced daylight for mixed natural light) |
| Exposure Compensation | 0 to +1.0 center frame |
For rooms with large windows in bright daylight, a 5-shot bracket at -2, -1, 0, +1, +2 EV gives you full detail in both the bright window view and the dark interior corners. Use Lightroom's HDR merge (Photo > HDR) on the bracket set. Set Deghosting to Medium if there are any objects moving near windows (curtains, trees). The merged DNG will have latitude for further editing without halos typical of older HDR methods.
Scenario 2: Single-frame natural light (overcast day, balanced)
| Mode | Manual |
|---|---|
| Aperture | f/8.0 |
| Shutter Speed | 1/30-1/60 sec |
| ISO | 200 |
| Focus Mode | Single AF, one-third into room |
| White Balance | 5500-6000K (overcast daylight) |
| Exposure Compensation | N/A (Manual) |
Overcast days dramatically reduce window-to-interior contrast, making single-frame RAW exposures entirely workable. Expose for the brightest window view — if you can see the exterior clearly without clipping, the interior will lift cleanly in post. At f/8 on a 16-24mm lens from 6 feet back, the entire room will be in focus with standard depth of field. This is the fastest and simplest real estate workflow.
Scenario 3: Flash-ambient blend (window pull, interior flash)
| Mode | Manual |
|---|---|
| Aperture | f/8.0 |
| Shutter Speed | 1/60 sec (sync speed) |
| ISO | 400 |
| Focus Mode | Single AF, lock, then manual |
| White Balance | 5500K (balanced for flash) |
| Exposure Compensation | N/A (Manual) |
The flash-ambient blend is the professional real estate technique that produces clean interior shots in any lighting condition. Set the ambient exposure to correctly expose the window view (exterior visible, not blown). Add a speedlight or strobe bounced off the ceiling to lift the interior to match the window brightness. This eliminates the need for HDR merging and produces a more natural, evenly lit result. Use a diffused flash head — hard light from an undiffused speedlight shows as an unnatural bright spot on the ceiling.
Subscribe to the ShutYourAperture Aperture Academy for weekly photography tutorials, or browse the Shop for location PDF guides and Lightroom preset packs.
Gear that helps
You do not need to spend more than your subject demands, but the right gear eliminates the technical obstacles so you can focus on the image. These are the tools the settings above were designed around:
- Canon RF 15-35mm f/2.8L IS — the most versatile wide zoom for real estate on full-frame
- Sony FE 16-35mm f/2.8 GM — excellent sharpness at f/8 across the full frame for room shots
- Nikon Z 14-30mm f/4 S — the lightest wide zoom on Z mount; f/4 is fine for tripod work
- Godox AD200 Pro — the most popular real estate flash; small, powerful, and battery-powered for houses with poor outlets
- Benro Tortoise carbon fiber tripod — rated for 15kg, essential for consistent 2-second exposures
ShutYourAperture is a B&H Photo affiliate. Links marked with affiliate notation may earn a commission at no extra cost to you.
Lighting and conditions
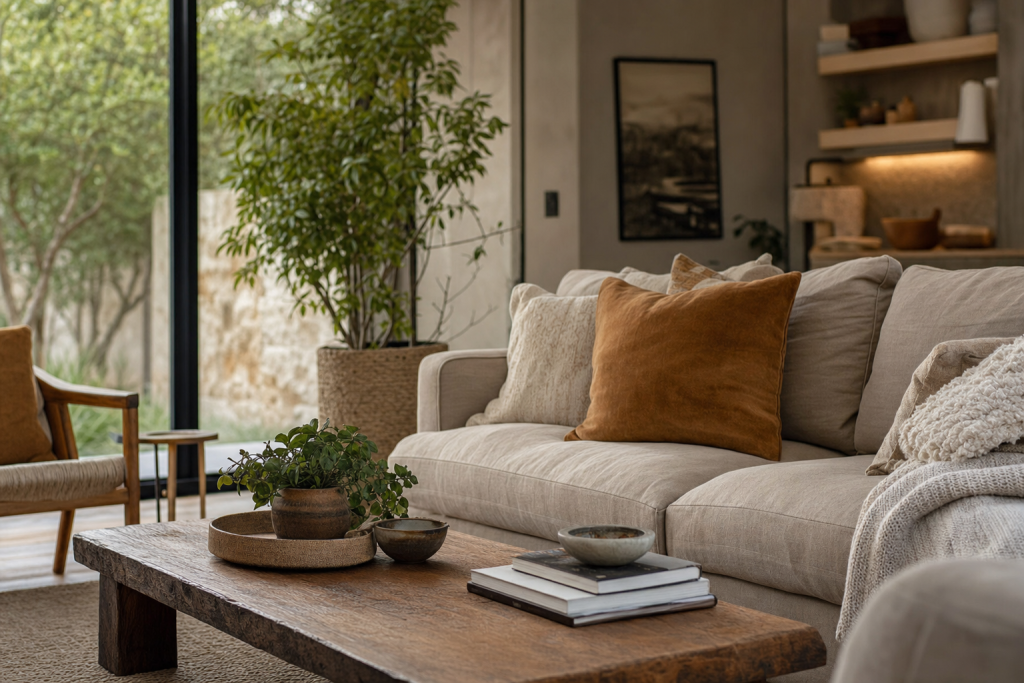
For real estate photography, the ideal shooting time is overcast or immediately after sunrise and before direct sun hits the windows. Direct sun creates harsh bright rectangles on walls that are difficult to retouch. Turn on every interior light in the house before shooting — warm tungsten lamps add depth and warmth that buyers respond to. Replace any burned-out bulbs before the shoot. Close toilet seats and remove personal items from countertops between frames.
 Save
Save5 common mistakes
These are the five errors that ruin otherwise well-composed images of real estate interiors. Read them before the shoot, not after:
- Shooting handheld — even image stabilization cannot prevent the slight motion blur that appears at 1/15 sec
- Using the kit 18-55mm zoom — the 24mm effective minimum is not wide enough for small rooms; you need a true 16-20mm on full-frame
- Forgetting to turn on all lights — dark corners make a room look smaller and cheaper than it is
- Shooting at f/4 instead of f/8 — some parts of the room will be soft at wider apertures on a wide-angle lens
- Not leveling the tripod — verticals (doorframes, window frames) that converge look unprofessional and often violate MLS submission guidelines
Sample workflow
Here is the shoot checklist condensed into a repeatable sequence:
- Set camera to the recommended mode and aperture before you arrive at the location.
- Dial in the base ISO and shutter speed from the cheat sheet above.
- Take one test frame, check the histogram, and adjust exposure if needed.
- Confirm focus method (AF mode and point, or manual zone) is set correctly.
- Shoot a small burst, chimp once, then commit to the settings and concentrate on the subject.
- At each major lighting change (cloud, shade, new location), repeat the exposure check.
- Back home: import RAW files and apply your base preset before any individual edits.
Post-processing
For HDR-merged DNGs: start with Highlights -80 to recover window detail, Shadows +50 to lift dark corners, and Whites -20. Set White Balance to around 5200-5500K for the window-lit rooms. Add vertical perspective correction with the Transform tool (Auto or Manual with Vertical slider) to straighten converging doorframes. Use the Remove Objects/Healing tool for any outlet covers, light switches, or reflections in windows. Batch export at 100% JPEG quality, 2400px long edge, for MLS delivery.
Preset shortcut: ShutYourAperture Real Estate preset pack: 4 presets covering overcast natural, HDR merged, flash-ambient blend, and twilight exterior — one-click MLS-ready processing. Available in the ShutYourAperture Shop.
Quick Amazon shortcuts to the gear most useful for this kind of shot. Use them if Prime shipping or Amazon credit makes more sense than B&H. As an Amazon Associate ShutYourAperture earns from qualifying purchases.
Frequently asked questions
What aperture is best for real estate photography?
f/7.1 to f/11 is the standard range. Wide apertures (f/2.8-f/4) produce soft corners on wide-angle lenses and shallow depth of field that leaves furniture and walls out of focus. f/8 is the sweet spot for most wide-angle lenses — maximum sharpness corner-to-corner with full depth of field from 3 feet to infinity.
Do I need HDR for real estate photography?
HDR is the most common professional technique because it solves the window-bright-interior-dark problem cleanly. However, a single RAW exposure shot on an overcast day, or a flash-ambient blend, can produce results as good as HDR with less post-processing time. The technique matters less than whether the windows are visible and the corners are bright.
What lens is best for real estate interiors?
A 16-24mm full-frame equivalent zoom is the standard. The Canon RF 15-35mm f/2.8L, Sony FE 16-35mm f/2.8 GM, and Nikon Z 14-30mm f/4 S are the three most common professional choices. On a crop-sensor camera, a 10-20mm lens gives you equivalent coverage. Avoid fisheye lenses — the barrel distortion is unprofessional and difficult to correct.
How many photos are standard for a real estate shoot?
MLS listings typically use 20-40 photos: exterior front and rear, every room from the best angle, kitchen from 2 angles, master bedroom and bathroom, and any special features (fireplace, deck, view). Luxury listings may require 60-100 photos. Most real estate photographers deliver within 24 hours of the shoot.
 Save
SaveKeep shooting
More settings cheat sheets from the same cluster:
- Best Camera Settings for Northern Lights
- Best Camera Settings for Milky Way
- Best Camera Settings for Indoor Sports
More at Shut Your Aperture
Browse the Camera Settings Cheat Sheets hub for every genre, or visit the Shop for PDF guides and Lightroom preset packs.
ShutYourAperture participates in affiliate programs. We earn a commission on qualifying purchases at no extra cost to you.
All links go to B&H Photo Video, the trusted pro source. Tagged as affiliate per FTC.