Best Photography Spots in Kathmandu: 4 GPS-Tagged Locations
~12 min read · 2026-05-24 For practitioners, see our breakdown of shutter for waterfall silk. For practitioners, see our breakdown of golden-hour planning by destination.
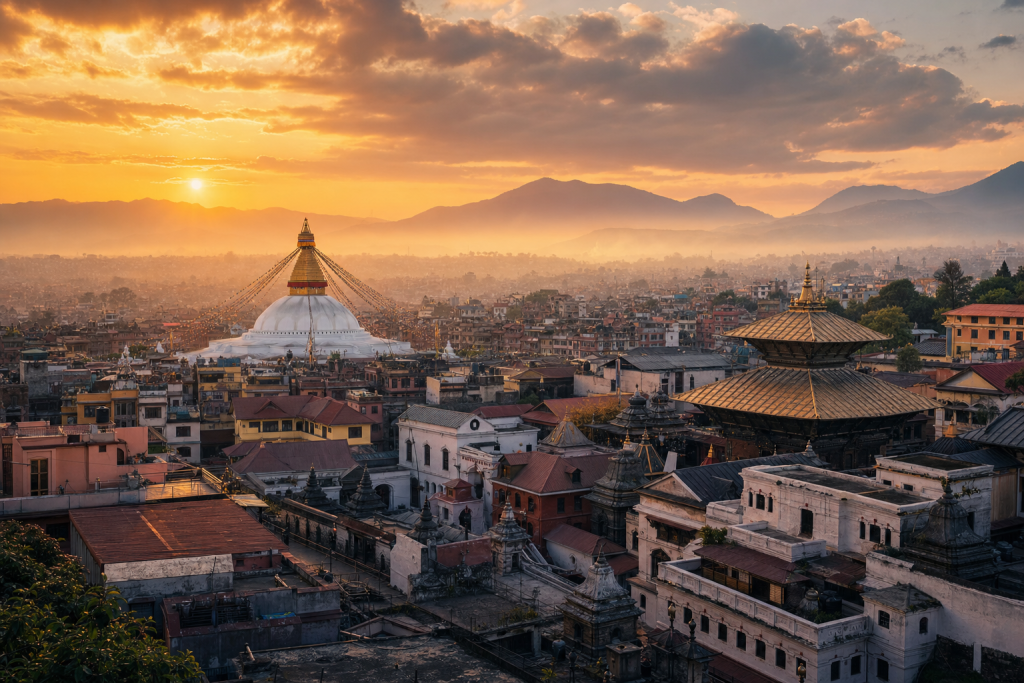
Kathmandu is a high-altitude Himalayan valley capital where stupas and palace squares sit under snow-capped skylines. This is the working photographer’s field guide: when to be there for the light, what gear actually fits the trip, the 4 highest-yield vantage points with GPS coordinates, and the cultural and legal context that separates respectful documentary photography from the cliché tourist frame. Plan with the same rigor you bring to a paid commercial assignment and your portfolio comes home better.
 Save
SaveWhy Kathmandu is a photographer's dream
Kathmandu is one of the rare capitals where UNESCO-grade heritage sites sit minutes apart: medieval palace squares, living Hindu temples, and some of the most important Buddhist stupas in South Asia. For photographers, the city rewards two kinds of work: wide architectural frames at dawn (when the haze is lowest) and intimate documentary street work in the lanes around Durbar Square and the old bazaars. The mountains are not in the city, but the Himalayan mood is — prayer flags, incense, and ridge-top stupas that glow in late light.
For photographers, Kathmandu rewards a particular working method: arrive at sunrise, walk between the high-yield sites, eat in the middle of the day, scout for evening compositions, and return to the river or the main square for the last hour of light. The cities of Nepal concentrate visual density into a small geographic area — every block has a frame in it if you slow down enough to see it. Bring fewer lenses than you think and walk farther than you planned.
The frames that come out of Kathmandu reward an editing approach that respects the city’s natural color palette instead of pushing every shot into a uniform Instagram preset. Photographers who study one good photographic monograph of the destination before they fly consistently produce richer trip portfolios than photographers who arrive cold with only a shot list.
When to go: best months and light in Kathmandu
October through March for the clearest skies and best visibility. October-November is peak clarity after the off-season; December-February has cold mornings with occasional haze. Avoid June-September off-season for persistent rain and low visibility.
Light quality changes dramatically across the year. The cool, dry months deliver the most reliable golden hour and the cleanest blue skies. Shoulder-season photography is a different aesthetic entirely: lower contrast, saturated greens, dramatic clouds, and the genuine atmospheric mood that earns a photographer’s portfolio its variety. If you are choosing a single trip, prioritize the dry, clear months for predictable light. If you have shot the destination before, a wetter or off-season trip rewards the patient.
Day-by-day, plan around the morning and evening blue and golden hours. Midday is harsh and unflattering at every site listed below — skip it, eat lunch, scout your evening compositions in the shade, and return when the light returns. Photographers who insist on shooting through midday sun in Nepal produce washed-out files they end up culling in the edit. Treat the four-hour midday block as scouting time, not capture time.
4 photography spots with GPS coordinates
The vantage points below are organized roughly in the order a photographer working a half-day in Kathmandu would shoot them — establishing wide on the iconic landmarks first, then mid-distance compositions, then street-level documentary detail. Each entry includes the GPS coordinates so you can pin it on Google Maps before you arrive, plus a brief composition note and recommended focal length. Use this as a shot list, not a script: the best frame is often something you notice once you are standing there. The list keeps you from missing the obvious ones.
| Vantage point | GPS | Notes |
|---|---|---|
| Swayambhunath Stupa (Monkey Temple) hilltop | 27.71500, 85.29000 |
Arrive at sunrise for soft sidelight on the white dome and golden spire, plus fewer crowds on the staircase. A 16-35mm captures the stupa and the Kathmandu Valley; a 70-200mm isolates prayer flags and monastery details. |
| Pashupatinath Temple (Bagmati River) exterior viewpoints | 27.70972, 85.34861 |
Photography access varies; shoot respectfully from public-side viewpoints across the Bagmati. Use 70-200mm for compressed frames of historic streets and temple roofs; avoid photographing identifiable mourners. |
| Boudhanath Stupa circumambulation ring | 27.72139, 85.36194 |
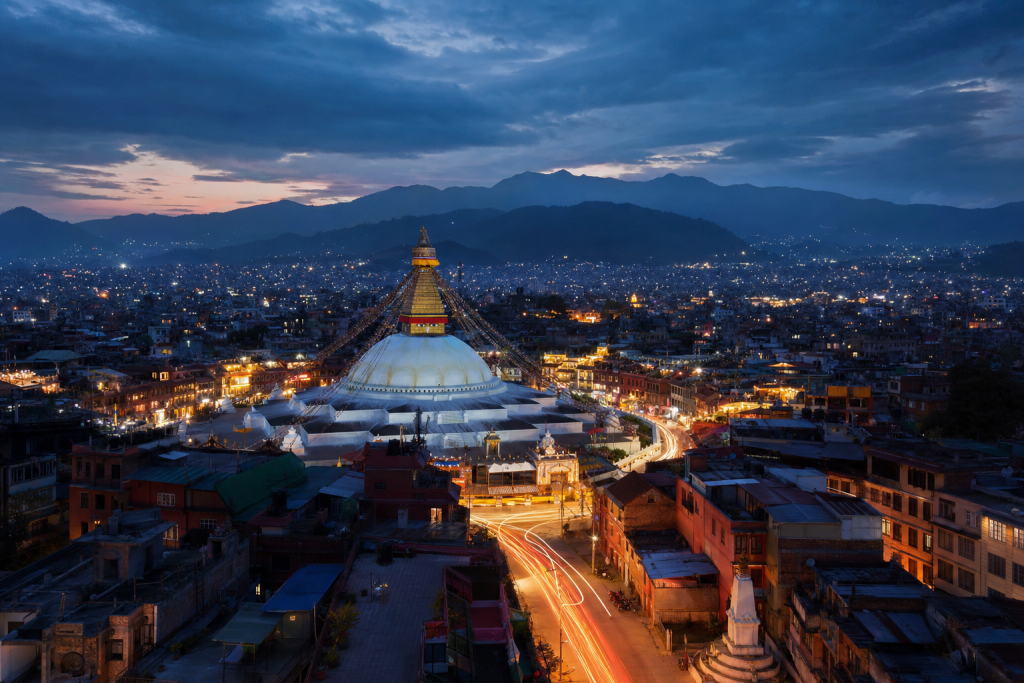
One of the best places in Kathmandu for golden-hour documentary work. A 35mm prime is ideal for the kora (prayer walk); go just before sunset when butter-lamp light starts to mix with the sky. |
| Kathmandu Durbar Square (Hanuman Dhoka) central square | 27.70415, 85.30647 |
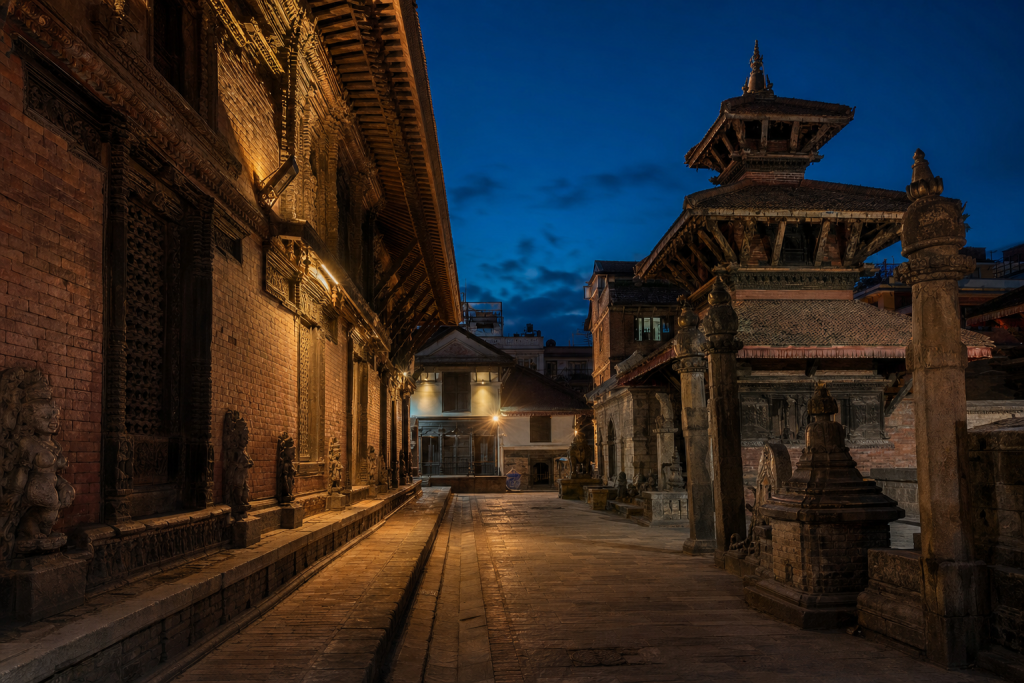
Go at opening for clean frames before tour groups. Wide 16-35mm for the pagoda rooflines; 50mm for carvings and candid street portraits in the surrounding lanes. |
If you have additional time on site, work each vantage point twice — once at golden hour for warm tones, once at blue hour for cooler atmospheric mood. The same composition photographed 90 minutes apart looks like two different locations. That is the city photographer’s edit advantage: light variety from a single trip.
Camera settings cheat sheet
Kathmandu photography lives across a wide exposure range. Bright midday architectural detail, dim interiors, golden-hour streetscapes, blue-hour skylines — each scenario has its own settings sweet spot. The cheat sheet below covers the most common scenarios in Kathmandu. Use auto-ISO with a maximum cap (3200 on most modern bodies, 6400 if you trust your sensor) so you can stop worrying about ISO and concentrate on aperture and shutter:
| Scenario | Aperture | Shutter | ISO |
|---|---|---|---|
| Sunrise / golden hour landscape | f/8 – f/11 | 1/125 – 1/500 | 200 – 400 |
| Architectural detail (sidelight) | f/8 | 1/250 | 100 – 200 |
| Street / market documentary | f/2.8 – f/4 | 1/250 – 1/500 | 400 – 1600 |
| Temple / church interior | f/2.8 – f/4 | 1/60 – 1/125 (tripod) | 800 – 3200 |
| Night cityscape / festival | f/4 – f/8 | 1s – 8s (tripod) | 200 – 800 |
Bracketing is your friend. A three-frame bracket at +/- 1 stop captures the full dynamic range of most Kathmandu scenes and gives you HDR options in post without committing to the look at capture time. Modern sensors recover shadows beautifully — expose to the right, protect highlights, and lift the shadows in Lightroom rather than blowing the sky. Indian and tropical light is contrasty: spending three minutes on a single bracketed exposure beats running-and-gunning ten frames you cannot rescue.
 Save
SaveLens recommendations
16-35mm for stupas and palace squares; 35mm prime for street/documentary; 70-200mm for distant details, prayer-flag layers, and compressing temple rooflines.
For mirrorless shooters: a single body with a 24-70mm f/2.8 plus a 35mm or 50mm f/1.8 prime is a viable lighter kit. The compromise is the long end — a 70-200mm becomes useful when you need to compress distant landmarks against a closer foreground. Most Kathmandu photographers travel with two bodies (one zoom, one prime) and accept the weight for the speed of swapping focal lengths without changing lenses in dusty street conditions.
A polarizing filter changes the look of Kathmandu’s skies, deepens the color of stone facades, and cuts reflection on water and glass. Carry one. For long-exposure work — night cityscapes, river silk, fountain motion blur — a 6-stop or 10-stop ND filter and a sturdy travel tripod are non-negotiable. Carbon fiber under 1.5kg is the right tradeoff between weight and stability for long-distance travel.
Cultural rules and photo etiquette
Dress modestly at temples. Always ask before close portraits of monks and devotees. Avoid photographing cremation activity at Pashupatinath up close; stay on public viewpoints and be respectful.
Beyond the location-specific rules, the universal photographer’s code applies: ask before close portraits, do not photograph children without parental consent, do not photograph religious rituals if asked to stop, and never tip with your camera (offering money for a photograph quickly creates a transactional dynamic that degrades the work). The best Kathmandu portraits come from photographers who spent twenty minutes drinking chai with the subject before the camera came up. Slow is the only honest speed for documentary work.
Do not photograph security personnel, military zones, or strategic infrastructure (railway switching yards, government buildings, bridges marked as restricted). Photography of these subjects can result in police questioning even if you were standing on a public street. The price of a frame is never worth a problem with the local authorities. Read the room.
Getting around Kathmandu
Taxis are the practical option between sites; agree on price before entering. Inside Thamel and the old city, walking is fastest. Expect heavy traffic and slow crossings — plan extra time for golden hour moves.
Plan your photography day around the geography of the high-yield vantage points. Cluster the morning shots within a 2km radius if possible — you lose more time fighting traffic in Nepal than walking, even in the heat. Hire a half-day driver if you are visiting non-adjacent zones (a temples-and-old-town day in Kathmandu, or a coastal-and-historic-quarter day where applicable). The cost is modest and the time saved is meaningful for serious shooting.
Carry a portable phone charger, a printed map (cell signal is unreliable in the older parts of many historic city centers), small denominations of local currency for entry fees and tips, and a water bottle. Photographers who bring all the gear but forget the boring practicalities lose half their day to friction.
Post-processing the Kathmandu look
The dominant aesthetic for Nepal photography is restrained warmth — earth tones, lifted shadows, careful highlight retention, and a clear refusal to push HDR-style local contrast that flattens the natural mood of the scene. The destination’s natural palette already does most of the saturation work for you — over-processing pushes it into kitsch. Lightroom’s HSL panel with reduced saturation on greens and neutrals, combined with a slight warm split-tone, produces a cinematic travel look without crossing into postcard territory.
A practical post-processing sequence that works on most Kathmandu RAW files: (1) lens correction and chromatic aberration first; (2) basic exposure with shadows pushed and highlights pulled; (3) HSL desaturation on green and orange (counterintuitive but it lets the warm tones speak), slight saturation boost on blue; (4) split toning warm orange in highlights and a hint of teal in shadows at low intensity; (5) clarity at +10 maximum on a frame, never higher; (6) a subtle vignette to draw the eye in. Save the result as a preset and use it as a starting point for the rest of the trip’s frames.
 Save
SaveFrequently asked questions
What is the best time of year to photograph Kathmandu?
October through March for the clearest skies and best visibility. October-November is peak clarity after the off-season; December-February has cold mornings with occasional haze. Avoid June-September off-season for persistent rain and low visibility. Plan around the dry, cool season for the most reliable light and lowest crowds at the most photographed sites.
Do I need a permit to photograph at the major sites in Kathmandu?
Most public exterior photography is permit-free. Many palaces, churches, and museums charge a separate camera fee on top of the entry ticket — check the day’s posted policy at each site. Tripods and drones often require additional written permission and are commonly refused at heritage sites. Always check the day's posted policy at each site.
What lens kit should I bring to Kathmandu?
16-35mm for stupas and palace squares; 35mm prime for street/documentary; 70-200mm for distant details, prayer-flag layers, and compressing temple rooflines.
Is Kathmandu safe for solo photographers?
Yes, with normal traveler precautions. Watch your gear in markets and crowds, do not flash an expensive camera in low-light alleys, and use registered transport. Female photographers should be especially mindful of conservative dress at religious sites.
Can I fly a drone in Kathmandu?
Generally no without explicit written permission from the site manager and the local civil aviation authority. Most heritage sites and active religious sites prohibit drones outright. Assume drones are not legal unless you have written confirmation from the site manager.
All links go to Viator (a TripAdvisor company), the world’s largest marketplace for guided experiences. Tagged as affiliate per FTC.
What to Pack
A focused landscape kit handles every shot at Kathmandu without breaking your back. Here is the working photographer's pack list — every link goes to B&H Photo Video (our primary supplier) or Amazon (for accessories and same-day delivery in the US).
| What & Why | B&H | Amazon |
|---|---|---|
Wide-angle zoom (14-35mm range) The single most important lens for sweeping vistas. Pair with a circular polarizer for skies and water. | Shop B&H → | Shop Amazon → |
Sturdy travel tripod Carbon fiber, packs to 15 inches, holds steady in wind off the coast. Essential for blue-hour and long-exposure work. | Shop B&H → | Shop Amazon → |
Circular polarizer (77mm or 82mm) Cuts haze, deepens sky, reveals texture in water. Non-negotiable for landscape work. | Shop B&H → | Shop Amazon → |
10-stop ND filter For 30-second exposures that turn moving water and clouds into silk. | Shop B&H → | Shop Amazon → |
Extra batteries (3 minimum) Cold weather and long exposures eat batteries. Carry triple what you think you need. | Shop B&H → | Shop Amazon → |
Fast SD/CFexpress cards V90 or CFexpress depending on your body. Two cards minimum so a failure mid-trip is recoverable. | Shop B&H → | Shop Amazon → |
Microfiber lens cloths Salt spray, mist, and dust will ruin every shot if you don't carry a cloth. | Shop B&H → | Shop Amazon → |
B&H and Amazon links are affiliate links. We earn a small commission on purchases at no extra cost to you. We only recommend gear we use or would buy ourselves.