Best Photography Spots in Kuala Lumpur: 12 Locations With GPS
Get the Kuala Lumpur Ultimate Photographer’s Guide
Every location below — pre-mapped with GPS, golden-hour timing, gear recommendations, cultural rules, and a 14-day itinerary. Downloaded by 200+ working photographers.
A Look Inside the Kuala Lumpur Photographer’s Guide
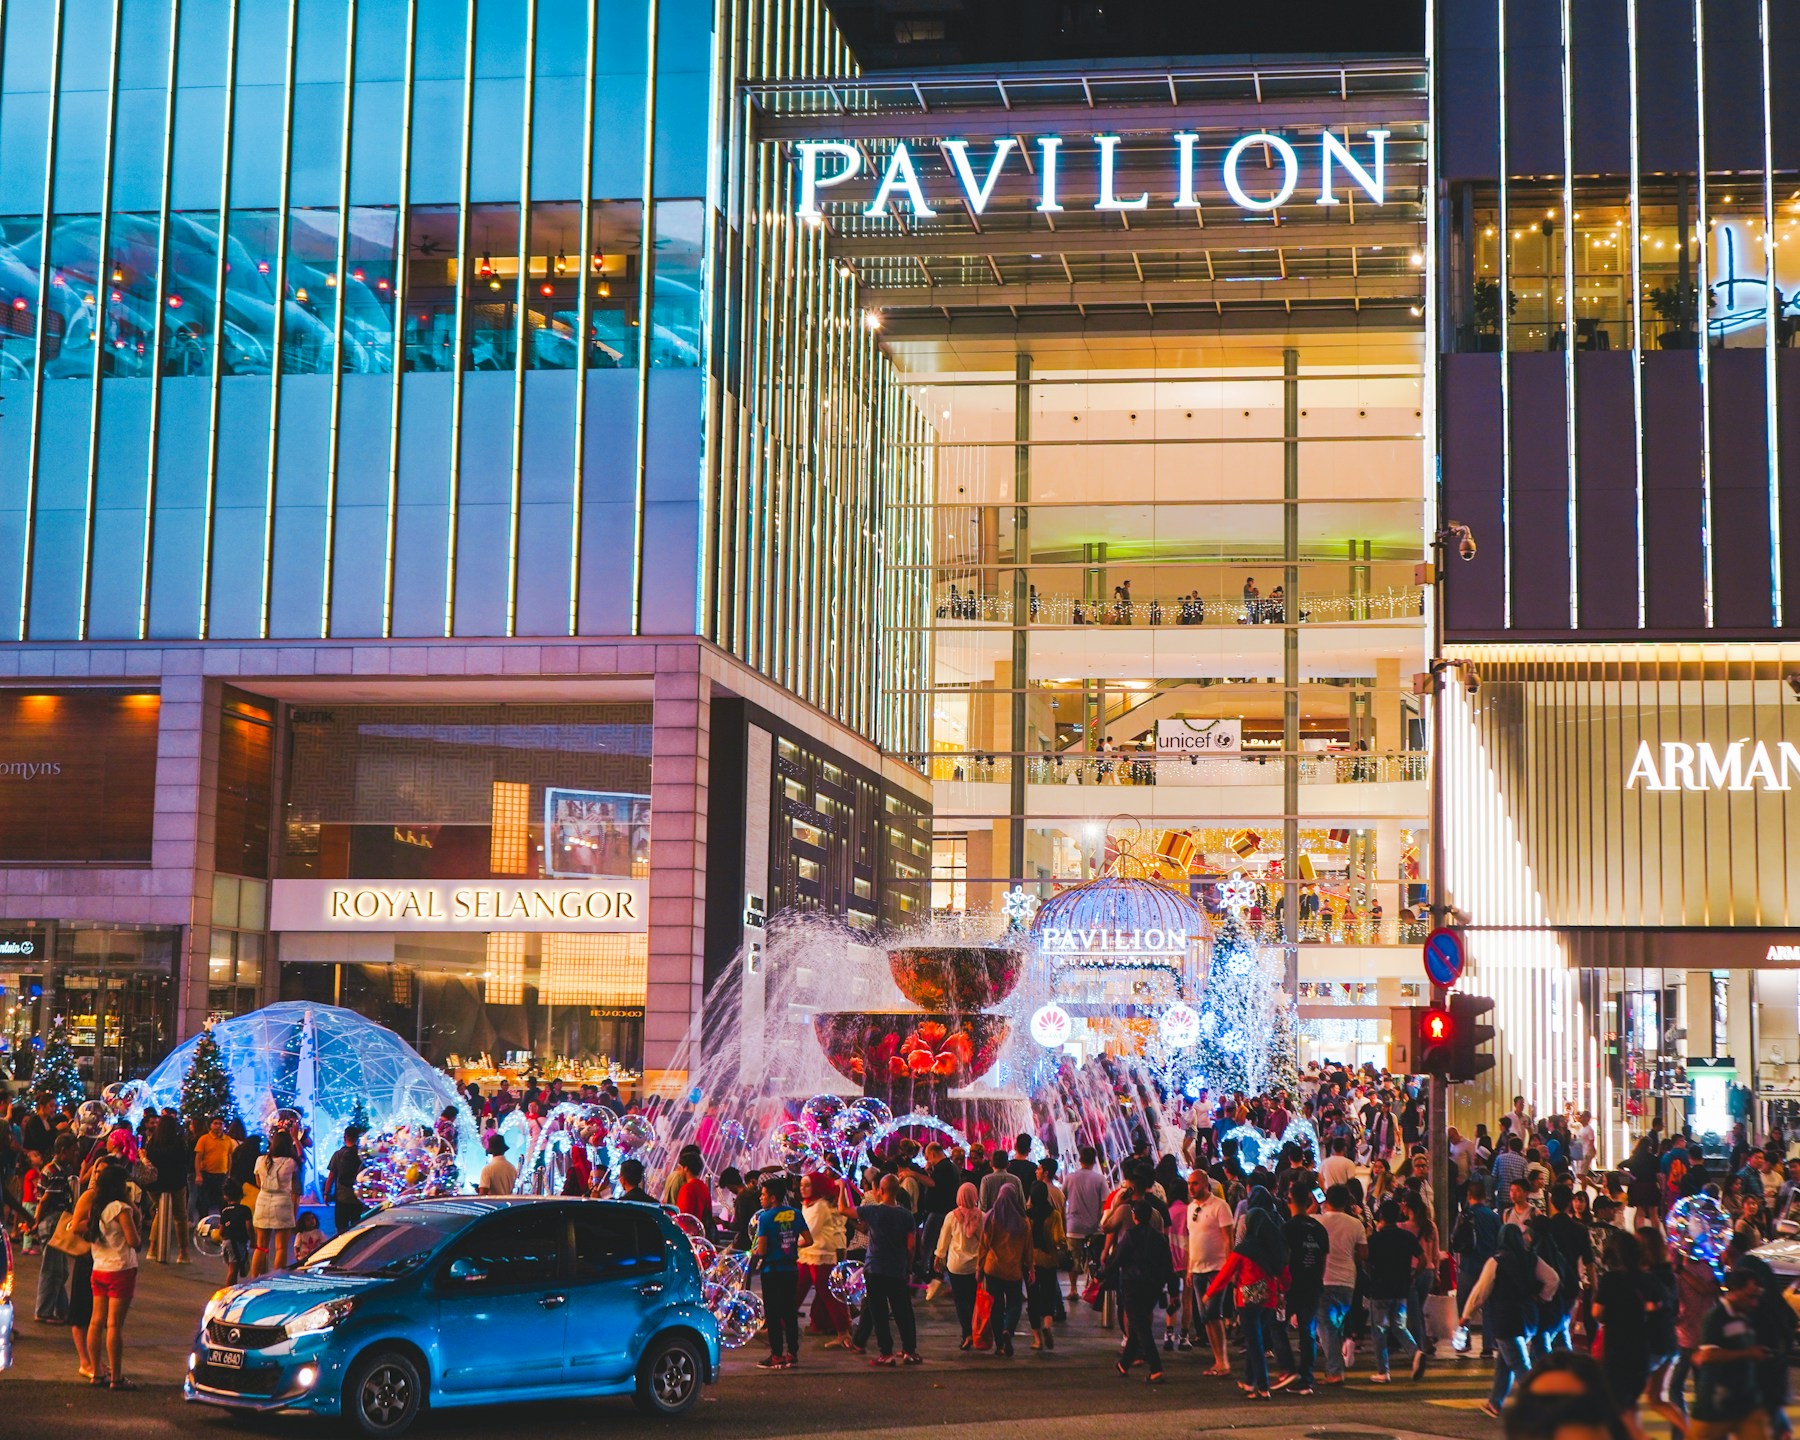
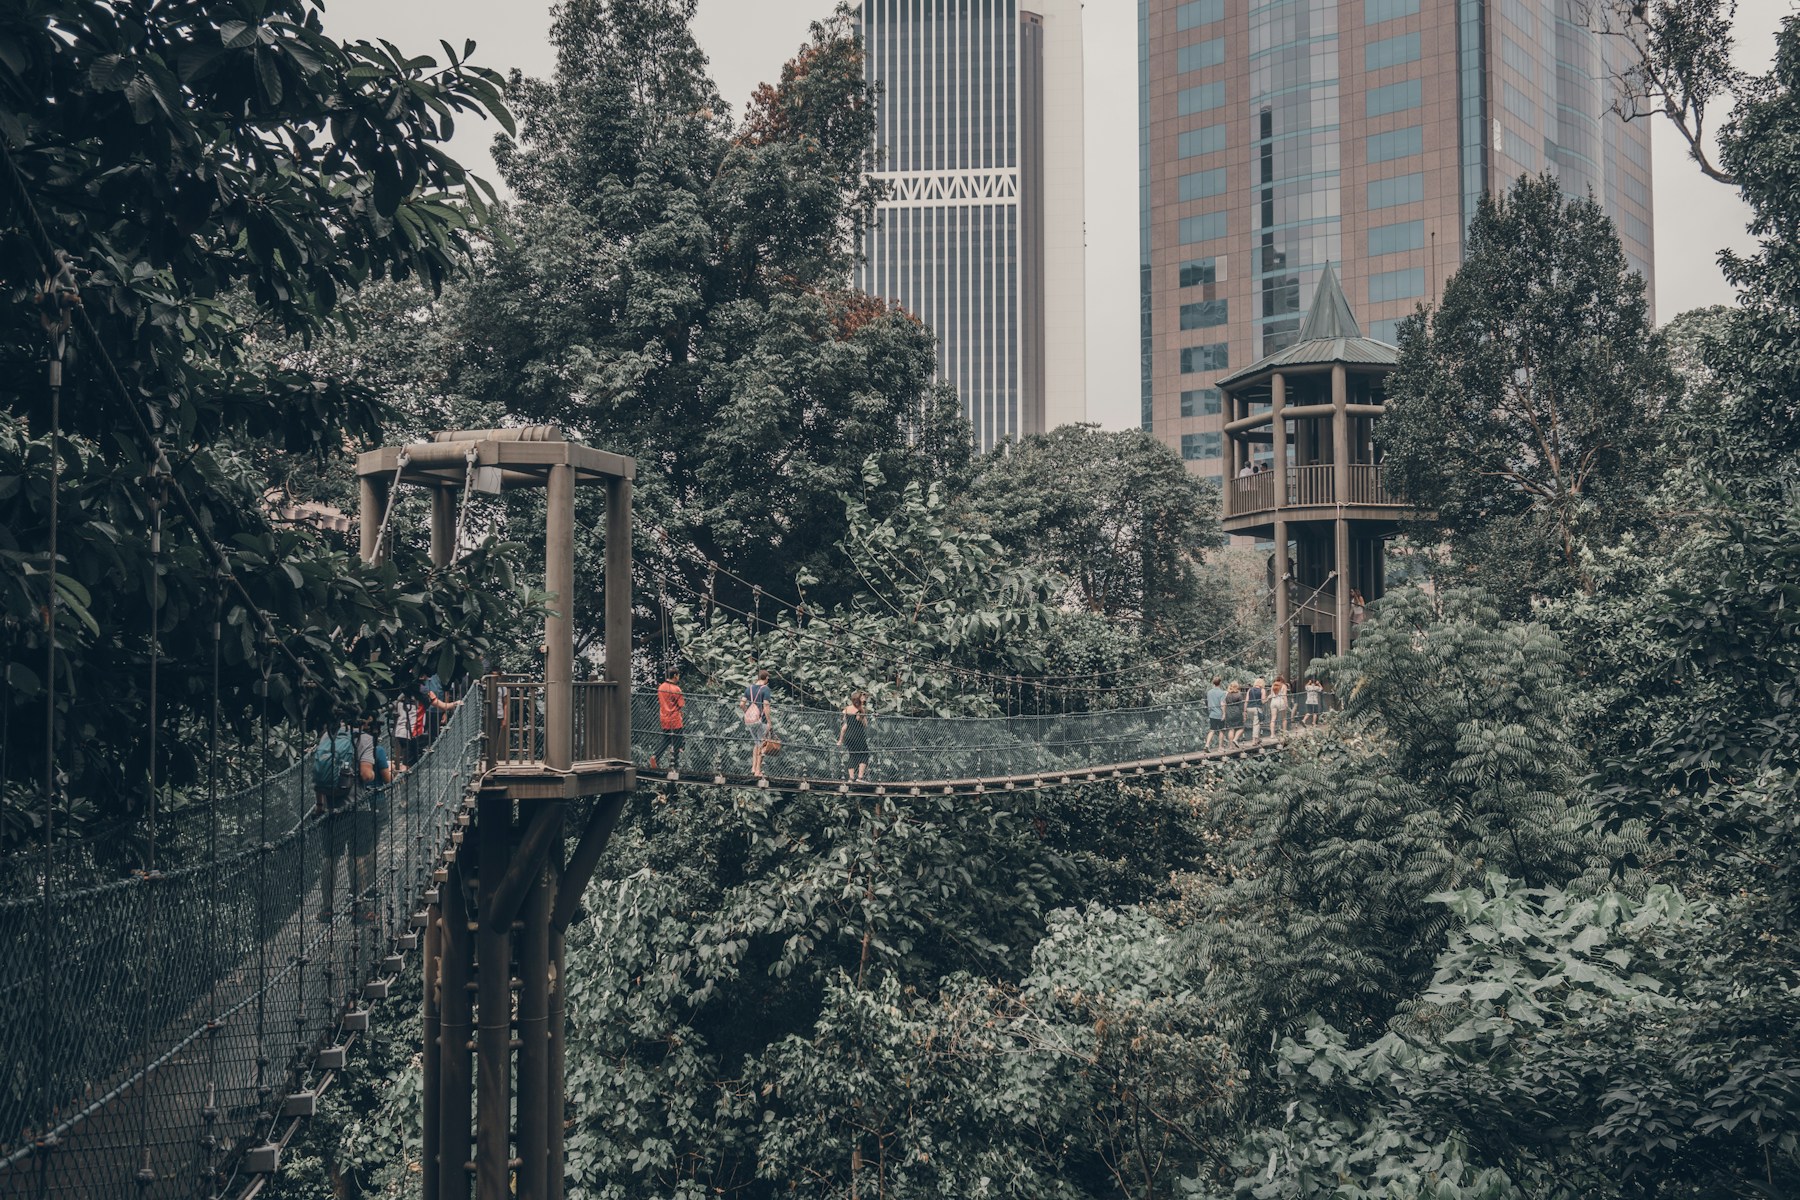
Kuala Lumpur defies easy categorization. The Malaysian capital stacks colonial-era shophouses against Islamic minarets against glass-and-steel supertalls, all wrapped in equatorial humidity and a perpetual golden haze. For photographers, that density is pure gold — within a 5-kilometer radius of KLCC you can shoot a centuries-old Hindu temple, a Moorish train station, a pair of the world’s tallest towers, and a rooftop bar that puts the whole skyline at your feet. This guide cuts through the noise and maps the 12 best photography spots in Kuala Lumpur, each with real GPS coordinates, golden hour timing, gear recommendations, and composition tips drawn from extensive field research in the city.
edinchavez01-20). Buying through these links costs you nothing extra and helps fund our free guides.
Before you pack your bag, take a look at the Shut Your Aperture Academy — the travel photography module walks you through metering for high-contrast tropical skies, working with mixed artificial and natural light at dusk, and building a consistent edit style for humid-climate images. If you want the full PDF version of this guide with offline GPS map and golden-hour timetable, grab it below.
Before You Shoot Kuala Lumpur: The Essentials
Best time to visit: March to April and September to October hit the sweet spot between monsoon seasons. The sky clears enough for clean skyline shots, and the angle of the sun during golden hour is lower and more dramatic. Avoid shooting during heavy haze events (common June–August due to regional burning) — check the Air Pollutant Index (API) daily.
Weather: KL is tropical rainforest — expect afternoon downpours year-round, usually between 3 and 5 pm. Shoot mornings and evenings. Carry a lightweight rain cover for your camera. Golden hour runs approximately 6:45–7:15 am at sunrise and 7:00–7:30 pm at sunset.
Transport: The KLCC LRT station drops you directly under the towers. Grab a Touch ‘n Go card for hassle-free MRT/LRT travel. Grab (the regional Uber equivalent) is reliable for getting to Batu Caves or Thean Hou Temple. Night shoot tip: avoid driving — parking near KLCC is expensive and congested.
Safety: KL is generally safe for photographers. Keep your camera under a jacket in crowded areas like Petaling Street (pickpockets). Drone flying requires CAAM authorization around the city centre — the Petronas airspace is restricted. At religious sites including Batu Caves and Masjid Jamek, dress modestly and ask permission before photographing worshippers.
The 12 Best Photography Spots in Kuala Lumpur
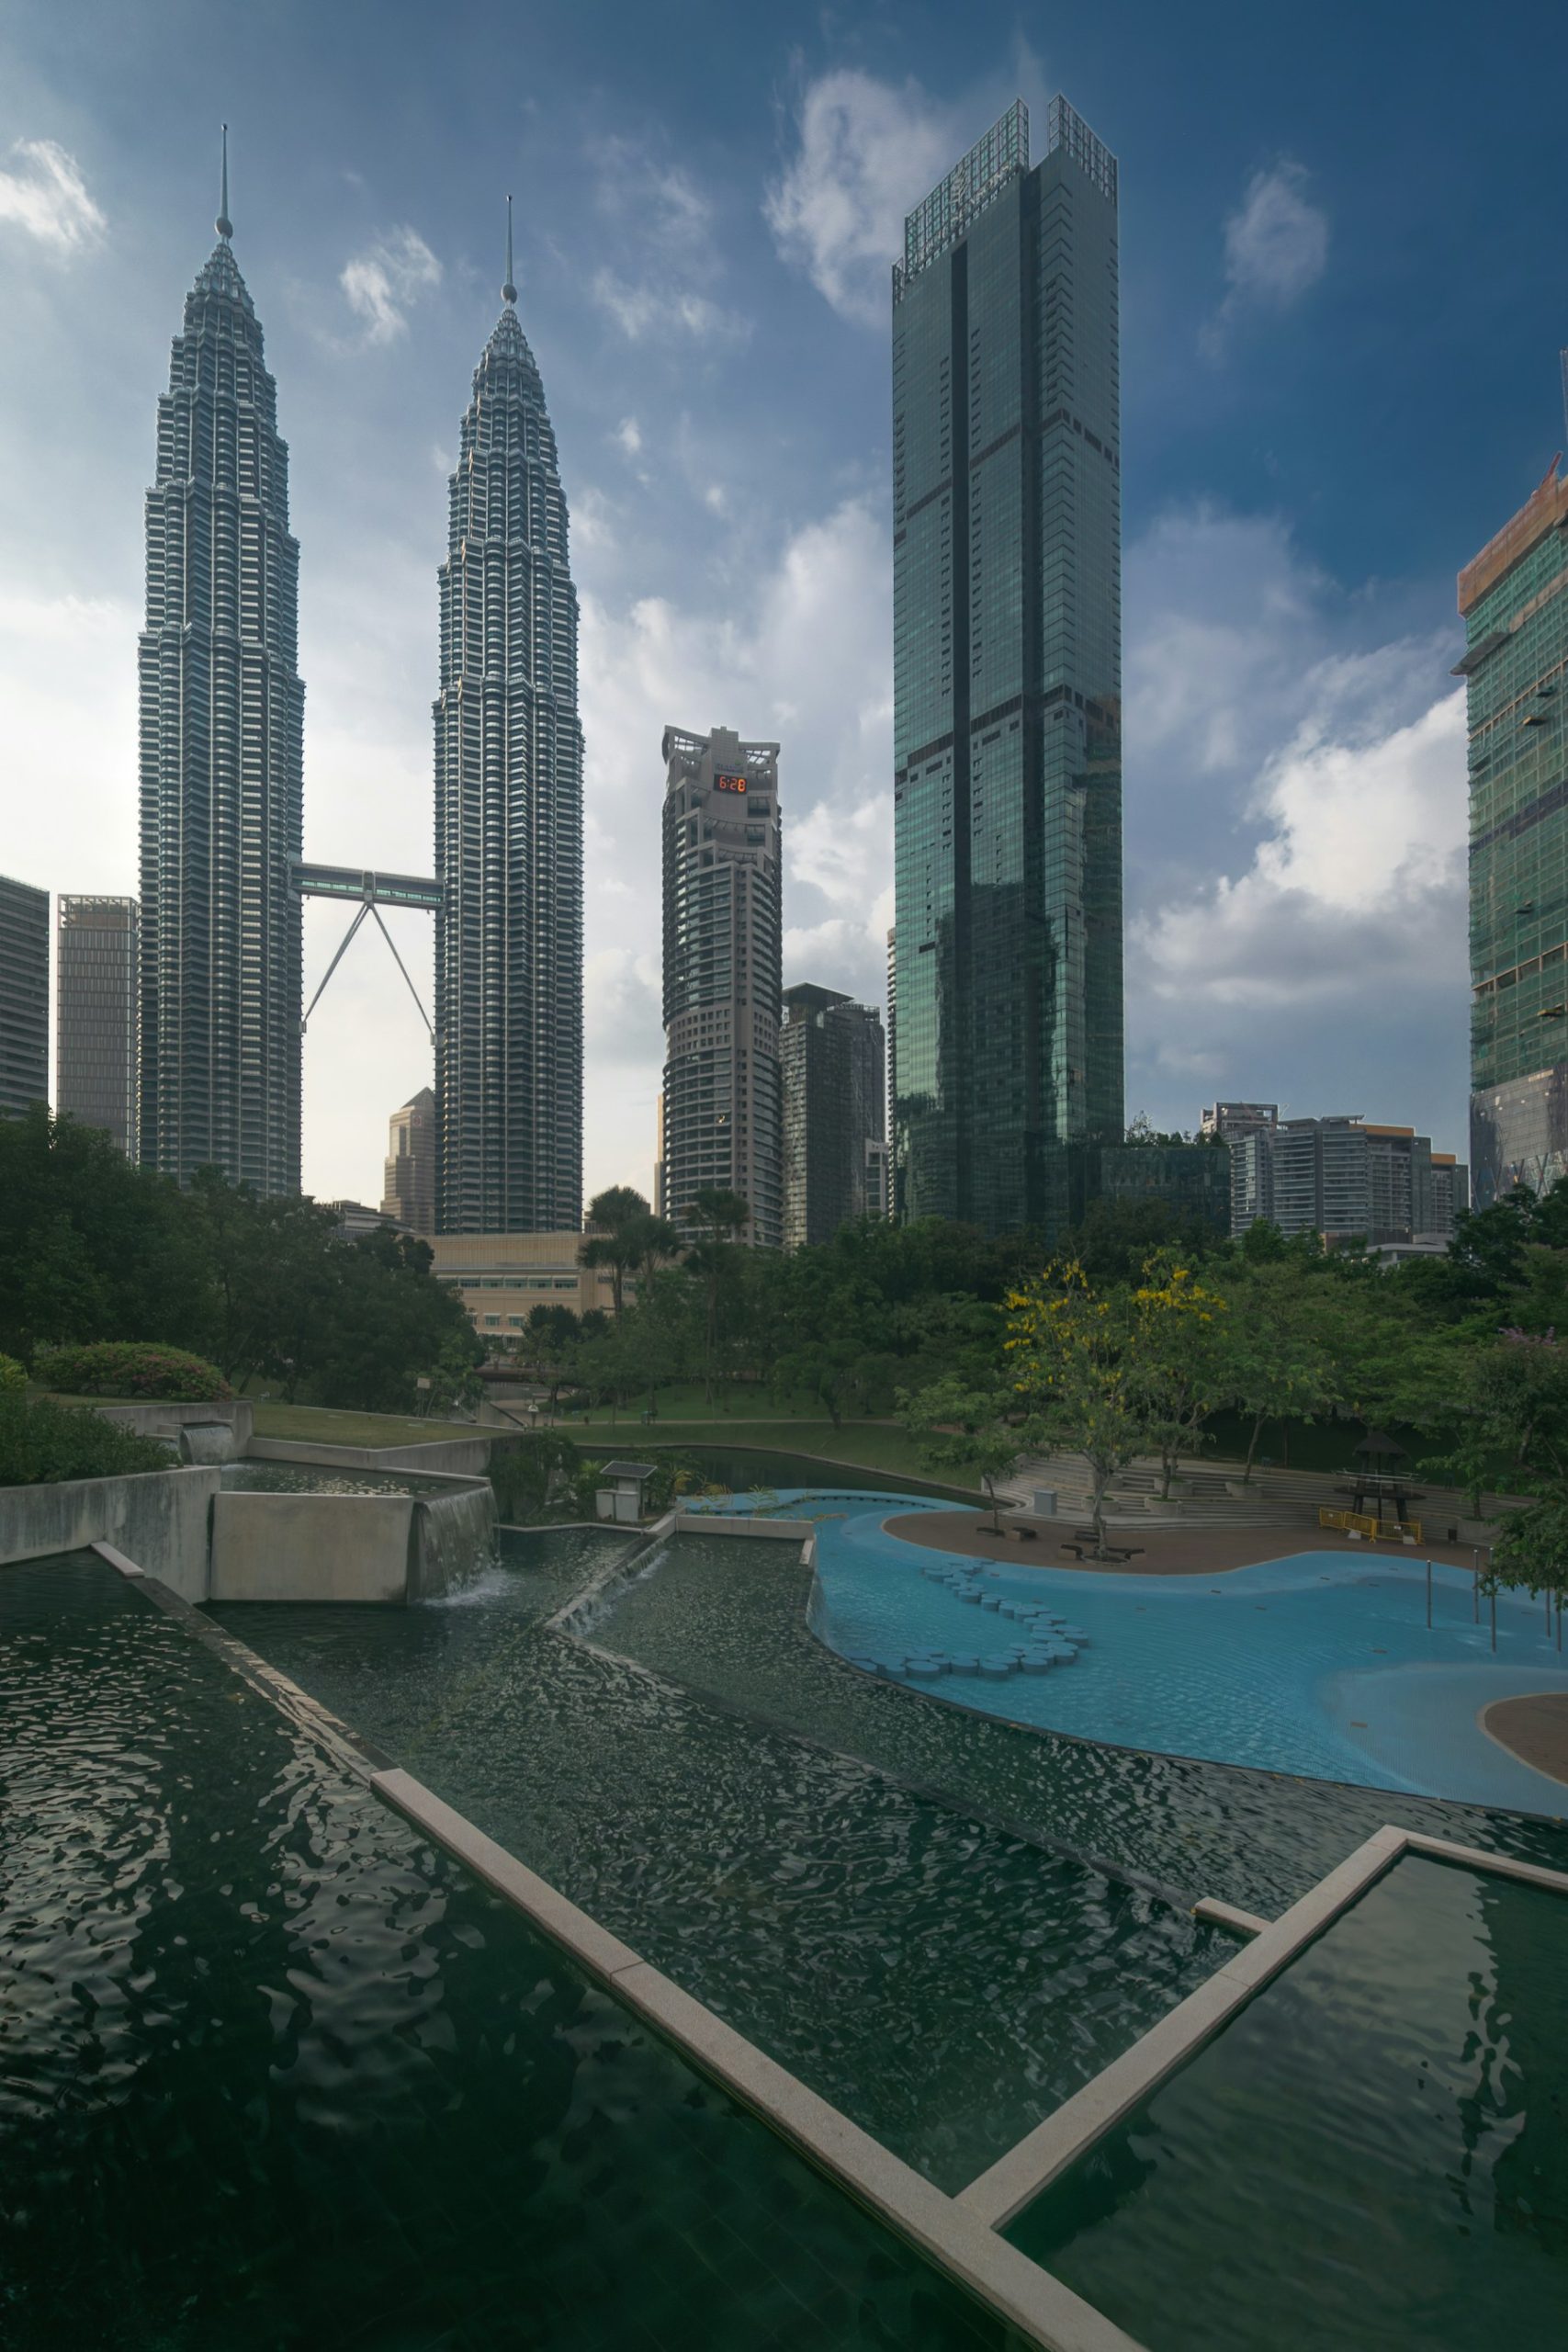
Spot 1 — Petronas Twin Towers from KLCC Park
GPS: 3.1578° N, 101.7121° E
Golden hour notes: Sunrise catches the east face of the towers in warm orange light; sunset paints the west facade. The park fountain is often lit at night — the 8–9 pm blue hour is arguably the best time here, when the towers glow against a deep navy sky.
Gear: 24–70mm covers the iconic full-tower compositions from the lake shore. A wide prime (16–35mm) lets you include more of the park foreground. Tripod essential for night shots.
Composition tip: Use the reflection pool directly south of the towers to create a mirror symmetry shot. Shoot from low — knee height — to maximize the reflection and compress the foreground grass into a thin strip.
The Petronas Twin Towers remain the undisputed centerpiece of the Kuala Lumpur skyline. Completed in 1998 and designed by architect Cesar Pelli, they topped out at 452 meters — the world’s tallest buildings for six years. From KLCC Park’s reflection pool, the towers frame perfectly in a 35mm composition, though most photographers favor a wider 24mm view to include the Sky Bridge and the surrounding canopy of mature trees that soften the otherwise hard concrete scene.
KLCC Park opens to the public 24 hours, making late-night blue-hour and even pre-dawn shoots practical. Arrive at least 30 minutes before sunrise to set up — the light moves fast and you want to be dialed in when the first warm rays catch the stainless steel cladding. The park’s water feature and children’s wading pool in the foreground add depth to compositions during the day.
When to shoot: Blue hour (8–9 pm) for towers lit against the sky; sunrise for warm east-face light; midday to avoid but acceptable in overcast conditions.
Spot 2 — KL Tower Observatory Deck
GPS: 3.1528° N, 101.7037° E
Golden hour notes: The 276-meter observation deck gives unobstructed 360-degree views. Sunset from here is extraordinary — the Petronas Towers are backlit and glow against an amber horizon.
Gear: 70–200mm to pull in distant neighborhoods; 24–70mm for wider city compositions. ND filters useful for long exposures of traffic trails below.
Composition tip: Shoot the Petronas Towers as a mid-frame element rather than the entire subject — include the urban sprawl below to convey the city’s scale.
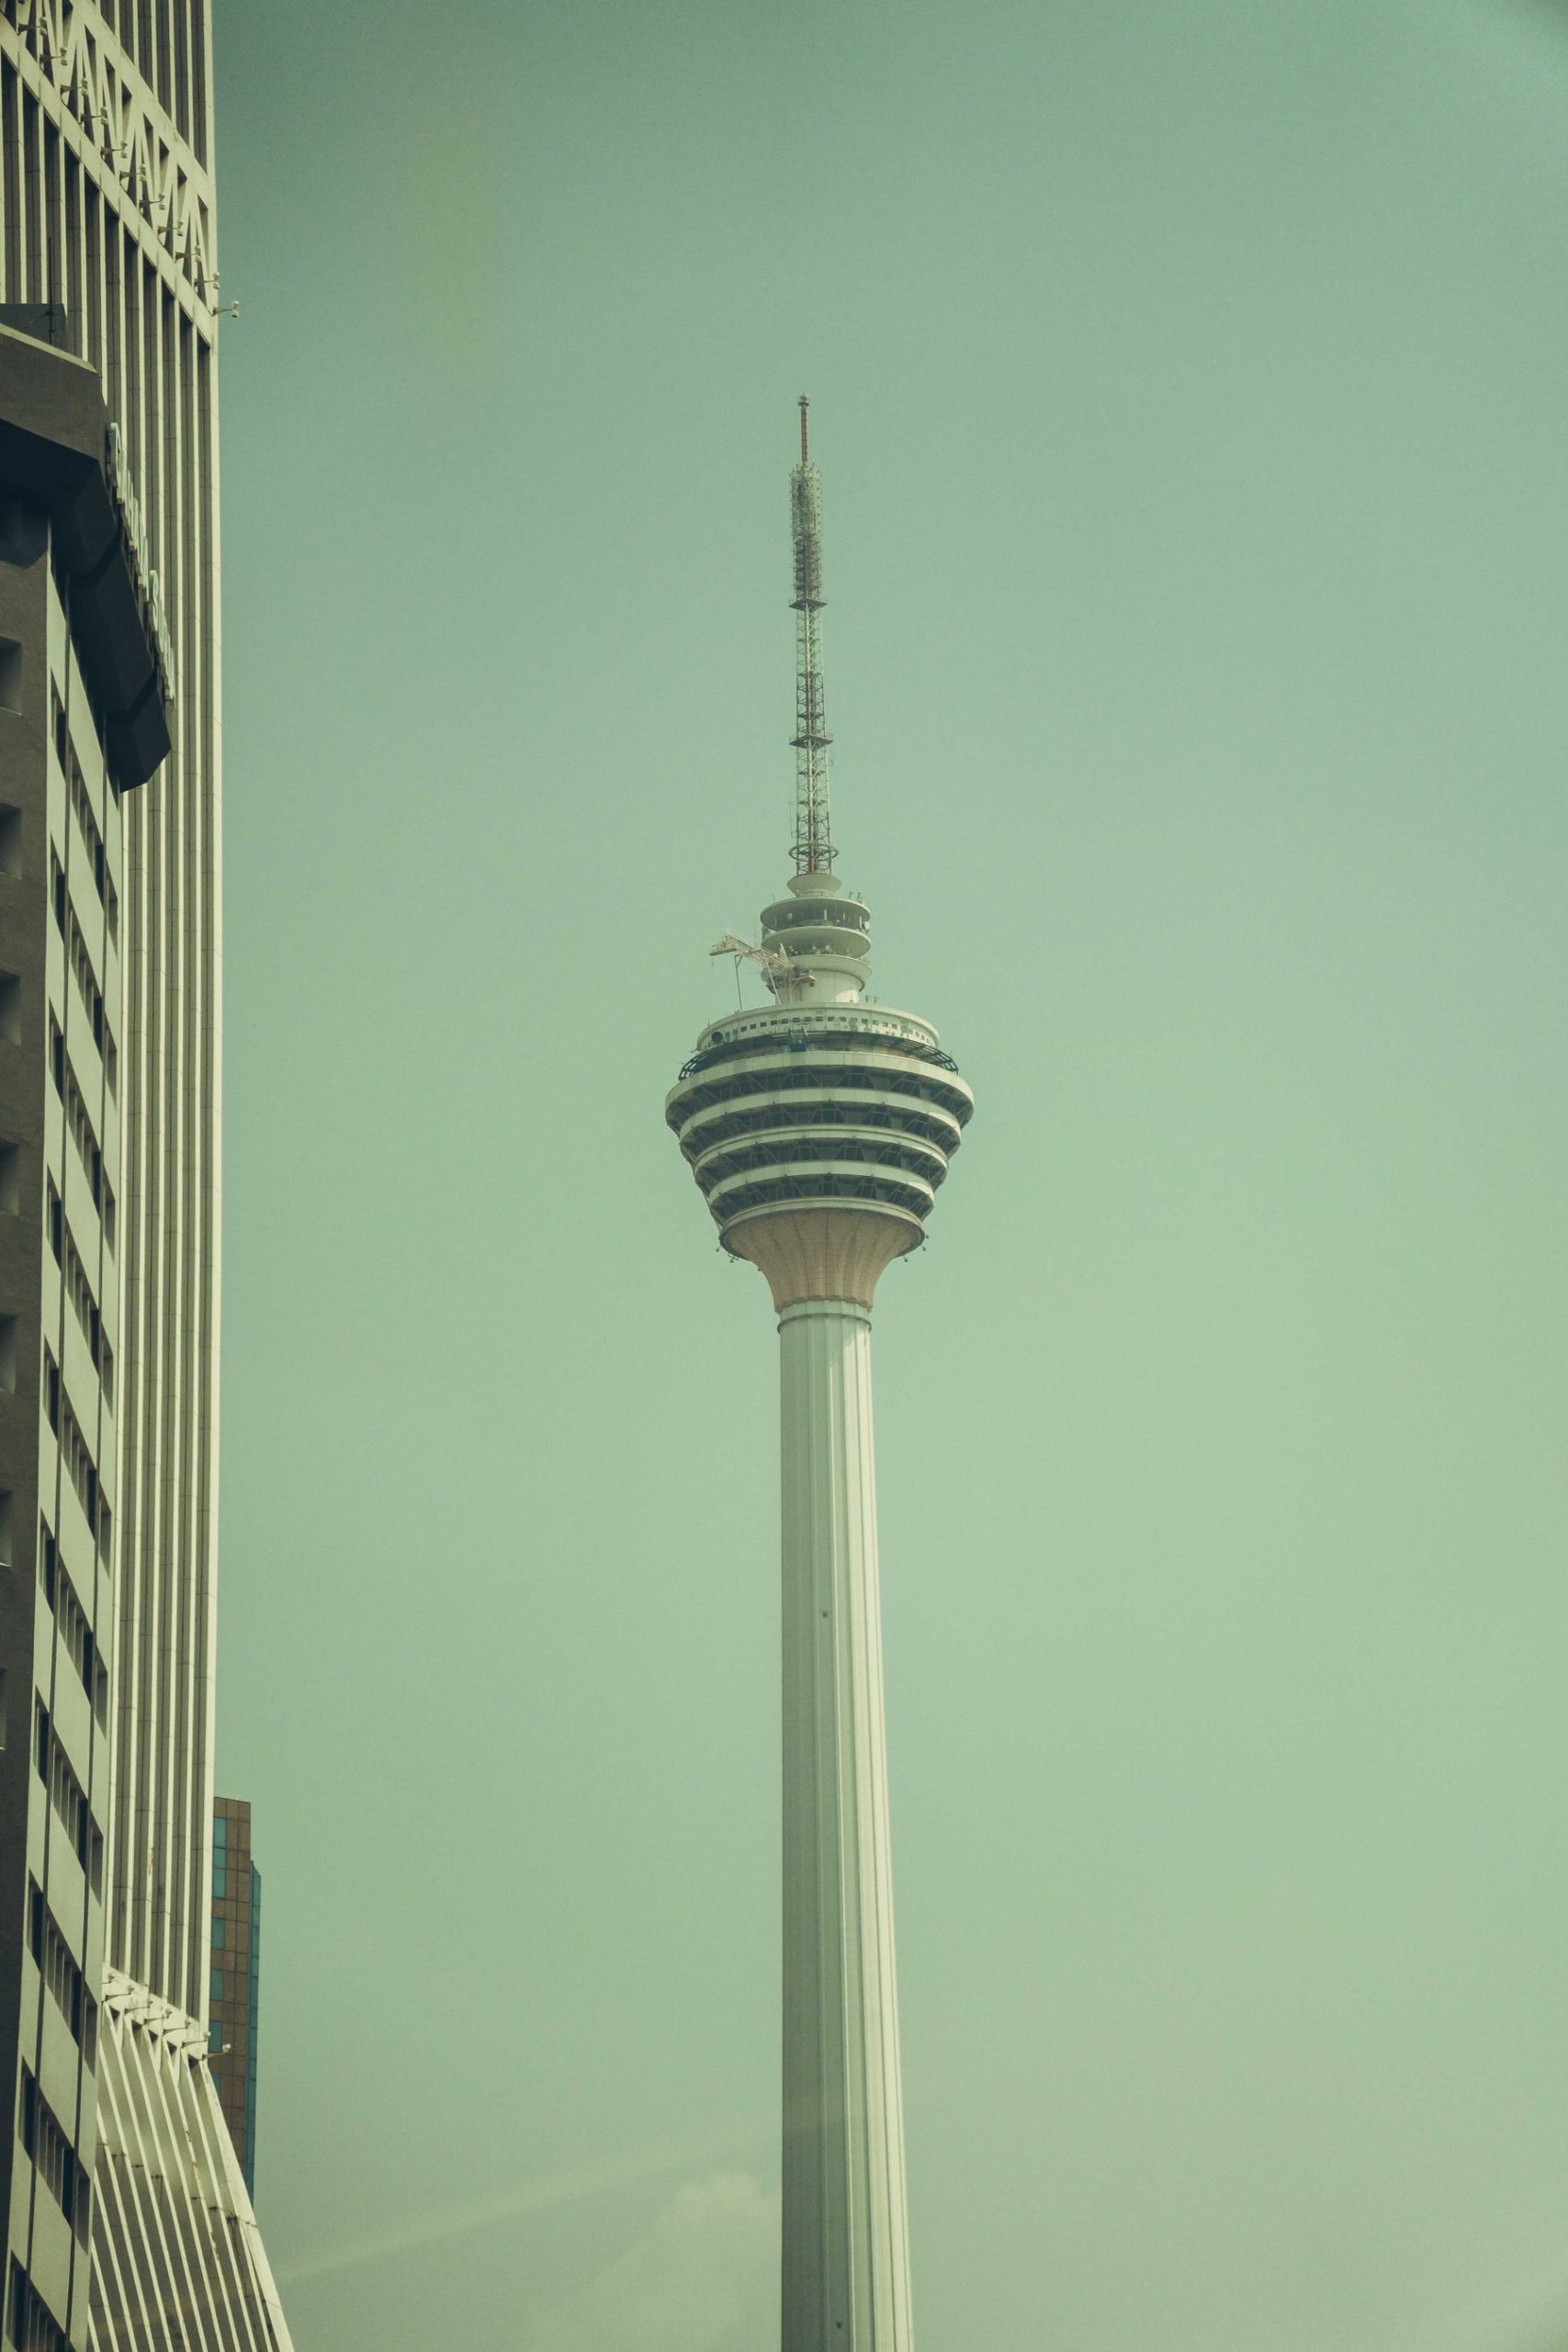
Menara KL (KL Tower) stands 421 meters tall on Bukit Nanas hill, and the observation deck at 276 meters sits slightly lower than the Petronas Towers but has the clear advantage of a free 360-degree view. The outdoor deck is one of the few places in the city where you can photograph the Petronas Towers from approximately the same elevation rather than looking straight up. The deck is open from 9 am to 10 pm; last entry is at 9:30 pm.
The glass floor section of the observation deck adds a dramatic foreground element — shoot straight down for vertigo-inducing abstract shots of the streets 276 meters below. The tower’s location on a forested hill means the foreground of many shots is a lush canopy of trees, a surprising contrast to the surrounding concrete city.
When to shoot: Sunset for the most dramatic Petronas backlight; blue hour for city lights; avoid midday heat haze.
Spot 3 — Batu Caves Hindu Temple Complex
GPS: 3.2374° N, 101.6840° E
Golden hour notes: Late morning (10–11 am) on clear days when sunlight enters the cathedral cave and creates dramatic light rays inside the main cavern. Sunrise on the golden Murugan statue steps is excellent.
Gear: Wide angle for the staircase and Murugan statue; a 50–85mm portrait lens for handheld candid shots of worshippers and festival crowds. Monopod helpful in crowds.
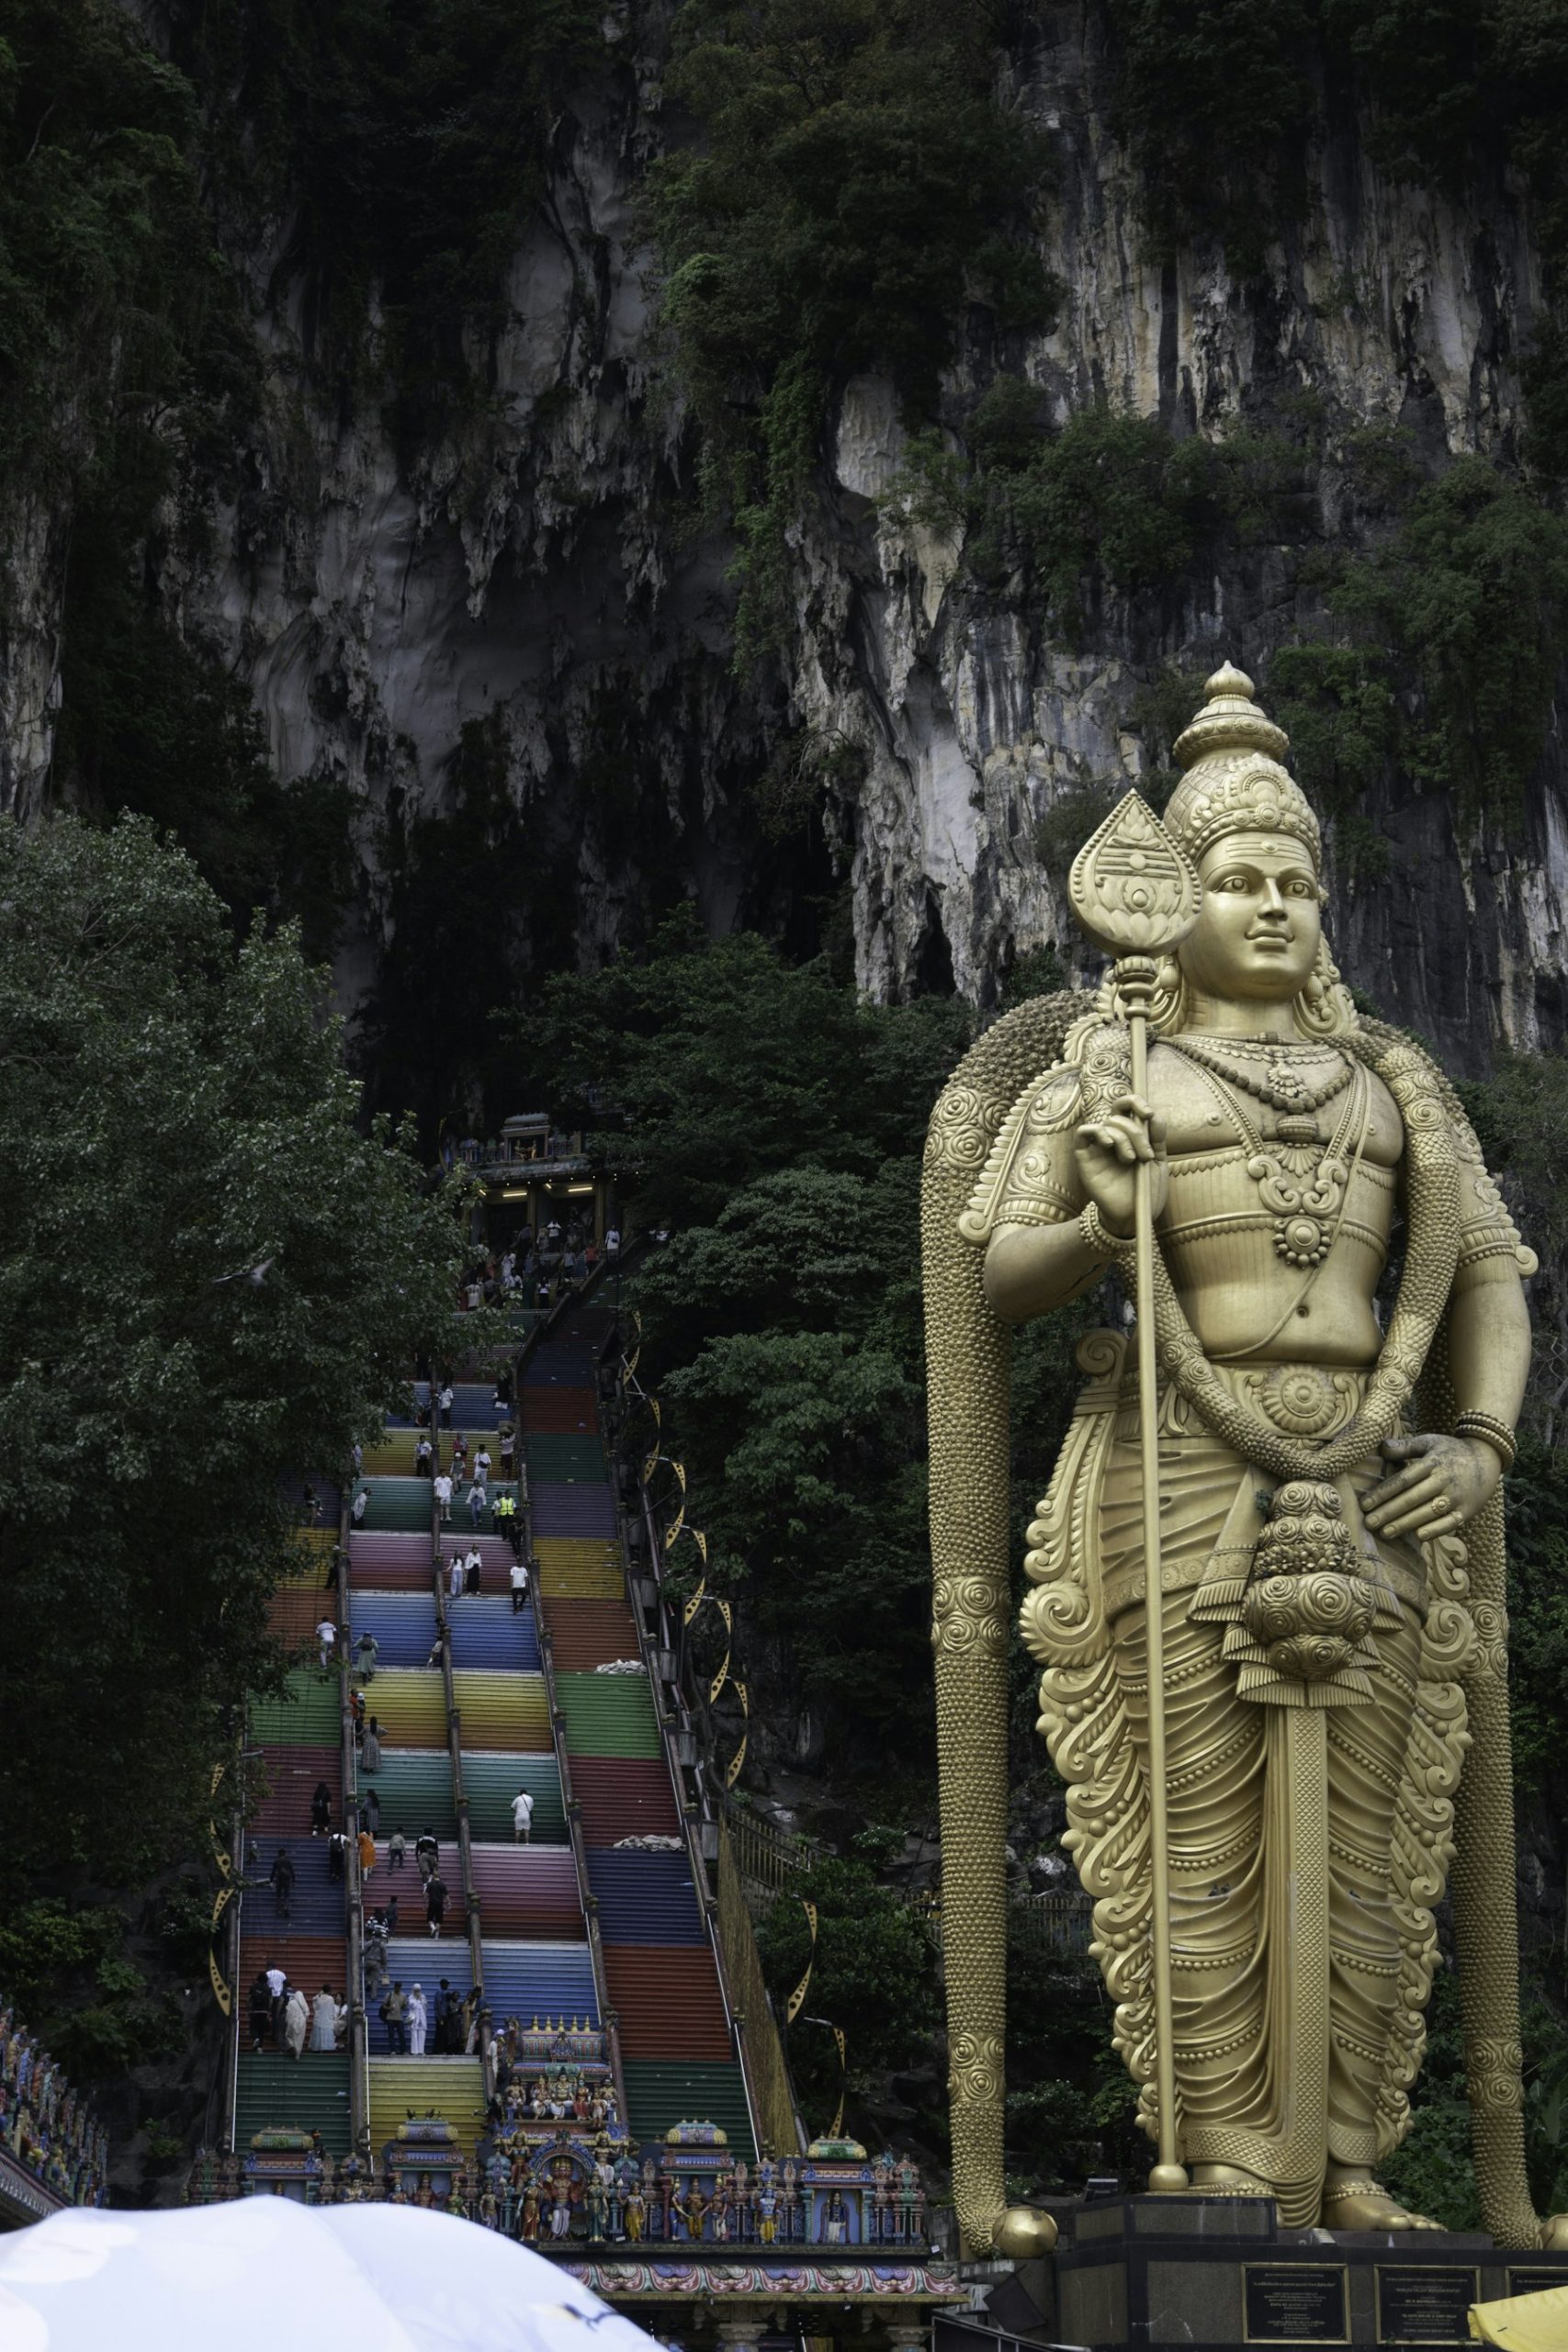
Composition tip: Shoot the 272 rainbow-painted steps from the bottom with the 42.7-meter golden Murugan statue in the upper frame. Use a wide-open aperture to separate the statue from the busy background.
Batu Caves is a 400-million-year-old limestone outcrop housing a series of Hindu temples and shrines. The main Cathedral Cave is the largest, reached via the iconic painted staircase, and is the site of the annual Thaipusam festival which draws over one million devotees — the single most photographically intense event in Malaysia. The caves are located 13 km north of the city center, easily reached by KTM Komuter train (Batu Caves station, final stop on the line).
During Thaipusam (January or February, date varies by lunar calendar), photographing the procession requires patience and respect — devotees carry kavadis (elaborate frames pierced through the skin) and the crowd is extremely dense. A 70–200mm lens lets you work at a respectful distance while still capturing sharp, intimate frames. Non-festival periods are calm and contemplative, ideal for slow, deliberate compositions.
When to shoot: Morning for golden Murugan statue light; late morning for cave interior light rays; Thaipusam festival for extraordinary human drama photography.
Spot 4 — Changkat Tunku Lookout Point
GPS: 3.1629° N, 101.6773° E
Golden hour notes: This is the finest sunrise vantage point in KL — the city skyline is directly to the southeast, and the Petronas Towers are perfectly framed with the residential hill in the foreground.
Gear: 70–200mm to compress the skyline; 24–70mm for environmental context. Tripod mandatory for pre-dawn shooting in low light.
Composition tip: The road leading to the lookout curves, giving you a leading line into the frame. Shoot from the grass verge above the road for a slightly elevated angle that clears the tree line.
Changkat Tunku, tucked within a diplomatic residential enclave near the Malaysian Prime Minister’s office, holds one of the city’s best-kept photographic secrets. The lookout point at the end of Jalan Tunku gives a clear eastward view of the entire KL skyline from the KL Tower on the left to the Petronas Towers on the right, with the city’s dense urban fabric filling the mid-ground. Unlike KLCC Park, you rarely share this viewpoint with more than a handful of other photographers even on weekend mornings.
The access road is unfenced but note that this is a residential area — park thoughtfully and do not disturb residents. The best light window is brief, roughly 20 minutes after sunrise. Once the sun climbs, the direct backlight bleaches the towers and the scene loses its drama rapidly.
When to shoot: 20–45 minutes after sunrise for the perfect golden-hour window.
Spot 5 — Merdeka Square (Dataran Merdeka)
GPS: 3.1489° N, 101.6934° E
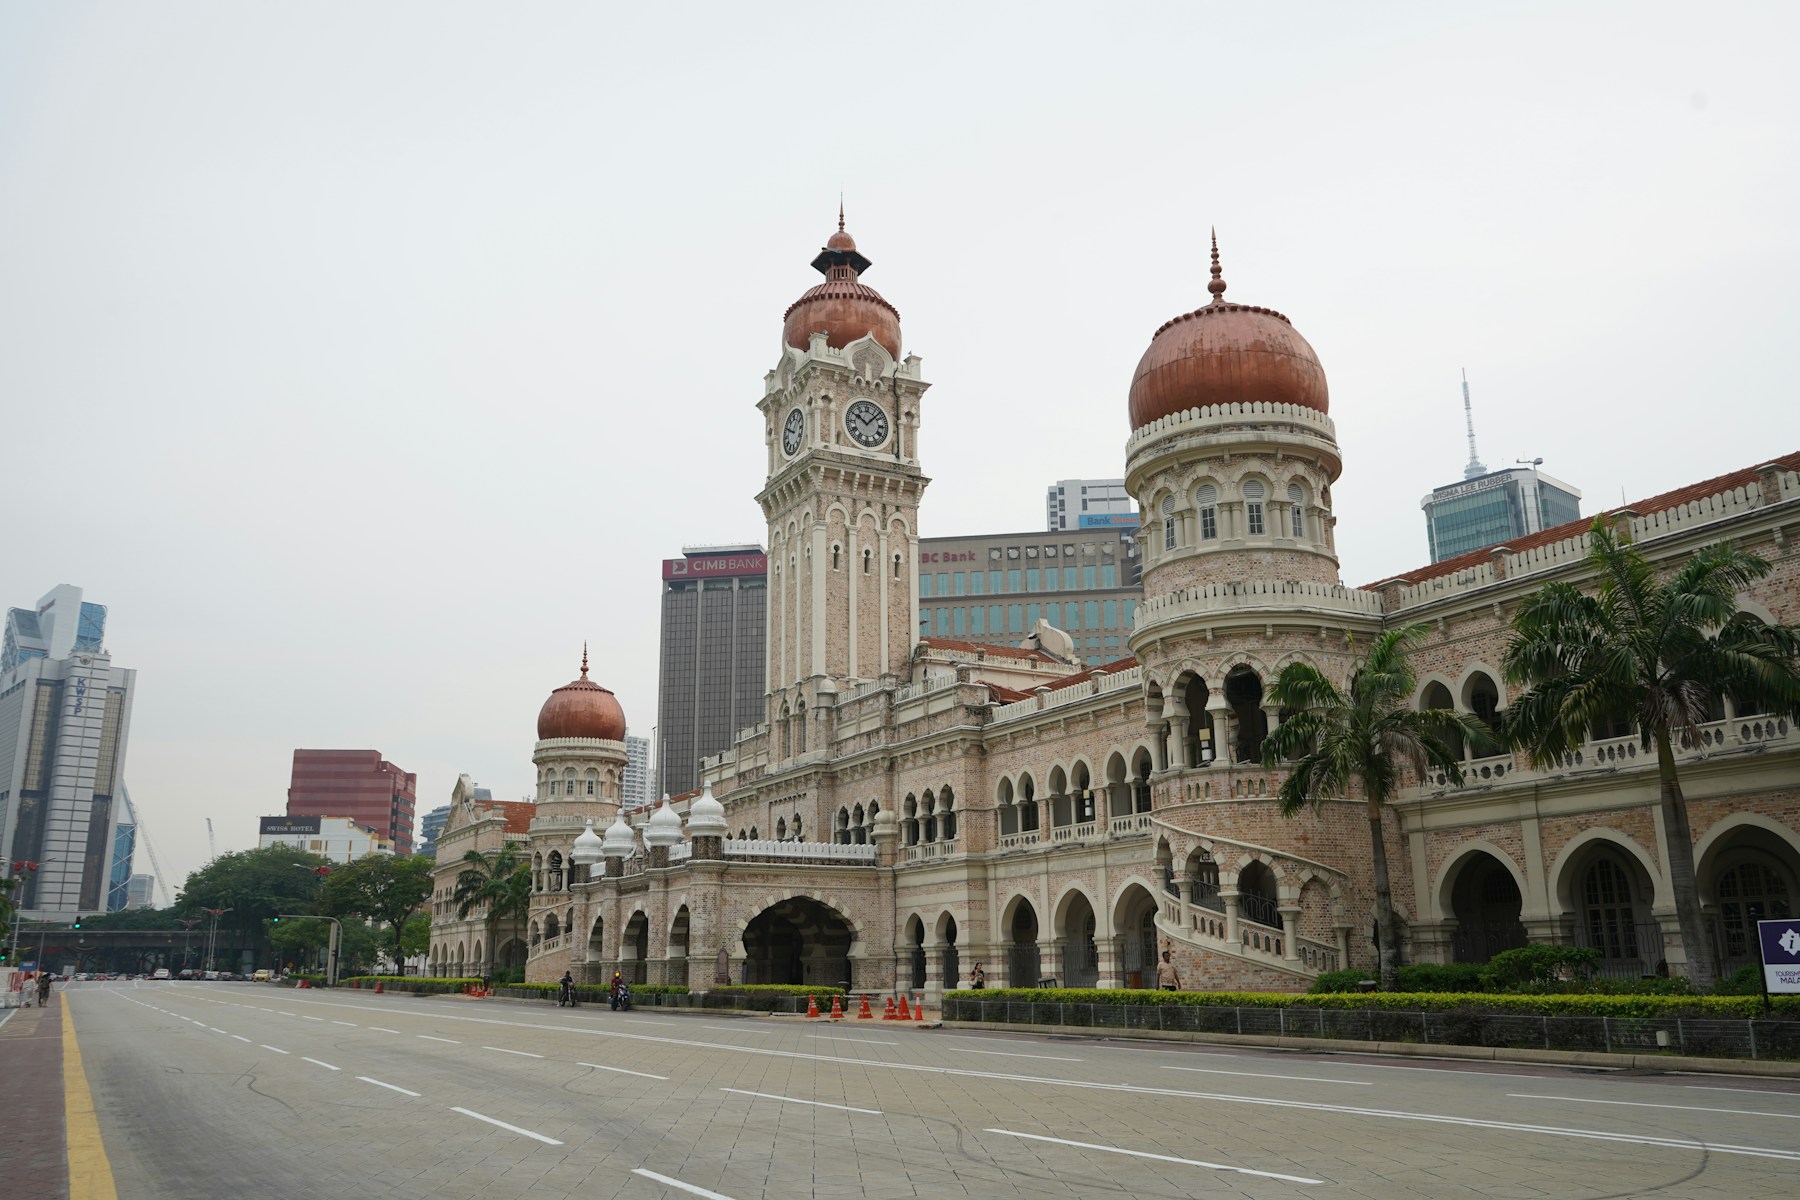
Golden hour notes: Late afternoon sun catches the colonial government buildings on the west side of the square in beautiful warm light. The 100-meter flagpole and surrounding buildings create strong vertical lines for architectural compositions.
Gear: 24mm or wider for the square’s scale; tilt-shift if you have one, for perspective-corrected architectural shots of the Sultan Abdul Samad Building.
Composition tip: Position yourself at the south end of the square looking north — the Sultan Abdul Samad Building’s copper dome catches late afternoon light beautifully, and the flagpole provides a tall vertical anchor for the frame.
Dataran Merdeka — Independence Square — is where Malaysia declared independence from Britain in 1957. The surrounding Mughal-Gothic colonial architecture, including the Sultan Abdul Samad Building (now housing the Ministry of Information), creates an architectural contrast unique in Southeast Asia. The buildings were designed by British colonial architects in the late 19th century and incorporate Indian Mughal domes with Moorish arched colonnades and Victorian clock towers.
The square itself is a pedestrianized public space used for national events, and the open sightlines make wide-angle architectural photography straightforward. The Royal Selangor Club building on the east side of the square provides a contrasting Tudor-revival facade — the visual tension between Mughal and Tudor styles in a single frame is unmistakably KL.
When to shoot: Late afternoon for warm facade light on the Sultan Abdul Samad Building; blue hour for the lit dome against a dark sky.
Spot 6 — Little India, Brickfields
GPS: 3.1302° N, 101.6855° E
Golden hour notes: Mid-morning when the street is active but not yet peak busy. The colorful shopfront facades face varying directions — walk the length of Jalan Tun Sambanthan for shifting light angles throughout the morning.
Gear: 35mm or 50mm for street photography; close-focus capability useful for spice and flower stall macro shots.
Composition tip: The temple at the street’s center provides a strong vertical focal point. Shoot from the pavement toward the temple with pedestrian traffic flowing through the frame as natural human-scale elements.
Brickfields is KL’s oldest Indian district, and its main artery Jalan Tun Sambanthan remains one of the most color-saturated streets in Malaysia for photography. Flower garland sellers, Tamil restaurants with hand-painted signs, sari shops, and the Sri Kandaswamy Kovil temple produce a visual density that rewards slow, methodical street photography. This is genuine working-class streetlife, not a tourist showcase, and treating it as such — with patience and humility — produces the most authentic frames.
When to shoot: 9 am–12 noon for active morning street life; avoid Sunday afternoons when many businesses close.
Spot 7 — Skybar at Traders Hotel
GPS: 3.1539° N, 101.7147° E
Golden hour notes: The rooftop pool faces directly toward the Petronas Towers to the north. The 33rd-floor elevation puts you at mid-tower height — the best angle for framing the upper half of the towers against the sky.
Gear: 24–70mm is ideal; bring a compact telephoto for tight crops of the towers’ upper sections. No tripod (hotel policy), so use the railing as support for longer exposures.
Composition tip: Use the pool’s infinity edge as a foreground element with the towers beyond. At night, the pool lights reflect teal against the dark sky — use a slow shutter to smooth the water into a mirror surface.
Skybar at Traders Hotel remains one of the best elevated vantage points for Petronas Tower photography precisely because it sits at a middle distance — far enough to see the complete tower profile, close enough that the towers dominate the frame. The bar opens from noon and the evening dress code is smart casual. A minimum spend applies but the unobstructed view is worth every ringgit. Photography is permitted throughout and the staff are accustomed to photographers.
When to shoot: 7–9 pm for blue hour through full night; the bars become busy after 9 pm.
Spot 8 — Masjid Jamek (Jamek Mosque)
GPS: 3.1490° N, 101.6955° E
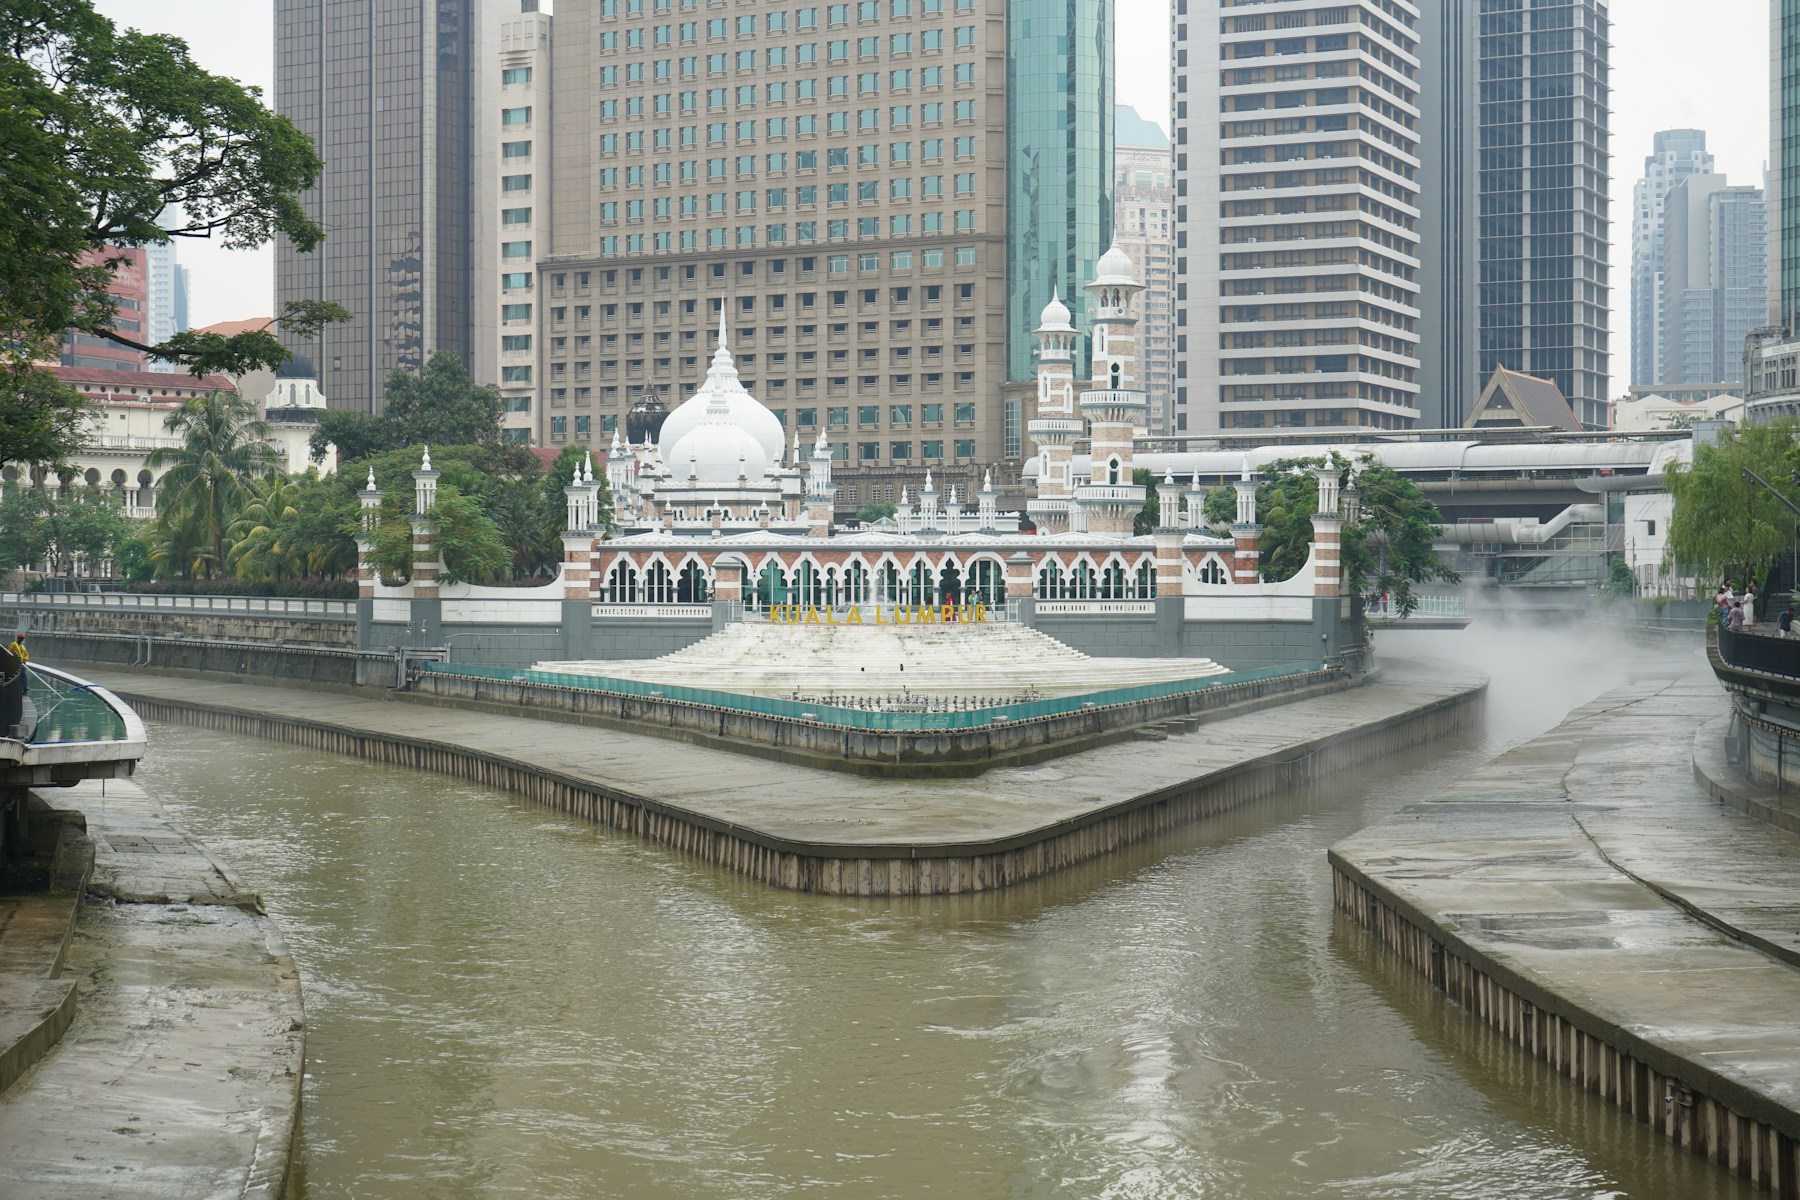
Golden hour notes: Late afternoon from the south bank of the Klang River — the mosque faces southwest and catches rich golden light from about 4 pm onward. The surrounding palm trees frame the Mughal minarets perfectly.
Gear: 70–200mm to isolate the mosque from surrounding modern buildings; 24–35mm for environmental shots including the river.
Composition tip: Shoot from across the river confluence (Klang and Gombak rivers meet here) to include the water in the foreground. A polarizing filter removes surface glare and deepens the sky.
Masjid Jamek is KL’s oldest mosque, built in 1909 at the confluence of the Klang and Gombak rivers — the very site where the city was founded. Designed by British architect A.B. Hubbock in a north Indian Mughal style with striped pink and white brickwork, the mosque is visually incongruous against the glass-faced Dayabumi Complex behind it — and that incongruity is what makes photographs from this spot so compelling. Modest dress is required to enter the mosque grounds; women must cover hair.
When to shoot: Late afternoon for warm southwest-facing facade light; early morning for mist off the river.
Spot 9 — Perdana Botanical Garden (Lake Gardens)
GPS: 3.1451° N, 101.6862° E
Golden hour notes: Sunrise over the main lake, when mist rolls across the water surface and the surrounding tree canopy catches the first warm light. The lily garden is beautiful in early morning.
Gear: Wide angle for mist-over-lake landscapes; macro for the Orchid Garden and butterfly enclosure.
Composition tip: Shoot from the eastern shore of Perdana Lake at sunrise — the KL skyline is visible on the horizon through the tree canopy, giving you a rare nature-meets-city composition.
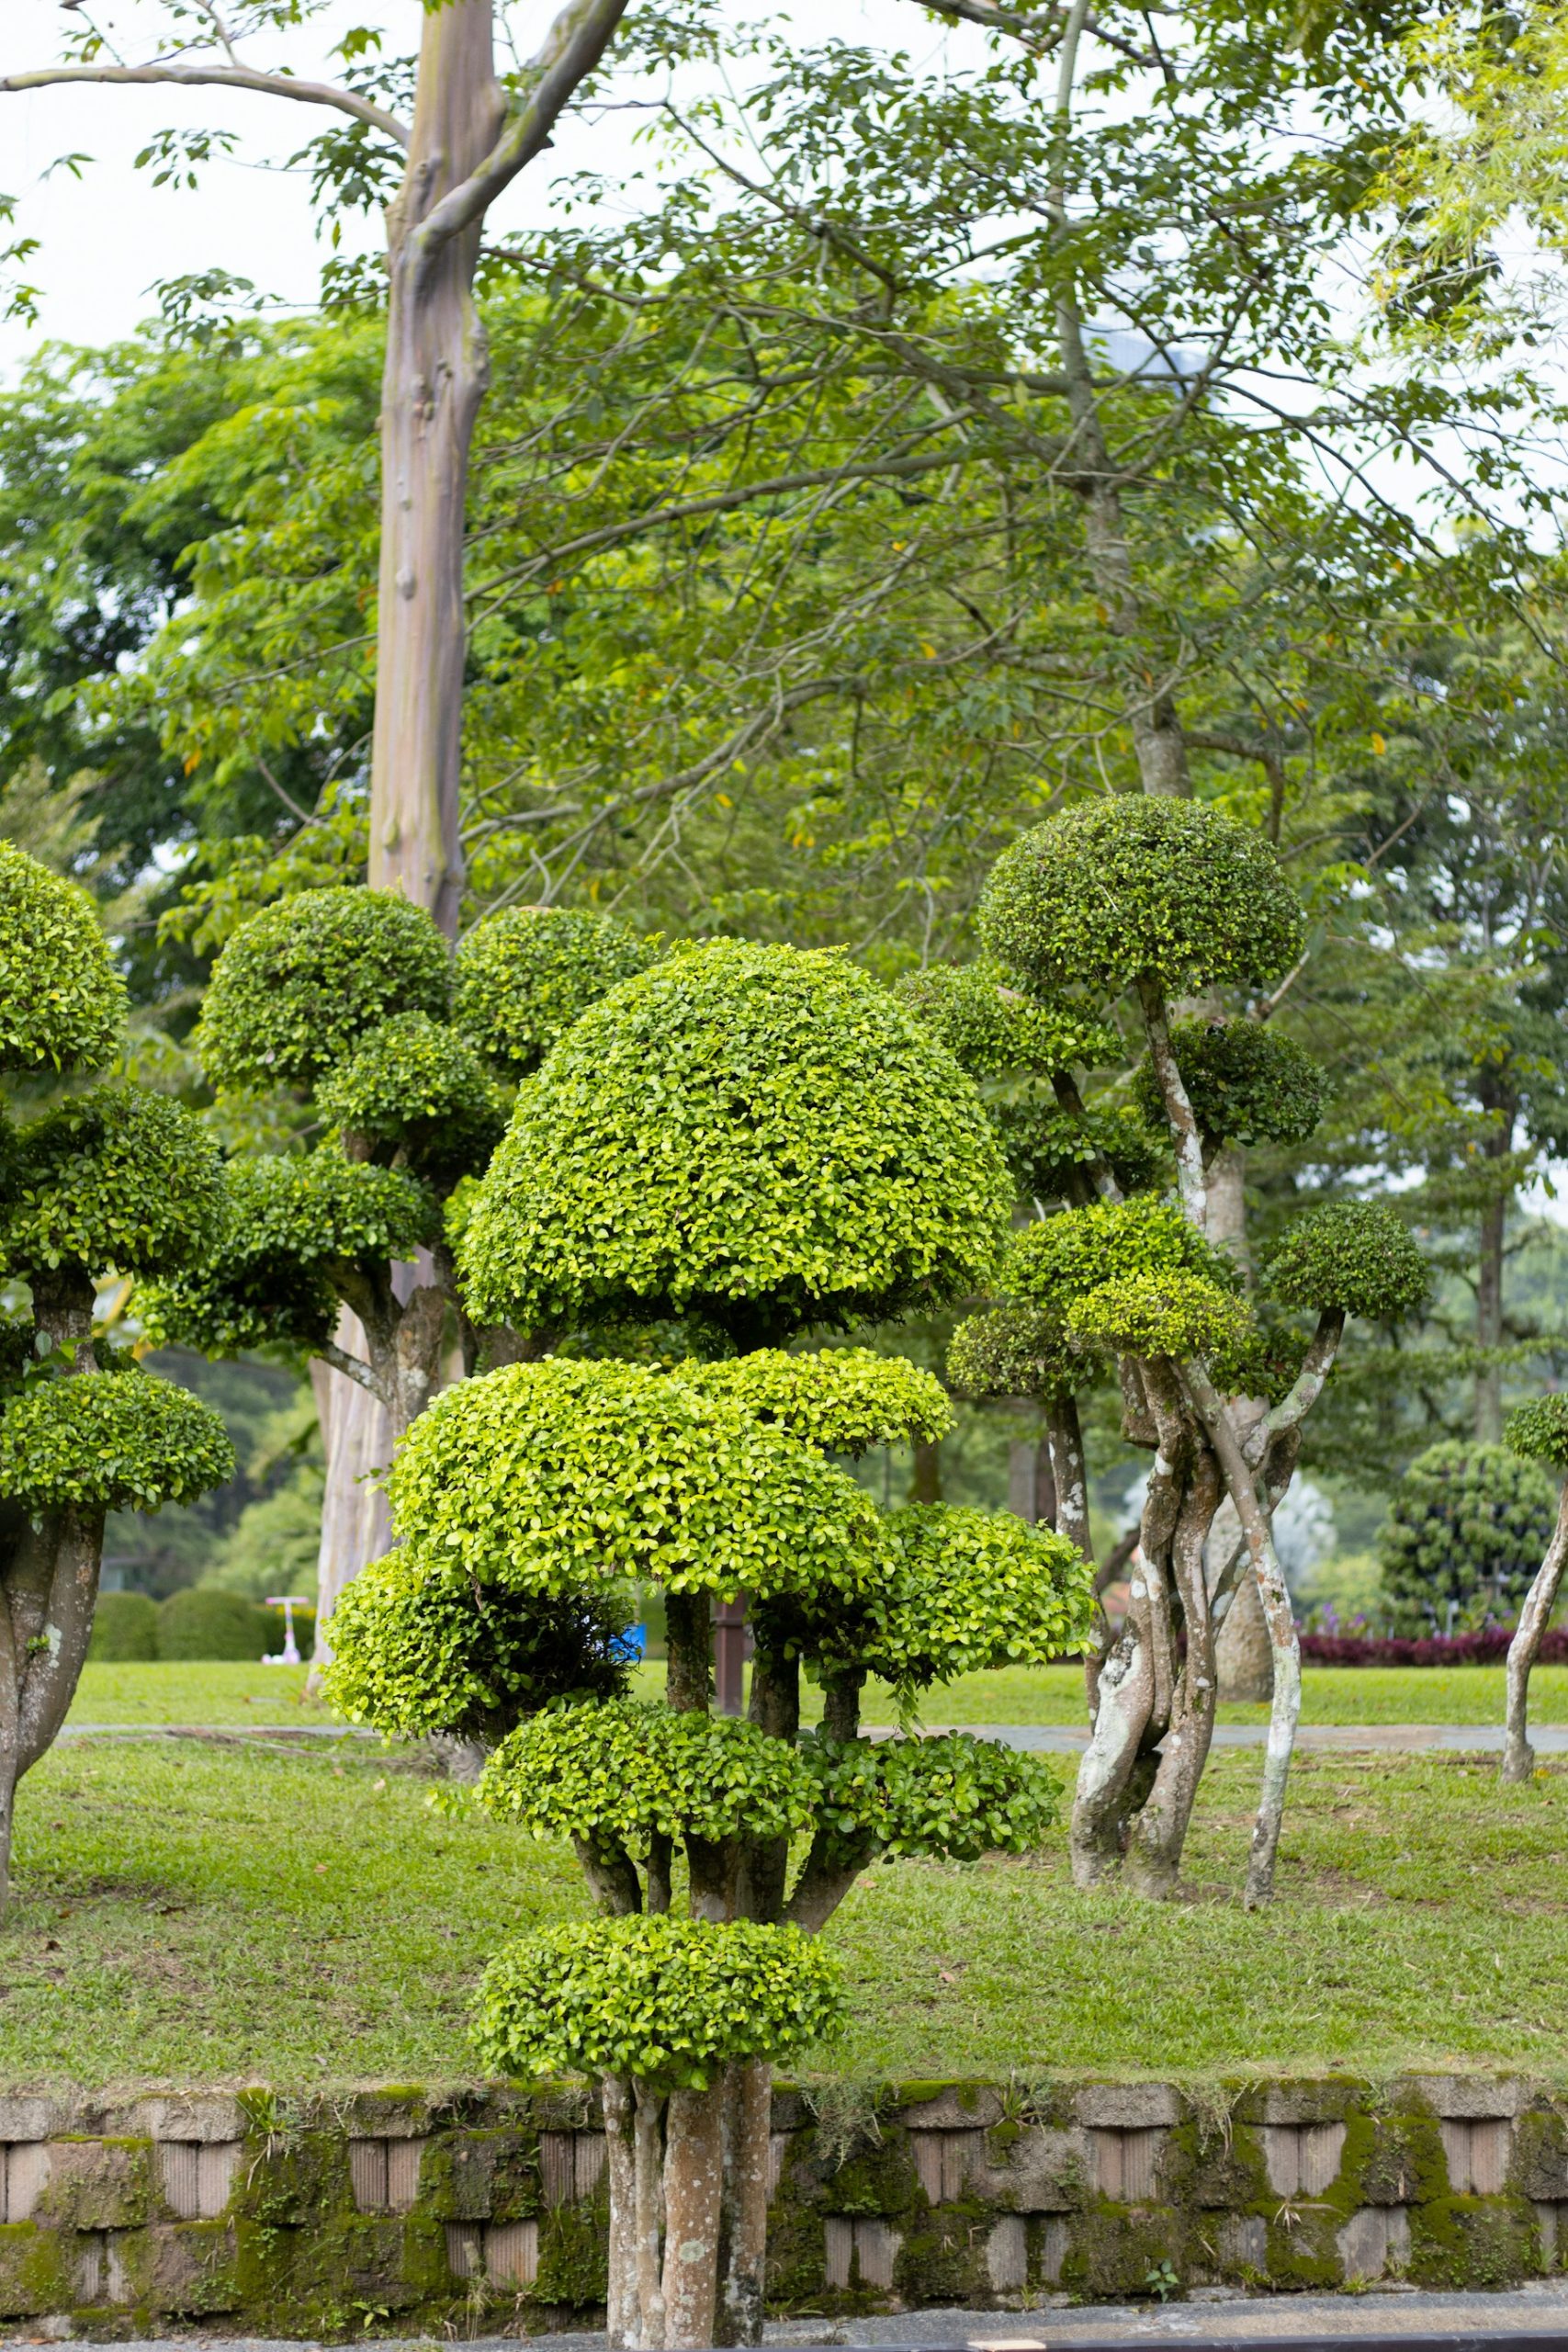
The 91-hectare Perdana Botanical Garden is KL’s green lung, and at sunrise it is genuinely serene — a rarity in this relentlessly urban city. The Bird Park (one of the world’s largest free-flight aviaries), the Butterfly Park, and the Orchid Garden all sit within the grounds, each offering specialized photography opportunities. The main lake’s morning mist, when atmospheric conditions cooperate, creates painterly landscape frames with the KL skyline softly visible on the horizon.
When to shoot: 6:30–8 am for lake mist and sunrise light; Bird Park opens at 9 am for avian photography.
Spot 10 — Chinatown — Petaling Street
GPS: 3.1451° N, 101.6983° E
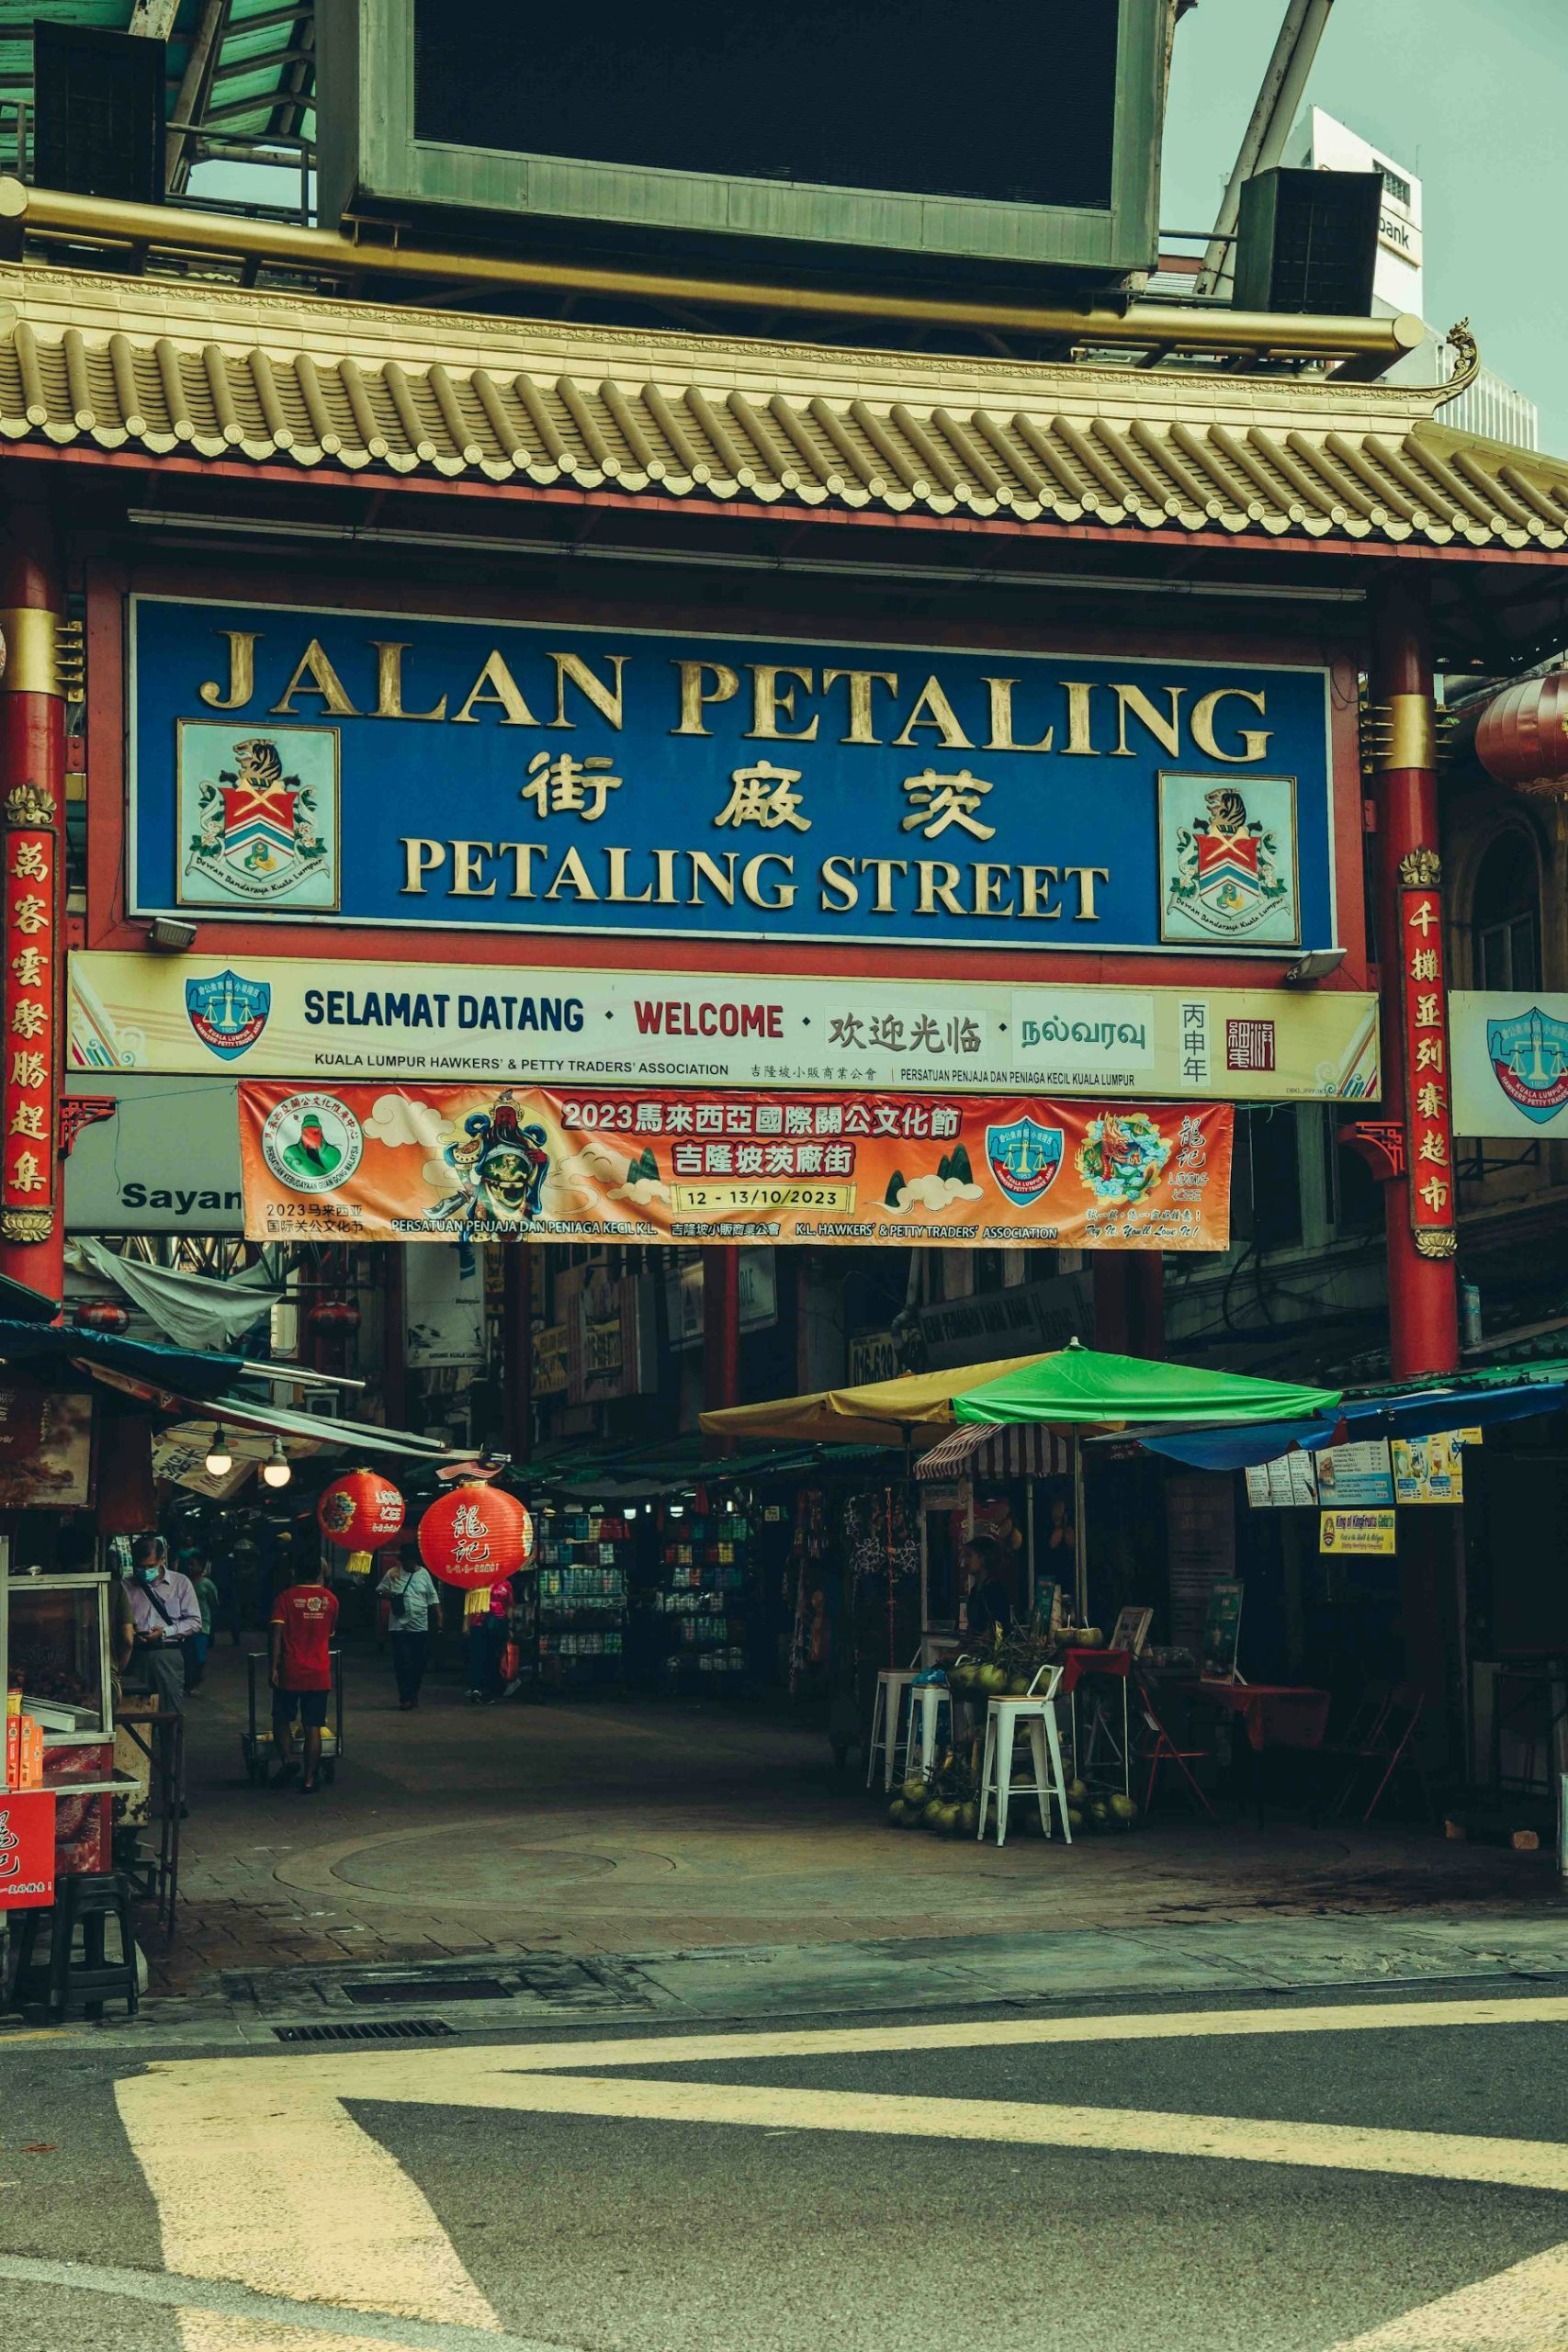
Golden hour notes: The covered market stalls are best in the late afternoon as the sun drops below the awning line and warm sidelight filters through the gaps, creating a dramatic chiaroscuro effect on the stall displays.
Gear: 35mm or 50mm for street work; high ISO capability (ISO 3200+) as the covered street is dark. Fast prime preferred over zoom.
Composition tip: Look up — the tangle of electrical wires and competing signage above the street is uniquely Asian and often overlooked. A 35mm pointed vertically upward creates a graphic, compressed composition.
Petaling Street’s covered bazaar is KL’s oldest market precinct, running for roughly 500 meters through the heart of Chinatown. The red lanterns, dense vendor stalls, and competing signage in Mandarin, Tamil, and Malay produce a layered visual complexity that rewards patient photographers. Unlike many Asian Chinatowns that have been sanitized for tourism, Petaling Street retains genuine commercial activity — vegetable sellers, DVD stalls, watch vendors, and traditional medicine shops coexist in pragmatic chaos. Visit also the adjacent Jalan Hang Lekir for quieter shophouse photography without the crowd pressure.
When to shoot: 4–7 pm when stalls are fully stocked and the late afternoon light filters through. Avoid Sunday mornings when the street is quiet.
Spot 11 — Thean Hou Temple
GPS: 3.1124° N, 101.6869° E
Golden hour notes: The hilltop temple faces approximately north, making it ideal for sunset photographs looking back toward the KL skyline from the temple’s upper terraces. The temple’s red lacquer and ornate rooflines also photograph well in overcast even light.
Gear: 24–70mm for the temple complex and KL skyline view; telephoto for architectural detail of the roof ornamentation.
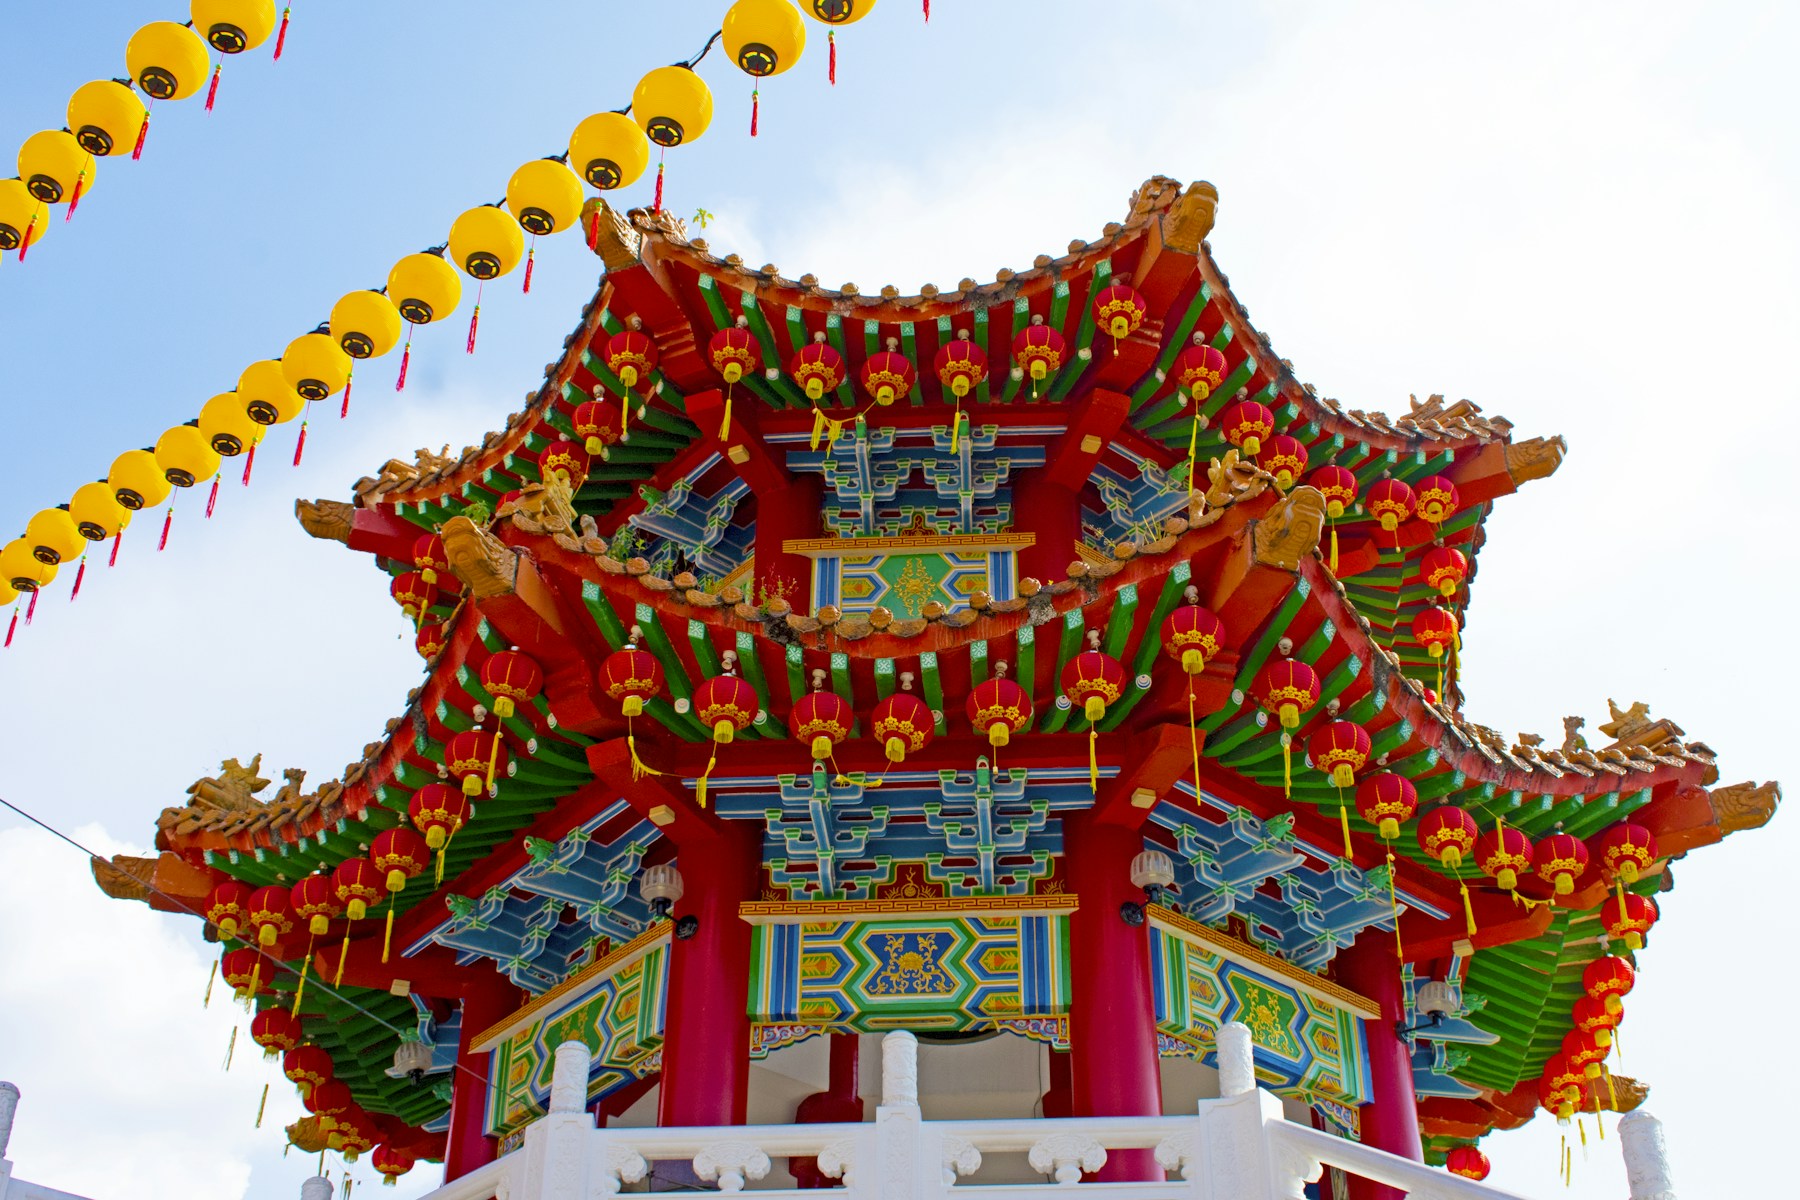
Composition tip: Shoot from the uppermost terrace at dusk with the temple roof in the foreground and KL Tower visible on the horizon. The hundreds of red lanterns hung for festive seasons add exceptional foreground depth.
Thean Hou Temple is a six-tiered Chinese Taoist temple perched on Robson Hill in the Seputeh suburb, about 4 km south of KLCC. Built in 1989 by the Selangor and Federal Territory Hainanese Association, it is one of the largest and most ornate Chinese temples in Southeast Asia. The hilltop position gives a clear view north toward the KL skyline, making it the only photography location in this guide where you can include a traditional temple structure and the Petronas Towers in the same frame.
When to shoot: Sunset for the KL skyline view; Chinese New Year for the extraordinary lantern display that transforms the entire complex.
Spot 12 — Sri Mahamariamman Temple
GPS: 3.1463° N, 101.7005° E
Golden hour notes: The temple’s ornate gopuram (entrance tower) faces west — evening light catches the elaborate sculptural program of Hindu deities in rich warm tones from about 4:30 pm.
Gear: 50–85mm for the gopuram facade; close-focus 100mm macro for the intricate sculpture detail. Tripod useful for low-light interior shots.
Composition tip: Shoot the gopuram from the street level opposite — a tighter focal length (85–100mm) compresses the street and makes the tower appear to rise directly from the pavement clutter, emphasizing scale.
KL’s oldest and most important Hindu temple was founded in 1873, and the current elaborately decorated gopuram — a Dravidian-style entrance tower bristling with hand-carved and painted sculptures of gods, demons, and celestial beings — dates from 1968. The temple is in the heart of Chinatown, two streets from Petaling Street, and the visual juxtaposition of the Hindu tower against the surrounding Chinese commercial district makes for compelling street photography. The temple interior, decorated with Italian marble and Chinese tiles, is open to non-Hindu visitors during daylight hours.
When to shoot: Late afternoon for warm gopuram light; Thaipusam eve when the golden chariot is displayed outside.
When to Photograph Kuala Lumpur: A Year-Round Breakdown
| Month | Weather | Best For |
|---|---|---|
| Jan–Feb | Drier, occasional showers | Thaipusam festival (Batu Caves), Chinese New Year lanterns |
| Mar–Apr | Low rainfall, clear skies | Best overall skyline clarity; ideal golden hour conditions |
| May–Jun | Transitional, some haze | Street photography; gardens in bloom |
| Jul–Aug | Haze risk (regional fires) | Indoor and temple photography; moody atmospheric shots |
| Sep–Oct | Clear post-haze, low rain | Second-best skyline window; Diwali festival lights in October |
| Nov–Dec | Northeast monsoon; heavy rain | Christmas and New Year light installations; moody low-cloud city shots |
The complete Kuala Lumpur guide is $47
All vantage points above + 5 bonus secret spots, printable map, gear pack list, and editing recipes. One-time payment, instant download, lifetime updates.
Photographer Safety in Kuala Lumpur: Read This
Kuala Lumpur ranks as one of the safer cities for photographers in Southeast Asia, but specific precautions apply. Petty theft — bag snatching and pickpocketing — is the primary risk, particularly in Bukit Bintang, Petaling Street, and around busy transit hubs. Keep your camera strap locked across your body rather than hanging from one shoulder, and avoid displaying expensive gear in crowded markets.
Drone regulations in Malaysia are strictly enforced by the Civil Aviation Authority of Malaysia (CAAM). Flying a drone anywhere within the Kuala Lumpur city center — including near KLCC, KL Tower, or Merdeka Square — requires prior authorization. The penalty for unauthorized drone flight is severe; do not attempt it without proper licensing. Check the Shut Your Aperture shop for our updated drone regulation guide for Southeast Asia.
Photography at mosques requires modest dress and permission from mosque management for professional-grade setups. At Batu Caves and other Hindu temples, avoid photographing active prayer and consult with the temple management before using flash or tripods inside the main shrine. The Royal Malaysia Police have broad powers to detain photographers near government buildings — stay on public land and do not photograph military or police checkpoints.
Take This Guide Into the City
The 12 spots above are built to be used offline — GPS-tagged, time-specific, and gear-matched to what you can realistically carry. The PDF version of this Kuala Lumpur guide includes a photo walk map connecting spots 1, 5, 7, 8, and 10 into a single 6-hour city walk, plus a complete golden-hour timetable for every month of the year. Grab it from the Shut Your Aperture shop and have it ready on your phone before you land.
Get the Kuala Lumpur Guide + Preset Pack
Photograph it. Edit it. Done.
All links go to Viator (a TripAdvisor company), the world’s largest marketplace for guided experiences. Tagged as affiliate per FTC.
Quick Amazon shortcuts to the gear most useful for this kind of shot. Use them if Prime shipping or Amazon credit makes more sense than B&H. As an Amazon Associate ShutYourAperture earns from qualifying purchases.
Take Kuala Lumpur home in your pocket.
Every shot location, every angle, every time of day worth shooting. Printable PDF + GPS-tagged map.
Instant download. Works on phone, tablet, and printed.
Continue Reading
- Best Photography Spots in Seoul: 12 Locations With GPS
- Best Photography Spots in Tokyo: 12 Locations With GPS
- Best Photography Spots in Singapore: 12 Locations With GPS
Related guides nearby
Three more photography guides within striking distance — perfect for combining into one trip.
- Singapore 317 km away · city · Singapore
- Ho Chi Minh City 1011 km away · city · Vietnam
- Bangkok 1182 km away · city · Thailand
Common questions about the Kuala Lumpur guide
Is the Kuala Lumpur photography guide worth $47?
For most photographers, yes. The guide saves 8-12 hours of trip-planning research and prevents the most common mistake of Kuala Lumpur photography: shooting at the wrong time of day. If a single better frame is worth $47 to you, the guide pays for itself on day one. Buyers get every GPS coordinate, every golden-hour window, every cultural rule, and a printable shot list.
Does the Kuala Lumpur guide include GPS coordinates?
Yes — every vantage point in the guide has Google Maps-ready GPS coordinates so you can pin them before you fly. The guide also includes a printable map showing all locations clustered by walking distance, so you can build efficient half-day routes.
What's in the Kuala Lumpur PDF that isn't in this article?
The article shows the highlights. The PDF includes: 5 additional secret spots not published online, a 14-day itinerary with daily routes, the full camera-settings cheat sheet for every scenario in Kuala Lumpur, a printable gear packing list, post-processing recipes with screenshot examples, and a list of local guides we trust for portrait commissions.
Do I get the Lightroom presets too?
The $47 guide is the PDF only. The matching Kuala Lumpur preset pack is a separate $19 download — most buyers grab both as a bundle and save the editing time. Both are instant download, both work on Lightroom Classic and Lightroom Mobile.
Will the guide work for a Kuala Lumpur trip in 2026?
Yes. The guide is updated annually as fees, restrictions, and new vantage points change. All buyers get free lifetime updates. The 2026 edition includes the latest drone rules, museum photography policies, and seasonal light data for the year.