
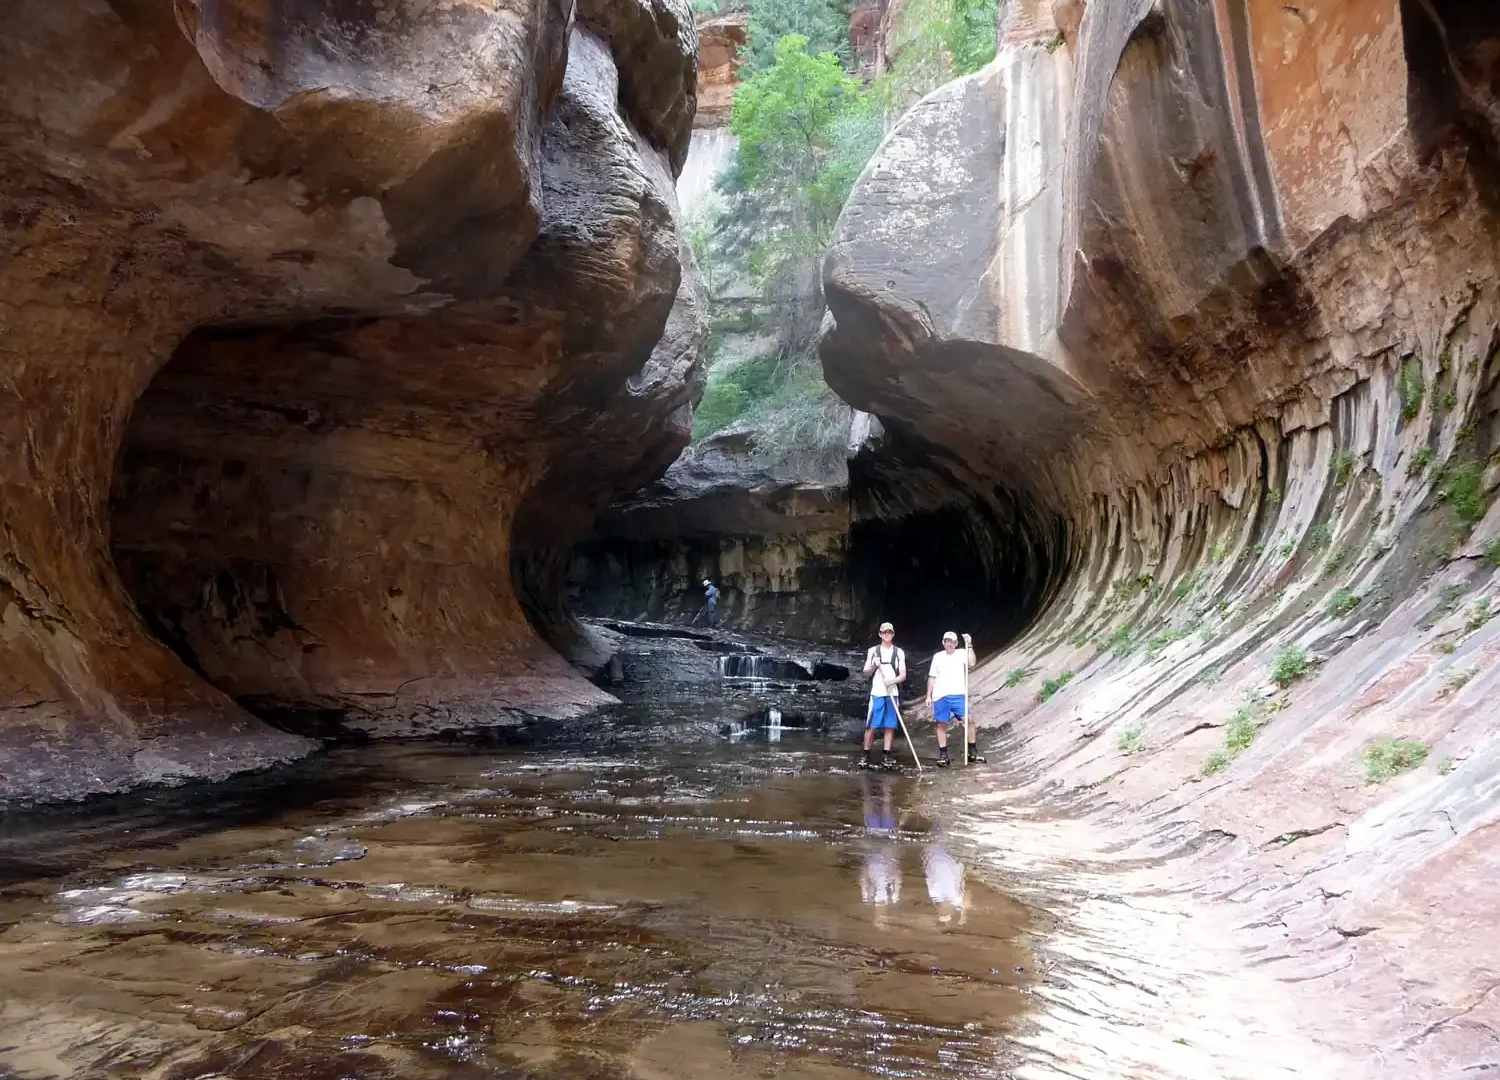
The Subway is a tube-shaped canyon section in the Left Fork of North Creek in Zion’s backcountry. The circular walls, the dinosaur tracks on the canyon floor, and the shallow pools reflecting the light above create images unlike anything else in the American Southwest. Access is strictly permit-only, and the route involves wading — your camera gear needs to be waterproof.
Best Time to Shoot
Late morning (10 a.m. to 1 p.m.) in summer and early fall, when overhead light filters straight down into the tube section. Spring visits risk higher water levels that can make wade-ins dangerous. Late September to mid-October balances manageable water levels with warm enough temperatures for the waist-deep crossings. For practitioners, see our breakdown of blue-hour cityscape workflow. For practitioners, see our breakdown of shutter for fireworks. For practitioners, see our breakdown of ISO 1600 handheld travel.
How to Get There
The bottom-up route starts at the Left Fork trailhead off Kolob Terrace Road, 8 miles from Virgin, UT. A day-use permit is required, allocated by lottery through recreation.gov. Bottom-up is 9.5 miles round trip with no technical canyoneering. Top-down requires rappelling gear and a more complex permit. Pack water shoes, a dry bag, and trekking poles.
Camera Settings
Inside the tube, reflected light off the wet walls is the primary source. ISO 400-800, f/8, 1/30 to 1/60 second handheld or braced against the wall. A wide prime (14-20mm) works better than a zoom because you have limited room to step back. For the pool reflections, get as low as possible — prone position on wet rock if needed.
Recommended Gear for This Spot
Common Mistakes
- Bringing a camera without weather sealing into knee-deep water without a dry bag.
- Underestimating the hike: 9.5 miles with 1,300 feet of gain and multiple water crossings is a full day.
- Shooting at f/2.8 in the tube: depth of field is too shallow for the curved walls.
- Leaving without photographing the dinosaur tracks on the sandstone floor — they are unique to this spot.
Guided canyoneering photography tours handle the permit acquisition and provide safety gear for the top-down route, letting you focus on the camera. Browse The Subway photography tours to find options that fit your schedule.
For more location guides like this, see the Landscape Photography Guide on Shut Your Aperture. Browse all spots on the USA UT photo spots hub.
What to Pack
A focused landscape kit handles every shot at The Subway without breaking your back. Here is the working photographer's pack list — every link goes to B&H Photo Video (our primary supplier) or Amazon (for accessories and same-day delivery in the US).
| What & Why | B&H | Amazon |
|---|---|---|
Wide-angle zoom (14-35mm range) The single most important lens for sweeping vistas. Pair with a circular polarizer for skies and water. | Shop B&H → | Shop Amazon → |
Sturdy travel tripod Carbon fiber, packs to 15 inches, holds steady in wind off the coast. Essential for blue-hour and long-exposure work. | Shop B&H → | Shop Amazon → |
Circular polarizer (77mm or 82mm) Cuts haze, deepens sky, reveals texture in water. Non-negotiable for landscape work. | Shop B&H → | Shop Amazon → |
10-stop ND filter For 30-second exposures that turn moving water and clouds into silk. | Shop B&H → | Shop Amazon → |
Extra batteries (3 minimum) Cold weather and long exposures eat batteries. Carry triple what you think you need. | Shop B&H → | Shop Amazon → |
Fast SD/CFexpress cards V90 or CFexpress depending on your body. Two cards minimum so a failure mid-trip is recoverable. | Shop B&H → | Shop Amazon → |
Microfiber lens cloths Salt spray, mist, and dust will ruin every shot if you don't carry a cloth. | Shop B&H → | Shop Amazon → |
B&H and Amazon links are affiliate links. We earn a small commission on purchases at no extra cost to you. We only recommend gear we use or would buy ourselves.