If aperture still feels fuzzy, start with our deep-dive aperture photography guide — it covers everything from f-stop math to bokeh control.
If you have ever stared at your camera bag feeling like you have already photographed everything in your zip code, you are not alone. Creative burnout is the silent killer of many great photography hobbies. Whether you are a weekend warrior or a seasoned pro, there comes a point where the "magic" feels a bit like a chore. You find yourself walking past beautiful scenes because they look like every other shot you have already taken.
The good news? The world hasn't changed; your eyes just need a new set of instructions. Breaking out of a rut requires much more involved than a new lens: it requires a shift in how you hunt for subjects. Today, we are diving deep into four of the most popular genres: street, landscape, portrait, and macro photography. We are going to explore creative ideas that will push your boundaries and help you see the extraordinary in the mundane.
If you are just starting out and feeling overwhelmed by the technical side, don't sweat it. You might want to check out our Ultimate Guide to Photography Tutorials to get your bearings. If you’re ready to get messy, keep reading.
Street Photography: Capturing the Human Condition
Street photography is perhaps the most exhilarating and terrifying genre all at once. You are out in the wild, dealing with unpredictable lighting, moving subjects, and the social anxiety of pointing a glass box at strangers. But the payoff? A single frame that captures a fleeting, unrepeatable moment in time.
1. The "Fishing" Technique
Stop chasing the shot. Instead, find a stage. Look for a location with incredible light: maybe a sliver of sun hitting a red brick wall or a dramatic shadow cast by a bridge. Compose your frame perfectly, check your settings (if you’re using a Sony, here are some great Sony a6700 street settings), and wait. Eventually, the right character will walk into your "stage." This is "fishing." It allows you to focus purely on the moment the subject intersects with your perfect composition.
2. Reflections and Window Layers
Street photography doesn't always have to be a direct shot of a person's face. Use the glass of coffee shops, bus stops, or puddles on the ground. A good reflection adds layers and mystery to your shot. Try to align a person inside the reflection with the physical world behind the glass. This creates a surreal, double-exposure effect that makes the viewer stop and look twice. When you’re editing these complex layers, using a tool like Luminar can help you pop the contrast in the reflections to make them more distinct.
3. Motion Blur and Panning
The street is a place of constant movement. Why freeze it every time? Lower your shutter speed to around 1/15th or 1/30th of a second and pan your camera at the same speed as a passing cyclist or a taxi. If you time it right, the subject will be sharp while the background becomes a streaky, colorful mess of speed. It’s a great way to convey the energy of a city.
4. Night Street Stories
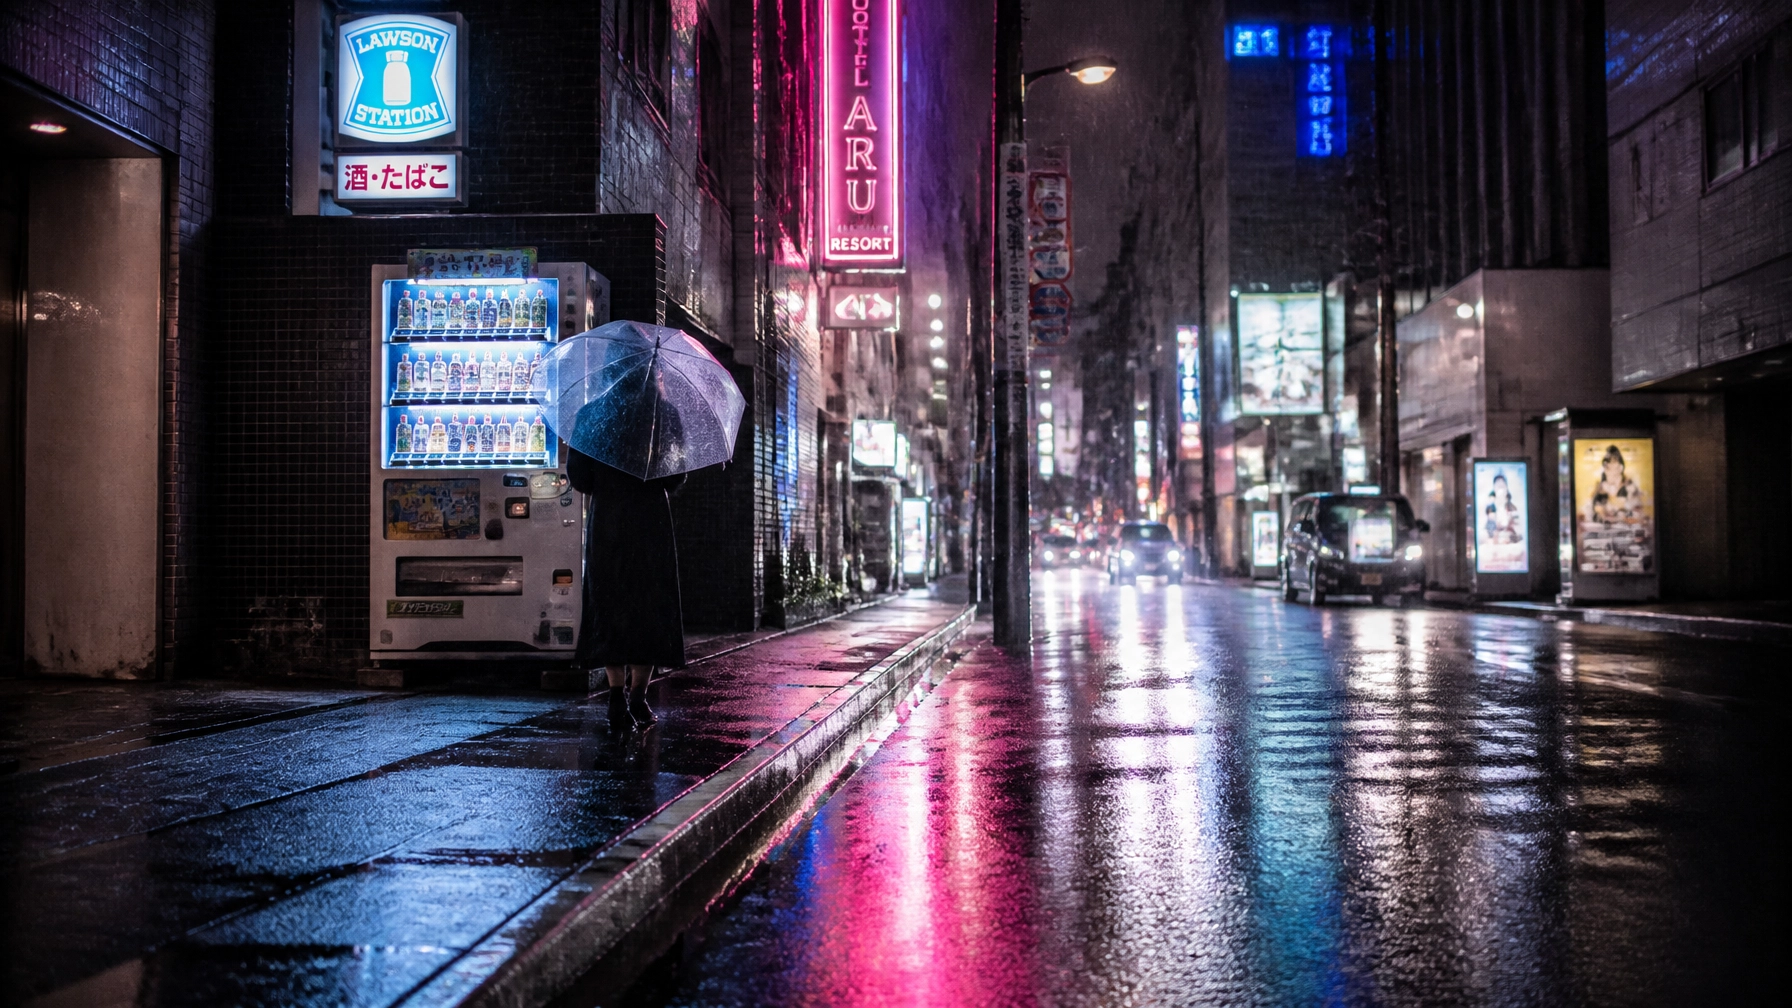
Don't pack up when the sun goes down. Night street photography is all about finding artificial light sources. Use neon signs, street lamps, or even the glow of a smartphone screen to illuminate your subject. The high contrast between the dark shadows and the bright highlights creates a moody, cinematic vibe.
5. Urban Silhouettes
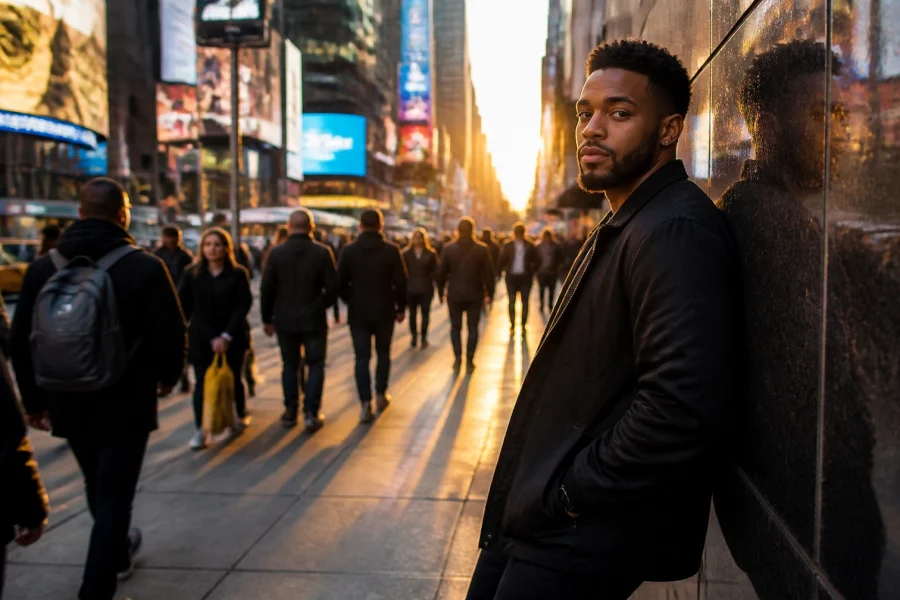
When the sun is low (Golden Hour), find a spot where people are backlit. Underexpose your image so that the people become solid black shapes against a bright, colorful background. This is a fantastic way to capture "street" shots without the pressure of capturing a stranger's facial features.
Landscape Photography: Beyond the Postcard
Landscape photography is often seen as a waiting game. You wait for the light, you wait for the weather, and you wait for the tourists to move. But even in a "boring" landscape, there are ways to create something spectacular.
6. The Power of the Foreground
One of the most common mistakes in landscape photography is focusing only on the distant mountains or sunset. To create a sense of depth, you need a strong foreground element. This could be a jagged rock, a patch of wildflowers, or even a piece of driftwood. Get low to the ground and let that foreground element lead the viewer’s eye into the frame. For more in-depth advice on composition, PhotoGuides.org has some excellent resources on the rule of thirds and leading lines.
7. Long Exposure Water and Clouds
Transform a standard beach shot into something ethereal by using a long exposure. You’ll likely need an ND (Neutral Density) filter to do this during the day. By keeping the shutter open for several seconds (or even minutes), the waves turn into a silky fog and the clouds become soft streaks across the sky. It simplifies the scene and removes the "clutter" of choppy water.
8. Urban Landscapes
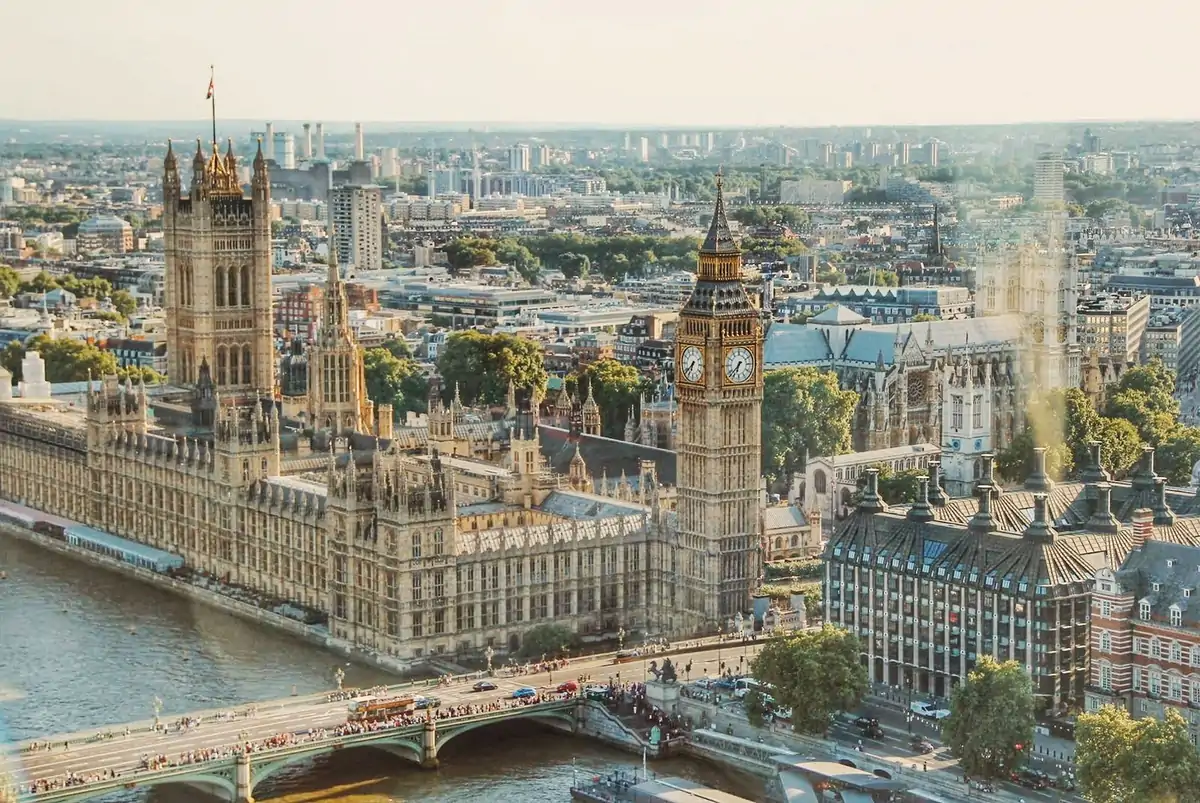
Who says landscapes need trees? The "urban landscape" treats the city like a natural environment. Look for leading lines in roads, repeating patterns in skyscrapers, and the way light hits architecture. A parking garage rooftop is often the best "mountain peak" in a city, providing a vantage point that reveals the geometry of the urban sprawl.
9. Blue Hour Minimalism
Most people leave after the sunset. That’s a mistake. The "Blue Hour": about 20 to 40 minutes after the sun goes down: provides a cool, soft, even light that is perfect for long exposures. The sky turns a deep, rich blue that contrasts beautifully with the warm orange of city lights.
10. Frame Within a Frame
Use natural or man-made elements to frame your landscape. This could be a cave opening, a gap in the trees, or an archway. This technique draws the eye directly to the center of interest and adds a layer of complexity to the composition.
Portrait Photography: Connecting with the Soul
Portraits are about much more involved than a person standing in front of a lens. They are about the interaction between the photographer and the subject. Whether you are shooting a professional model or your grandmother, the goal is to reveal something true.
11. The Environmental Portrait
Stop putting people against blank walls. An environmental portrait shows the subject in their natural "habitat." Photograph a painter in their studio, a mechanic in their garage, or a reader in their favorite library corner. The background tells half the story, providing context and character that a studio backdrop never could.
12. Mastering Rembrandt Lighting
You don’t need a fancy studio to create classic lighting. Find a single window in a relatively dark room. Position your subject at a 45-degree angle to the window. If done correctly, you’ll see a small triangle of light on the cheek that is in shadow. This is called Rembrandt lighting, and it adds instant drama and depth to any face. If you find yourself struggling with the technical side of manual lighting, check out our guide on fixing manual mode mistakes.
13. High-Key and Low-Key Portraits
Experiment with the mood. A "high-key" portrait is bright, airy, and has very few shadows (think white backgrounds and soft light). It feels happy and clean. A "low-key" portrait is the opposite: mostly dark, with only a small portion of the subject illuminated. It feels mysterious and intense. Try both with the same person and see how the vibe changes.
14. Candid and "In-Between" Moments
The best portraits often happen when the subject thinks you aren't shooting. Capture the laugh after the pose, or the moment they look away to fix their hair. These candid moments are more authentic and usually carry more emotional weight than a forced smile.
15. Playing with Perspective
Don't just shoot from eye level. Get high and look down to make the subject feel more vulnerable or youthful. Get low and look up to give them a sense of power and presence. Use a wide-angle lens (sparingly!) to create a distorted, stylized look, or a long telephoto lens (85mm or 135mm) to compress the features and create that beautiful, blurry background.
Macro Photography: The World in Miniature
Macro photography is like being an explorer on a different planet. It requires patience and a very steady hand, but it reveals details that the human eye usually ignores.
16. Water Droplets and Refraction
After a rainstorm (or using a spray bottle), look at the droplets on leaves. If you position yourself correctly, you can see a tiny, upside-down version of the entire world inside a single drop. This is refraction. It’s a mind-blowing way to create a "landscape" inside a macro shot.
17. The Beauty of Decay
Macro doesn't have to be "pretty" in the traditional sense. A rusty bolt, a dried-up leaf, or a piece of peeling paint can have incredible textures when viewed up close. Macro is about the appreciation of form and texture, and sometimes the grittier subjects have the most character.
18. Everyday Objects
You don't need to go to a botanical garden. The contents of your junk drawer are a goldmine. The nib of a fountain pen, the gears of an old watch, or even the fibers of a piece of denim can look like abstract art under a macro lens.
19. Insects and "The Stare"
If you are brave enough to photograph bugs, try to get on their level. A shot of a bee from above is boring. A shot of a bee looking directly into your lens? That’s a portrait. Focus on the eyes: if the eyes are sharp, the whole photo works.
20. Focus Stacking
The biggest challenge in macro is the incredibly thin depth of field. Even at f/11, you might only have a millimeter of the subject in focus. Advanced macro photographers use "focus stacking": taking multiple photos focused at different points and merging them in post-processing. This allows you to have a bug that is sharp from head to tail.
Refining Your Vision in Post-Processing
Taking the photo is only half the battle. The digital darkroom is where you finalize your vision. Whether you are cleaning up a street scene or enhancing the colors of a sunset, post-processing should be an extension of your creative process.
For street and landscape photographers, color grading is everything. You want to create a cohesive look that ties your series together. We offer a range of Lightroom Presets that can help you find your style quickly. However, if you want more control over AI-driven enhancements: like replacing a boring sky or adding sunbeams: we highly recommend checking out Luminar. Its intuitive interface is perfect for photographers who want to spend more time shooting and less time masking.
If you’re really looking to take your skills to the professional level, consider diving into our structured courses at Learn Shut Your Aperture. We break down everything from the basics of exposure to the complexities of high-end retouching.
Final Thoughts on Creative Photography
The most important thing to remember is that these "rules" and "ideas" are just starting points. The best photography happens when you take a concept and bend it to fit your own perspective. Don't be afraid to fail. For every "keeper" in my portfolio, there are a thousand shots that ended up in the trash. That’s just the price of admission.
If you have a series you are particularly proud of, don't keep it to yourself. We are always looking for fresh talent to feature. You can submit your photo series here and potentially get your work in front of our global audience.
For more inspiration, you can always check out Edin Chavez’s personal blog or see his professional gallery work at Edin Fine Art.
Now, grab your camera, get out of the house, and start seeing the world a little bit differently. Whether it's a bustling street corner or a tiny dewdrop on a blade of grass, there is a story waiting to be told. You just have to be the one to tell it.