Expensive gear is the most overrated ingredient in photography. Light, composition, and timing are free, and they are what people actually see. This guide covers how to build a capable kit on a budget, where to spend and where to skip, and the techniques that make affordable gear punch above its price.
Understanding Budget Gear
Entry-level camera bodies, both DSLR and mirrorless, share their core technology with models costing twice as much. The same is true of kit lenses, prime lenses, tripods, and portable lighting: the gap between budget and premium has narrowed to the point where technique, not equipment, is usually the limiting factor.
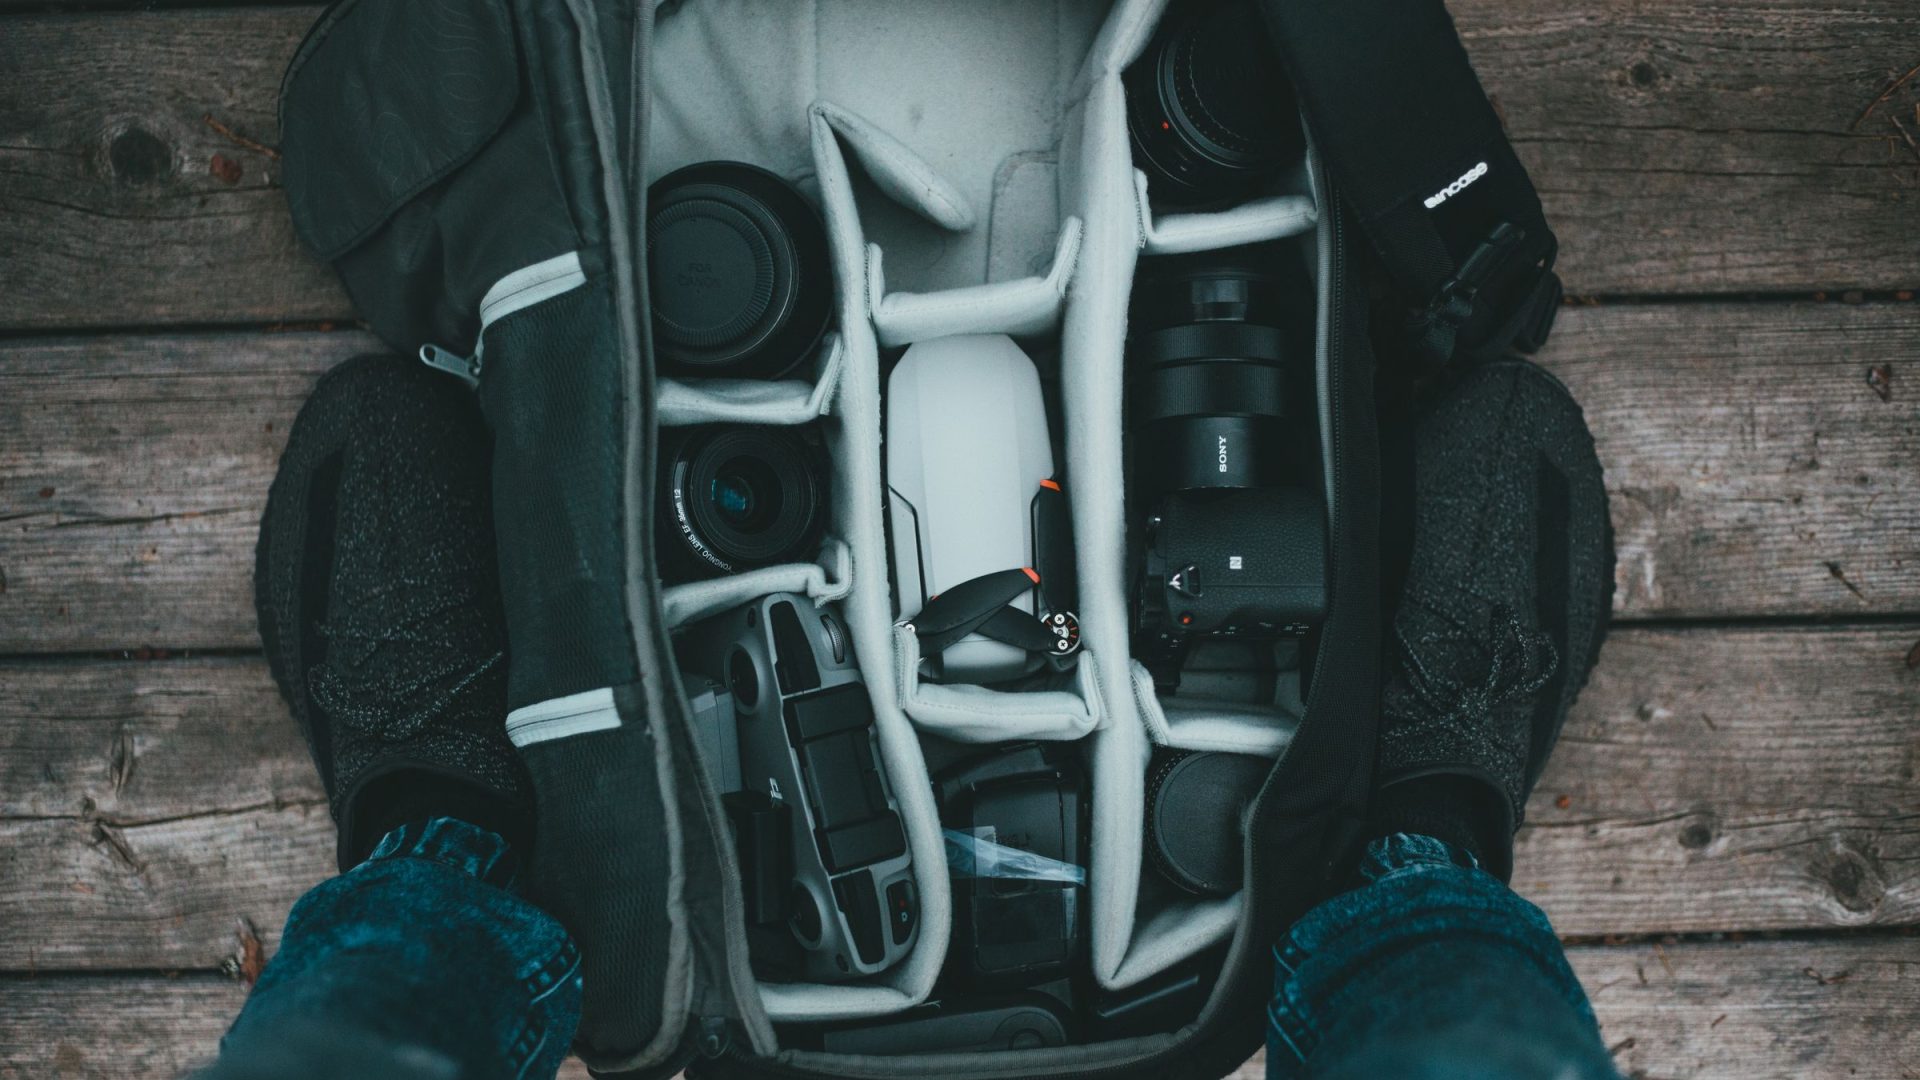
What a basic budget kit looks like:
- Camera body: an entry-level DSLR or mirrorless, new or used
- Lenses: one versatile zoom plus one fast prime (a 50mm f/1.8 is the classic budget hero)
- Tripod: light, sturdy, and cheap enough that you will actually carry it
- Lighting: a portable LED panel or an affordable flash
- Editing: free software, covered below
When comparing options, weight the factors that actually change your photos: durability, compatibility with lenses you might buy later, and ease of use. Reviews and community feedback carry more signal than spec sheets. If you are shopping for a first serious body, our camera buyer guide ranks the current field at every price point.
Stretching the Budget Further
Buy used. Last generation’s mid-range body typically costs the same as this year’s entry model and outperforms it. Reputable used-gear retailers grade condition and offer warranties, which removes most of the risk.
Rent the exotic stuff. A specialty lens for one trip or one paid shoot costs a fraction of its purchase price to rent for a week. Own the lenses you use monthly; rent the ones you use yearly.
Spend on lenses before bodies. Bodies depreciate and get replaced; good glass holds value and moves with you across systems. And learn the gear you have before upgrading: most people are using a tenth of what their current camera can do, and the manual is free.
Technique Beats Equipment
Preparation is free. Scout locations, watch how light moves through a scene at different times of day, and plan shots before you arrive. A photographer with a plan and a phone will outshoot a photographer with a flagship body and no idea what they are after.
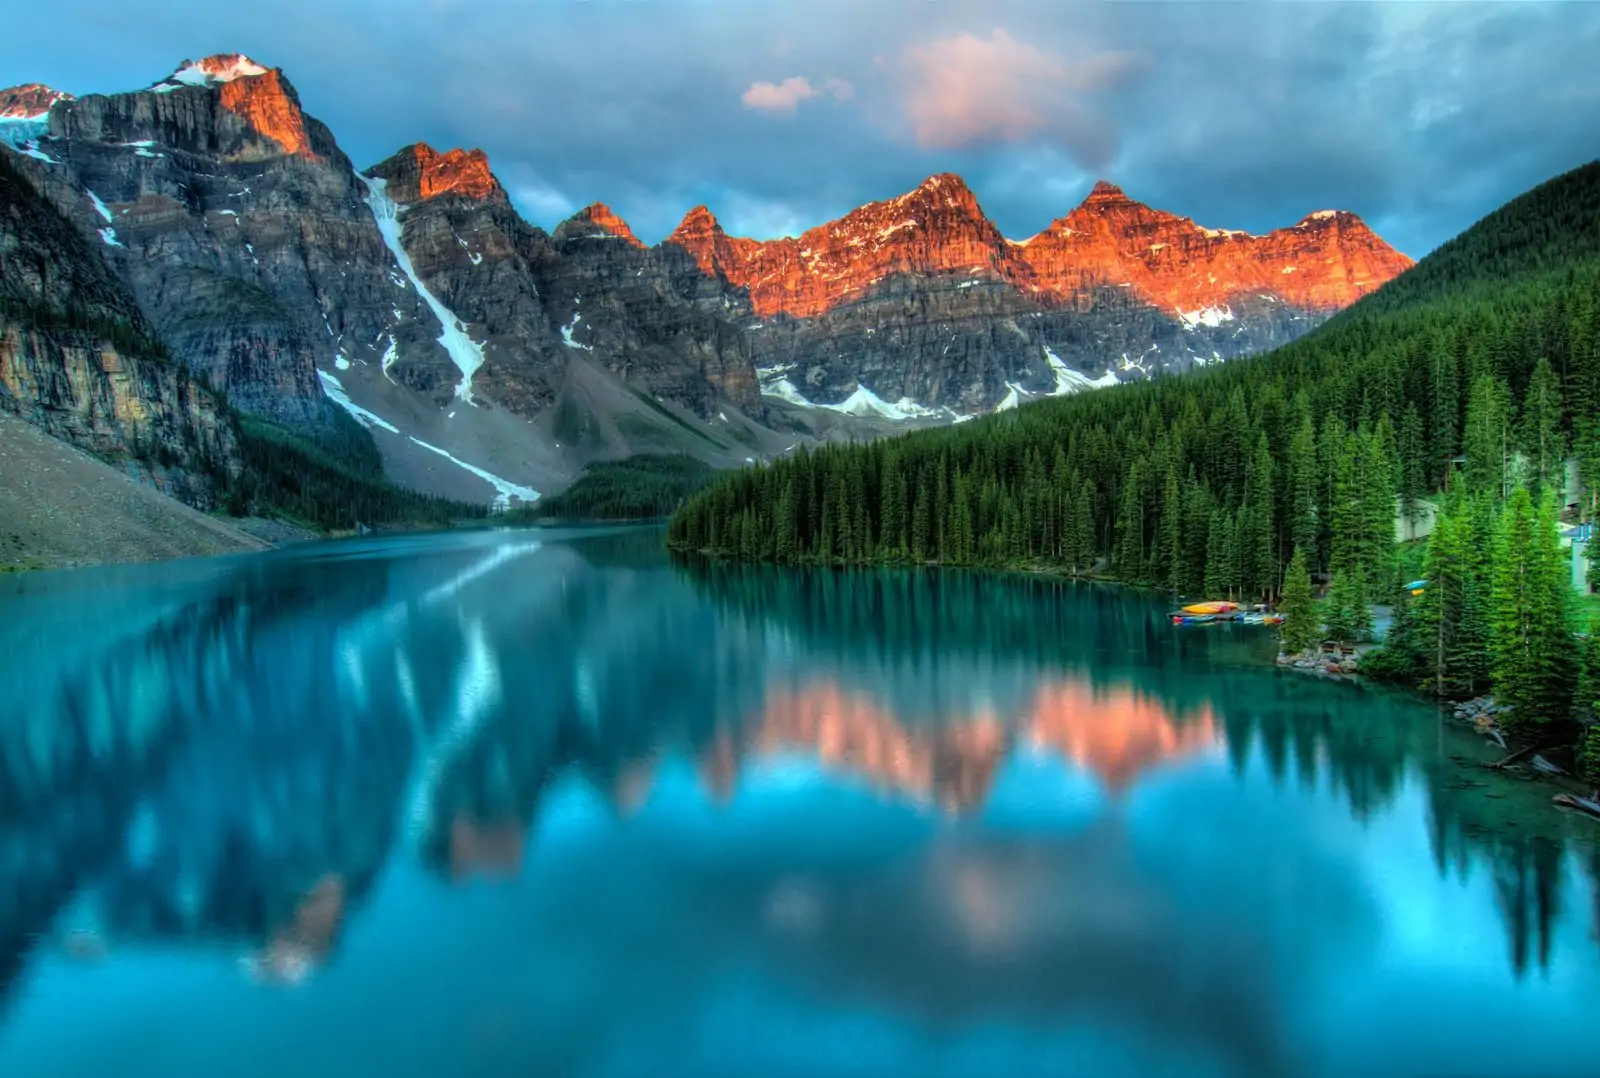
Composition costs nothing. The rule of thirds, leading lines, foreground interest, and clean backgrounds work identically on a $200 camera and a $5,000 one. Same for light: golden hour is free, window light is free, and learning to see them matters more than any sensor upgrade. Master the exposure triangle with our guides to aperture, shutter speed, and ISO, and the budget stops being the bottleneck.
 Save
SavePost-Processing on a Budget
Editing is where budget photographers close the gap completely, because the software tier is genuinely free. GIMP and Paint.NET cover layered editing on desktop, Snapseed handles mobile, and darktable is a full RAW workflow at zero cost. Learn exposure, contrast, white balance, and cropping before touching filters; those four adjustments do most of the work in a good edit.
If and when you move to Lightroom, a small set of well-made presets builds a consistent look faster than starting every edit from zero.
Learn faster with a plan. The ShutYourAperture Academy has 22 photography courses, from the fundamentals of aperture, shutter and ISO to genre courses like landscape, portrait and street.
Maintaining Budget Gear
Cheap gear treated well outlasts expensive gear treated badly:
- Clean lenses with a blower and microfiber cloth, never a shirt sleeve
- Store gear in a dry place with silica gel if your climate is humid
- Keep batteries charged and rotated rather than left dead for months
- Check straps, zippers, and tripod locks for wear before they fail in the field
Upgrade only when the gear is genuinely the thing holding the work back: when you are hitting its limits weekly, not when a new model announcement makes you restless. Until then, the money is better spent on a trip somewhere worth photographing.
Start with the free starter pack in our Lightroom presets guide: it costs nothing, and it will show you how much of the “look” lives in the edit rather than the camera.
Start with a simple cleaning tool
A Giottos AA1900 Rocket Air Blower is one option for clearing loose dust from the outside of a camera kit. Check the current price against your budget before buying; keep using a suitable tool you already own. Turn the camera off and follow its cleaning instructions. Keep the nozzle off lens glass and avoid pushing debris into openings. A blower is not a sensor-cleaning kit and does not repair scratched glass. Compare the current retailer specifications; no hands-on test, price or stock promise is being made here.
Compare Giottos AA1900 Rocket Air Blower on Amazon | Check Giottos AA1900 Rocket Air Blower at B&H
Affiliate disclosure: We may earn a commission from qualifying purchases through these gear links at no extra cost to you. As an Amazon Associate, Shut Your Aperture earns from qualifying purchases.