Original date December 24, 2023. Updated November 2026.
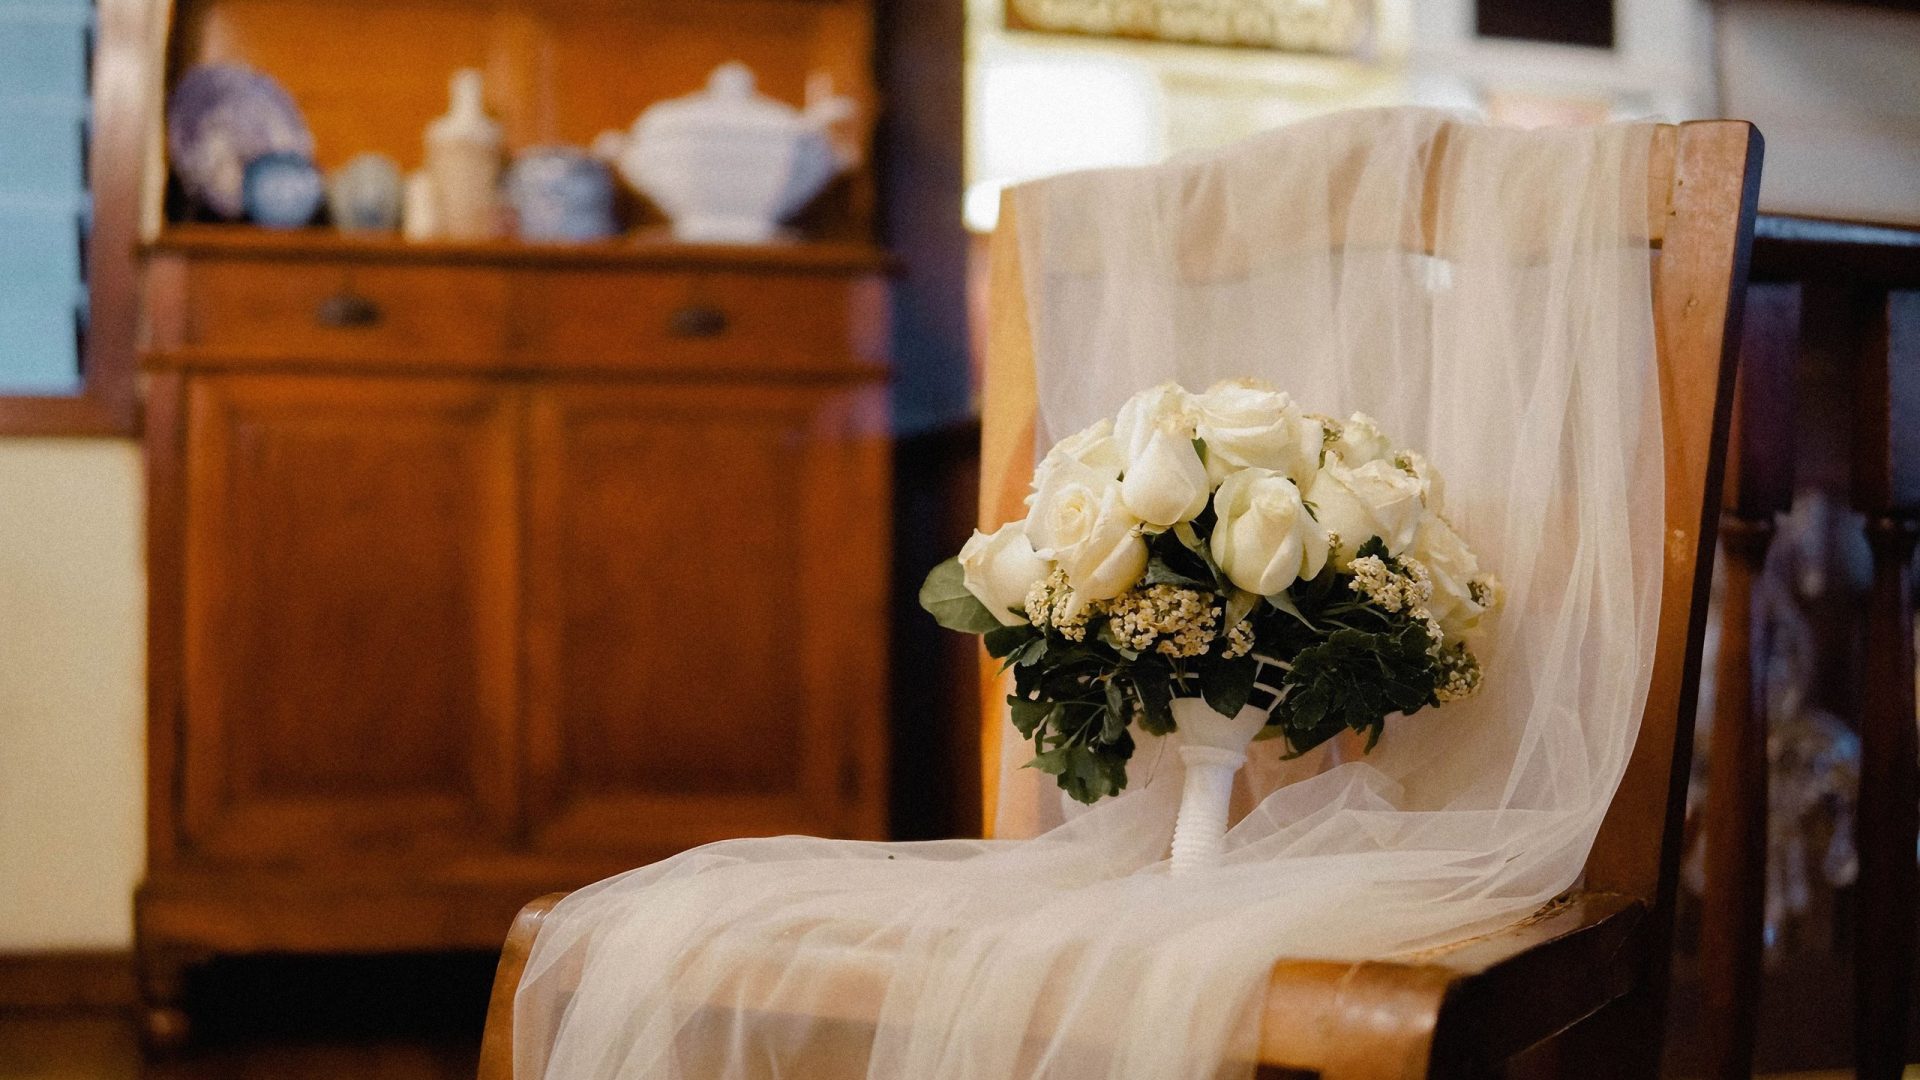
Photo by Kenneth Surillo via Pexels: https://www.pexels.com/photo/wedding-bouquet-and-veil-on-chair-21928762/ – Pexels License (https://www.pexels.com/license/). (Stock photo, illustrative.)
Vintage wedding photography covers two different things that are easy to confuse: a look applied in editing, and photography actually shot on film. A couple can ask for either, and a photographer can offer either, so the first step is knowing which one is on the table. This guide draws that distinction carefully, then works through gear, light, composition, post-processing, and storytelling choices behind the vintage aesthetic, with the practical questions couples and photographers should settle before the wedding day.
What Vintage Means: Style Versus Film
Vintage as a style is a treatment. It starts with ordinary digital files and applies an editing recipe: warmer or faded color palettes, softer contrast, added grain, gentle vignettes, sometimes a sepia or black-and-white conversion. Nothing about the capture changes. The photographer works with the speed and safety of digital, and the vintage character arrives afterward, adjustable frame by frame. The advantage is flexibility and consistency; the risk is that a heavy-handed recipe looks like a filter rather than a feeling.
Vintage as film is a capture medium. The photographer loads rolls, works with a chosen film sensitivity and a limited frame count, and has the exposed film developed. Scanning can then turn the negatives into digital files. The result reflects the film, exposure, processing and scanning rather than a single decision at capture. Film and lab work add costs and processing steps, there is no digital preview on a conventional film camera, and a problem may not become visible until the negatives or scans are examined.
Neither approach is automatically better. They are different products with different workflows. Confusion becomes a problem when the offer is unclear: a digital gallery with a film-inspired preset is not the same thing as photographs captured on film. Ask directly whether the package includes actual film, digital editing, or both. Confirm what the delivered files will be and ask for examples, rather than relying on the word vintage to explain the whole service.
A photographer may also offer a blend of the two routes on the same wedding: digital bodies carrying the fast, unrepeatable moments and a film camera working alongside them for portraits and details. That combination trades simplicity for range, and it is worth understanding how the photographer sequences it, because film frames and digital frames will never match exactly and the gallery edit has to reconcile them.
Treat imperfection as a choice, not a requirement. Grain, reduced contrast, soft focus and light-leak overlays create different effects; they do not define all older photography or all film. Try one change at a time and compare it with the untreated frame. Keep expressions and important details readable. A wedding photograph does not need damage, blur or faded blacks to suggest another era, and an effect that hides the subject is worth removing.
Gear Choices, Without the Myths
No single camera is required for a vintage look. On the digital side, any capable body with good dynamic range works, because the aesthetic is built largely in exposure choices and editing. On the film side, 35mm and medium format cameras are both options, and medium format itself is not one look: different cameras produce different frame shapes, including rectangular frames, not only the square format people often picture. Choosing film should follow from wanting the film process, not from a belief that the vintage style is locked behind specific hardware.
Lens choice follows the same practical logic. Consider a wide-aperture prime for low-light portraits and a zoom when changing your position or lens would interrupt coverage. Test focus, shutter speed and depth of field with the equipment you will actually use. For film, choose the stock deliberately rather than treating all rolls as interchangeable. For example, Ilford describes HP5 Plus as an ISO 400, medium-contrast black-and-white film. That is a specific starting point, not a promise that every film photograph has the same rendering.
An older lens can be an experiment, but test the exact lens and camera combination before a wedding. Check mount compatibility, whether focusing and aperture control work, and whether the lens gives you reliable results in backlight. Do not assume that old means soft, manual-focus, or better for this style. Compare test photographs with a lens you already trust. Keep unfamiliar equipment away from unrepeatable moments until you know its limits.
Lighting gear is optional rather than forbidden. Reflectors and diffusers shape natural light gently, and a softbox or off-camera flash can light a dim reception while still sitting comfortably in a vintage-styled set if it is used with a soft hand. The outdated rule that vintage work must be natural light only excludes real situations, like windowless evening venues, where added light is simply necessary. The look comes from how light falls, not from refusing equipment.
Plan for equipment failure regardless of whether you shoot digital or film. Decide what happens if the working camera, lens, battery or memory card stops functioning. A film camera may use mechanical or electronic controls, so check its actual battery requirements and operating instructions rather than guessing from its age. Couples can ask how key moments remain covered if a film body fails or a roll is damaged. The answer should describe a workable backup plan, not simply name a second camera.
One piece of gear has nothing to do with the look and everything to do with surviving it: storage. Wedding originals, whether scanned film or raw files, need verified copies, and vintage-styled exports should live alongside untouched originals rather than replacing them. One portable storage option is compared in the box at the end of this guide.
 Save
Light and Composition
Choose light for the photograph you want, not for an imagined rule about old cameras. Window light and open shade are useful places to test gentle transitions between light and shadow. Compare the position of the face, the background and the dress as you move around the available light. Hard midday sun, evening receptions and dark interiors need their own plan. Scout at a relevant time if possible and agree where added light is allowed. A vintage edit cannot replace an exposure that records the details you need.
Backlight is worth testing, but its results depend on the lens, angle and scene. Light behind a subject can create a bright edge; direct light entering the lens can also cause flare or reduce contrast. Check whether faces are readable and whether that loss of contrast suits the frame. Change your position or shade the lens when flare distracts from the subject. Decide deliberately between a silhouette and a portrait with visible expressions rather than expecting one exposure to do both.
Use shadow deliberately instead of copying an assumed rule from old prints. Try a subject beside a window, then turn the face toward and away from it. Compare the shadow detail and the shape of the light. Deep shadows and lifted blacks are different stylistic decisions, and either can be overdone. Keep enough separation to distinguish clothing, faces and background where the story needs them.
Leave room for candid photographs alongside the planned portraits and details. A family member watching the ceremony, a friend laughing or a quiet pause before the entrance can carry the story without any special treatment. Avoid interrupting a real interaction merely to recreate an imagined old photograph. Choose frames for their expression and meaning first, then ask whether a restrained vintage edit adds anything to them.
Composition fundamentals carry the rest. Placing subjects off-center, using doorways and foliage as natural frames, and watching background lines keep attention on the people rather than the treatment. Props and architecture can support the era feel: heirloom jewelry, a vintage car, an old building’s stonework. These work best as context found on the day rather than a staged set, and best in small doses that serve the couple’s story.
 Save
Post-Processing for the Vintage Look
Editing is where the digital version of the vintage style is actually built, and the order of operations matters. Start from a well-exposed, correctly balanced file; a treatment applied over a sloppy exposure reads as rescue work. Then make the stylistic moves deliberately, checking each one against the question of whether it serves the frame or merely announces itself.
Color toning is the biggest lever. Fading saturation slightly, warming highlights, or shifting the palette toward the tones of aged prints changes the mood of a frame quickly. Black-and-white conversion is its own craft: the tonal relationships decide whether a monochrome frame feels rich or muddy, so adjust the brightness of individual colors before adding contrast. Faded does not have to mean lifeless; keep enough separation that faces and dresses hold their shape.
Texture comes next. Added grain can suggest film without making a digital file an actual film capture. Adobe recommends checking grain at different zoom levels; compare both a full-size view and the intended delivery size instead of following a universal slider recipe. A dark vignette changes the edges, so check that it does not bury people near the border. Keep overlays and edge softness optional. Recheck small details, faces and dress texture after each effect rather than judging only the overall mood.
Presets and profiles are starting points rather than finished answers. A recipe tested in open shade may need changes under warm reception lighting. Compare skin, neutral clothing and highlight detail across several scenes before applying the same treatment to a whole gallery. For the controls themselves, Adobe explains tone, color grading and black-and-white mixing. Use the tool documentation to understand what an adjustment changes, then judge the photograph rather than the preset name.
Finally, protect the originals. Keep vintage-styled exports as separate copies and leave the underlying files untouched, so a couple can ask for a cleaner treatment years later without the look being permanent. Verified backups of both versions close the loop.
Build a test set before the wedding rather than testing the style on the final gallery. Include a face in daylight, a white garment near a bright window, a dark suit, green foliage and a scene under the reception lighting. Compare the clean and treated versions together. Look for unwanted skin color, lost dress texture and shadows that have become unreadable. For film coverage, run the chosen stock through the intended processing and scanning workflow in advance. Keep notes about exposure and the scan instructions so that an appealing test is something you can repeat, not a lucky result you cannot explain.
 Save
Storytelling With a Vintage Voice
A vintage treatment should serve the story, not substitute for one. The narrative bones of a wedding gallery do not change with the aesthetic: anticipation in the morning, the weight of the ceremony, the release of the reception. What the vintage voice adds is tone. Softer palettes and quieter contrast can make detail frames feel like keepsakes and portraits feel inherited rather than taken, which suits couples drawn to family history and heirlooms.
Choose a clear delivery approach before editing the entire wedding. One option is a restrained vintage treatment throughout, with clean versions of selected portraits. Another is a clean main gallery and a smaller vintage-styled selection. These are choices to discuss, not assumptions about what couples usually prefer. Write down which files receive each treatment and whether alternate edits affect the fee or timeline. Keep enough variation for changing light without making neighboring album photographs feel unrelated.
Consider the finished album as well as the screen. Ask to see paper and cover samples if a matte paper, linen cover or other tactile finish appeals to you. Test a small print before ordering a full album because the screen is not the final object. Review skin tones, dress detail, dark areas and the strength of grain at the intended print size. Choose materials that suit your own taste rather than assuming that vintage photography requires a particular paper or cover.
Use personal objects when they belong in the story: a family watch, an inherited veil or architecture that matters to the couple. Ask what an object means before making it a visual centerpiece. Decorative props are optional and should not crowd out real relationships. The useful question is whether the frame would still mean something without the vintage treatment. Let that answer guide which details receive time and which photographs belong together in the album.
Want to go further? The ShutYourAperture Academy’s The Wedding Day is an option for further wedding photography study.
Practical Planning for Couples and Photographers
For couples, ask to see full galleries in the style you are considering, including ceremony, reception and low-light work. Check whether you like faces, movement and mixed lighting as much as the detail photographs. If actual film is included, ask what coverage is promised, how roll changes fit into the day and how key moments are protected. Confirm whether the final delivery includes scans, negatives, prints or a combination, and who stores or returns each item.
For photographers, the selling points are clarity and restraint. State plainly whether the vintage look is film, digital editing, or a blend; show what it looks like across a whole day; and put the treatment’s scope in the agreement so nobody is surprised. Film adds hard costs in stock and lab fees, so price it honestly rather than absorbing it silently or promising it cheaply.
Timing expectations belong in the same honest conversation. Edited digital galleries follow the photographer’s stated turnaround, while film adds lab developing and scanning before editing can even begin. Neither is a problem when it is planned for; both become friction when discovered late. Ask for the delivery timeline in writing, and if film is involved, ask how the lab schedule fits inside it.
Check the venue rules before the day: access, photography locations, flash restrictions and any insurance documents the venue requires. Ask the venue directly rather than assuming that a general wedding guide states its policy. Plan around those rules for both film and digital coverage. A ceremony cannot simply be repeated because a camera was unready or a location was unavailable. Confirm the practical details early enough to choose another position or lighting approach.
 Save
Is vintage wedding photography shot on real film?
Sometimes, but not always. The label can mean a vintage-inspired edit applied to digital files, actual film photography, or a blend. Ask which process is included and request full galleries of that service. Confirm the delivered files, coverage and timeline before booking rather than relying on the style label alone.
Do I need a film camera to get vintage-looking wedding photos?
No. Digital editing can change color, contrast, grain and edge brightness to create a vintage-inspired look. Actual film is a different capture process, with its own costs and handling. Choose it for the process and the examples you like, not because an older camera is required for every vintage-looking photograph.
Does vintage wedding photography require natural light only?
No. Start with the light available and the photograph you need. Window light, shade and added light are all options. Ask about venue restrictions and test the equipment before the wedding. Keep faces and important details readable rather than refusing flash or other tools just to fit a style label.
What film stocks work for a vintage wedding look?
Choose from tested examples, not a blanket rule that all film looks faded or warm. Ilford HP5 Plus is an ISO 400 black-and-white option; color films have their own characteristics. Ask which stock, processing and scanning workflow produced the sample gallery you like. Agree on that workflow rather than expecting any roll to reproduce the same result.
How much of our gallery should be vintage styled?
That is your choice. You can discuss a restrained vintage treatment across the day, a clean main gallery with selected vintage edits, or alternate versions of key photographs. Confirm which files are included and whether extra versions change the price or timeline. Do not assume the photographer will deliver every image twice.
Can we ask for both clean and vintage edits of the same photos?
You can ask, but confirm the scope before booking. Alternate edits take work and may change the fee or delivery time. For digital capture, keep the original files separate from exported treatments. For film, ask what adjustments can be made to the scans, while recognizing that a different scan is not a new capture on a different film.
Keep originals separate from vintage-style exports
A black Samsung T7 Shield portable SSD, 1TB model MU-PE1T0S/AM, is one portable storage option to compare for keeping wedding originals and vintage-style exports together on a drive you control. Check the connection type and capacity against your computer and your typical wedding file size before buying, and follow the maker’s guidance on handling. Copy files, then open some of the copies to confirm they work, and keep a second backup in a different place; a single drive is not a complete backup plan, and no drive adds a film look or makes editing choices for you. Compare the current retailer specifications; no hands-on test, price, or stock promise is being made here.
Affiliate disclosure: We may earn a commission from qualifying purchases through these gear links at no extra cost to you.
Check Samsung T7 Shield Portable SSD Black 1TB MU-PE1T0S/AM at B&H