
Updated October 2026
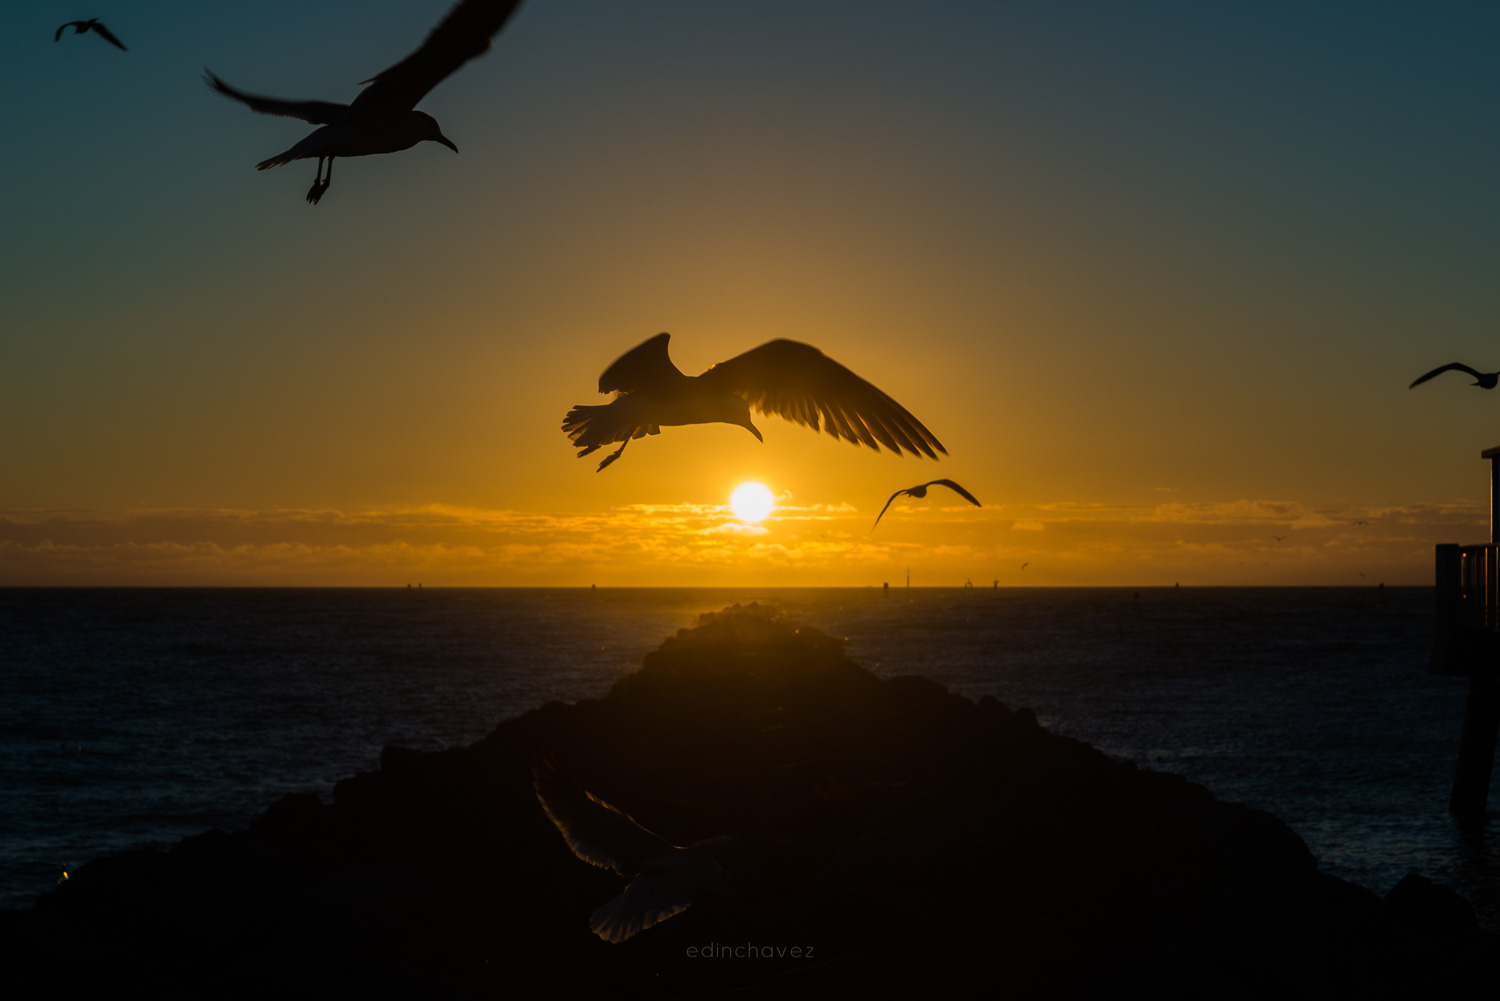
Sunrise photography asks for an early alarm and a plan for when the sky does not cooperate. Some mornings the clouds glow red. Other mornings the sky is flat and clear. This guide covers how to prepare, what camera settings to use, how to compose with the light you get, and how to make a plain sunrise count. The photos below are from Edin’s own library, taken at sunrise on the Miami Beach shoreline.
The sunrise that did not go to plan
The original version of this post told a familiar story: the alarm goes off, the sun rises in 45 minutes, you rush to the beach hoping the sky will change, and it does not. There was not a cloud in sight. It was a beautiful day at the beach, but not a dramatic one. That is the reality of sunrise photography. Planning and forecasts only go so far, and you still have to show up and work with what is in front of you. The rest of this guide is about doing exactly that.
 Save
Plan the night before
- Check the sunrise time and direction. Apps such as PhotoPills or The Photographer’s Ephemeris show the exact time and the point on the horizon where the sun will appear. The point shifts through the year.
- Look at the weather. Check cloud cover, wind and visibility. A few high or mid-level clouds are ideal. A thick overcast usually blocks the color, and a completely clear sky gives a glow near the horizon only.
- Pick your location. Choose somewhere with an open view in the direction of the sunrise, and a foreground such as rocks, a pier, trees or a shoreline.
- Pack the bag. Charge batteries, clear the memory card, clean the lens and pack the tripod. Put everything near the door.
- Leave early. Plan to arrive 45 to 60 minutes before sunrise, so you can find a composition in the dark and set up.
The three phases of sunrise light
Blue hour. About 30 to 45 minutes before sunrise, the sky turns deep blue and then pink on the horizon. The light is soft and cool, and it works well for long exposures and calm water.
Golden hour. As the sun comes up, the light turns warm and directional. Shadows are long, and colors are rich. This is the best time for landscapes, cityscapes and people.
After sunrise. As the sun climbs, the light gets harder and whiter. Many photographers pack up, but the first 20 to 30 minutes after sunrise often give strong side light and long shadows.
Camera settings for sunrise
- Shoot RAW. Sunrises have a bright sky and a dark foreground. RAW gives you room to recover both. Our post on why you should shoot RAW explains why.
- Use Aperture Priority or Manual. Start at f/8 to f/11 for sharp landscapes. Use a wider aperture such as f/2.8 to f/4 for subjects like birds or people when you want a softer background.
- Keep ISO low. ISO 100 to 200 for a tripod shot. In the dark before the sun rises, you may need to go higher or use a longer exposure.
- Meter for the sky. Watch the histogram so the highlights do not clip. A touch of underexposure, around minus one-half to minus one stop, deepens colors.
- Set white balance carefully. Daylight or Cloudy keeps the warm tones. Auto often cools them down.
- Focus manually. In low light, autofocus can hunt. Use live view and zoom in on a distant light or the horizon.
- Use a tripod and a timer. Shutter speeds are slow in the dark, and a 2-second timer or remote avoids shake.
If you want to understand how these settings work together, the aperture course and the ISO course in the Academy break each one down.
Make a boring sunrise count
When the sky is plain, stop trying to photograph the sky. Photograph everything else, and use the light as a tool.
Look for a subject
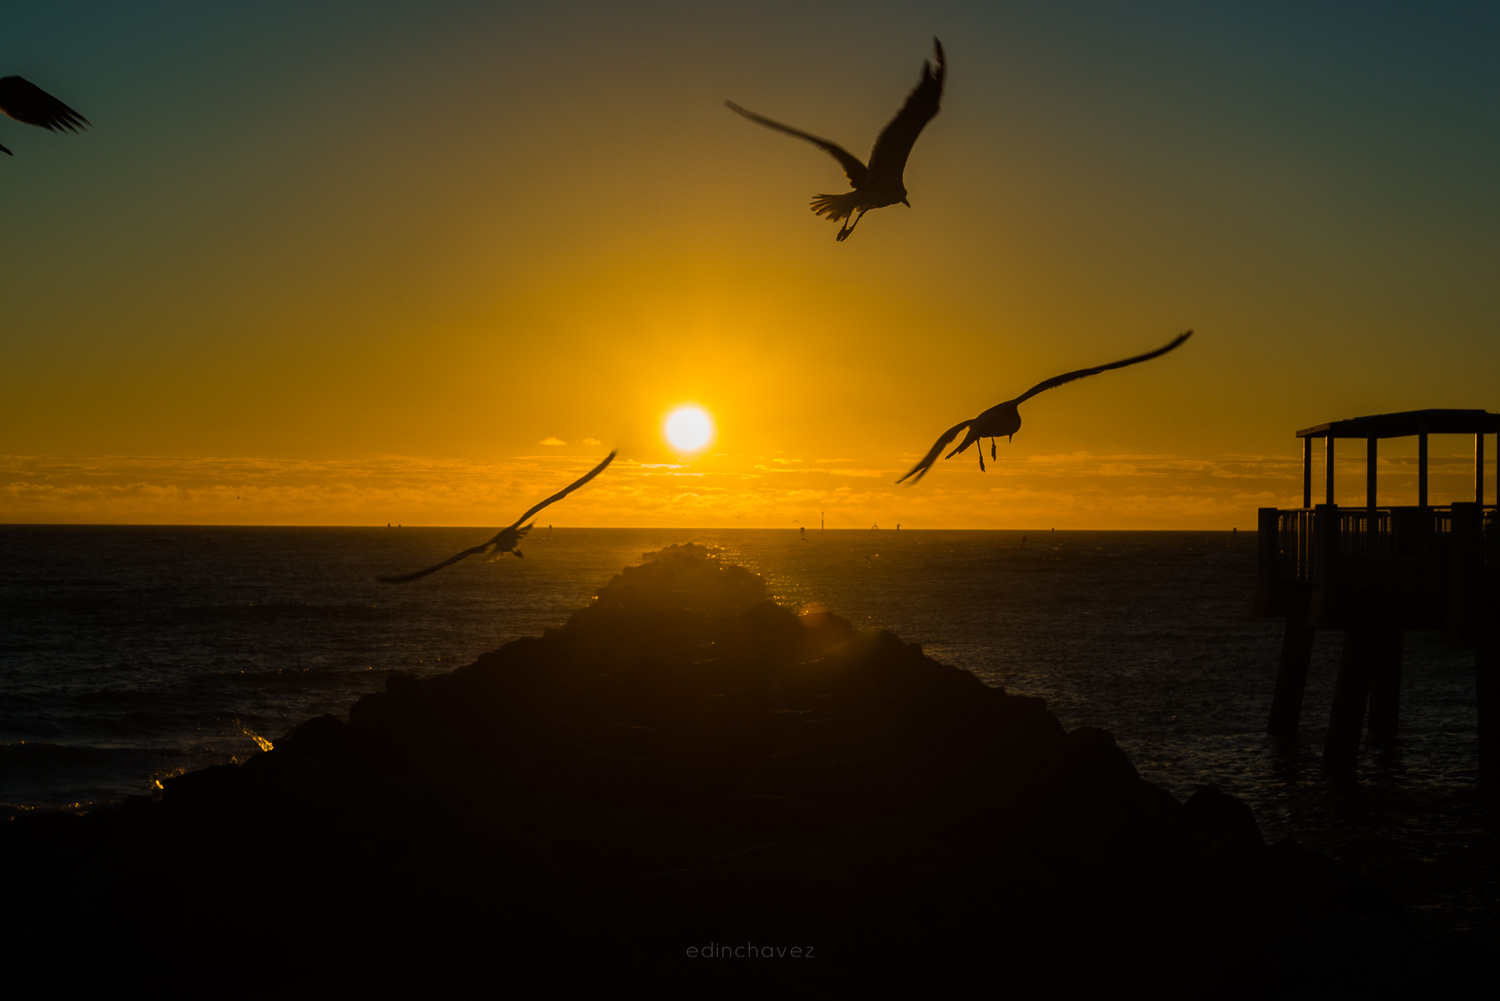
Birds, a pier, a lifeguard stand, a runner, a boat or a palm tree can anchor a frame. In the photo above, a gull flying in front of the sun gives the scene life. Wait for the moment when the subject lines up with the sun.
Shoot silhouettes
A low sun behind a subject creates a silhouette. Expose for the sky, and let the foreground go dark. Choose subjects with a strong outline, such as rocks, trees, people or birds with wings spread.
 Save
Use side light on the land
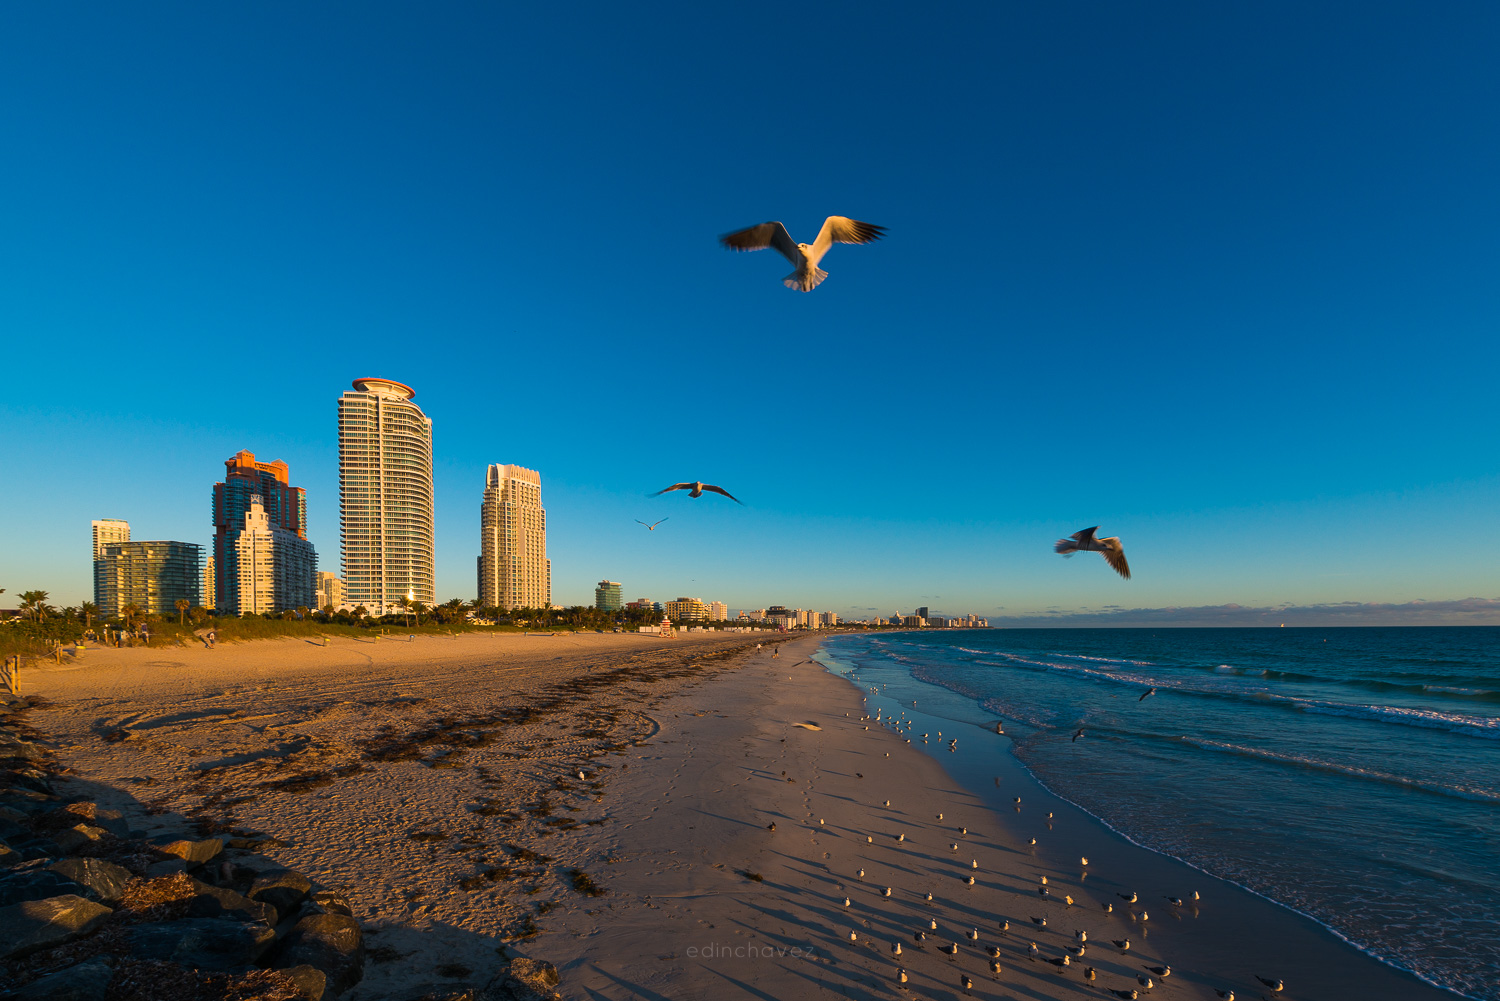
Turn around. While the sun is low, the light hits buildings, sand and water at an angle. Even with no clouds, the warm side light on a beach, a skyline or a tree line can make a better photo than the sunrise itself.
Focus on texture and detail
Low light brings out texture: ripples in sand, wet footprints, foam, grass and rocks. Get close, look down and shoot details.
Go long
A telephoto lens can compress the scene and make the sun look larger against a distant subject. Try 100 to 300mm and shoot a bird, a tower or a ship in front of the sun.
Slow the shutter
Waves and clouds turn soft with a longer exposure. Use a tripod, a low ISO and, if needed, an ND filter to reach several seconds.
Composition basics
- Rule of thirds. Place the horizon on the upper or lower third line, depending on whether the sky or the ground is the star.
- Leading lines. Shorelines, piers, fences and paths draw the eye toward the light.
- Foreground interest. Rocks, plants and driftwood give the image depth.
- Reflections. Wet sand and tide pools mirror the sky, and double its color.
- Keep the horizon level. Use the grid on your screen.
- Try vertical and horizontal. Take both, since you cannot recompose after the light changes.
 Save
Reading the clouds
Clouds decide how a sunrise looks. High, thin clouds such as cirrus catch the first light and glow pink and orange before the sun appears. Scattered mid-level clouds give you texture and color across the sky. A thick low layer on the horizon can block the sun altogether, though the light sometimes breaks through a gap and gives a short, striking show. A heavy fog or mist can turn the scene soft and quiet, with the sun as a pale disc. Learn to read these conditions, and you will know when to stay and when to move to a different spot.
A simple shot list for one morning
- Before sunrise: A wide blue-hour frame of the horizon, with a long exposure for smooth water.
- As the sun appears: A silhouette with a strong subject, shot at a faster shutter speed.
- Ten minutes later: A telephoto frame that makes the sun look large behind a distant object.
- Golden hour: Side-lit landscapes, buildings and details of sand, water or plants.
- Turn around: Look behind you for warm light on the scene you walked past.
Safety and courtesy
You are walking to a dark location before dawn. Tell someone where you are going, bring a headlamp, and watch your footing on rocks, jetties and wet sand. Check tide times if you shoot near the water, so you do not get cut off. Respect the place, stay on paths where required and leave nothing behind. If you shoot in a public place with other early risers, avoid blocking their view, and keep an eye on your gear.
Handling the contrast
The sky is much brighter than the ground at sunrise. You have a few ways to deal with it. You can use a silhouette and expose for the sky. You can use a graduated ND filter to darken the sky. You can bracket three to five exposures and blend them later. Or you can shoot RAW and raise the shadows in editing. The right choice depends on the scene and how much time you have.
Shooting a sunrise with a phone
Phones are good at sunrises when you use them carefully. Tap the sky to set exposure, then lower the brightness so colors do not wash out. Lock focus, use a small tripod or a steady surface, and clean the lens. Use the burst mode for moving subjects such as birds. For more tips, read our 8 DIY smartphone photography tips.
Edit your sunrise photos
- Straighten the horizon.
- Set white balance so the warm tones look natural.
- Recover highlights in the sky and sun.
- Lift shadows in the foreground without flattening the image.
- Adjust color with vibrance first, then selective HSL changes to orange and yellow.
- Use a graduated filter to balance sky and ground.
- Sharpen and reduce noise last.
Our step-by-step guide on how to edit a sunrise photo using Lightroom shows these steps in action. For a full workflow, the Lightroom editing course in the Academy covers it in 10 modules and 42+ parts.
Why sunrise is worth the early start
Compared with sunset, sunrise often brings cleaner air, calmer water and far fewer people at popular spots. Beaches, piers and skylines that are crowded in the evening can be nearly empty at dawn, which makes it easier to set up a tripod and take your time. The light changes quickly, so every few minutes gives you a different photo. Treat each morning as practice, and review your pictures afterward to see which angle, setting and moment worked best.
Common mistakes
- Arriving late. The best color is often before the sun clears the horizon.
- Leaving early. Good light can continue after sunrise.
- Overexposing the sky. Highlights are hard to recover once they are clipped.
- Forgetting the foreground. A sky with nothing under it looks empty.
- Cold batteries. Keep a spare in a warm pocket.
- Fogged lens. Humidity can condense on a cold lens. Let it adjust, and wipe it gently.
- Chasing only the perfect shot. Show up, try ideas and enjoy it. The photos improve with practice.
Grow your skills with the Academy
If you love early light, the Landscape Photography course in the Shut Your Aperture Academy, taught by Edin Chavez, covers light, composition and planning for outdoor shoots, with lifetime access. Browse everything at the Academy home.
For the other end of the day, read how to shoot the perfect sunset, and for a different view, our drone photography tips.
Frequently asked questions
What camera settings should I use for sunrise photography?
Shoot RAW with a tripod, f/8 to f/11, ISO 100 to 200, daylight white balance and manual focus. Meter for the sky and check the histogram.
How early should I arrive for a sunrise shoot?
Plan to arrive 45 to 60 minutes before sunrise to find a composition and set up in the dark. The best color is often before the sun is above the horizon.
What do I do when the sky is clear and boring?
Look for a subject, shoot silhouettes, use the warm side light on the land, photograph details, or try a long exposure of the water.
Do I need a tripod for sunrise photos?
Yes, in most cases. Light is low before sunrise, and a tripod lets you use slow shutter speeds and low ISO.
Is sunrise or sunset better for photography?
Both give warm, soft light. Sunrise often has fewer people, calmer air and cleaner skies, while sunset is easier on your schedule.
Can I take good sunrise photos with a phone?
Yes. Tap the sky to set exposure, lower the brightness a little, keep the phone steady and clean the lens.
Gear box: sunrise photography starting points
These are research starting points, not rankings. Check current specs, reviews and prices before you buy.
- A sturdy tripod: See tripods at B&H or on Amazon.
- Graduated ND filters: Browse filters at B&H.
- A telephoto zoom lens: Browse telephoto lenses at B&H.
- A red-light headlamp: See headlamps on Amazon.
Affiliate disclosure: some links above are affiliate links. If you buy through them, Shut Your Aperture may earn a small commission at no extra cost to you.

