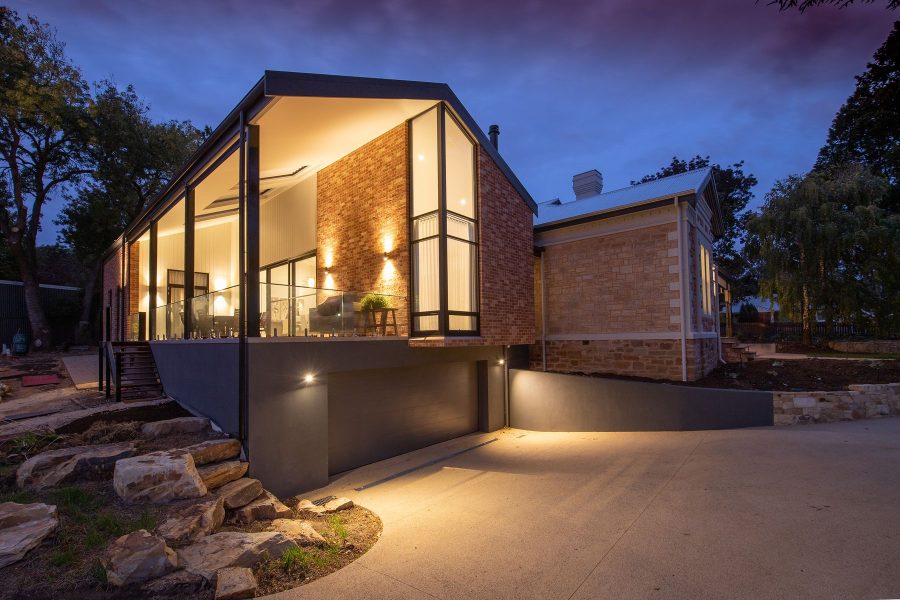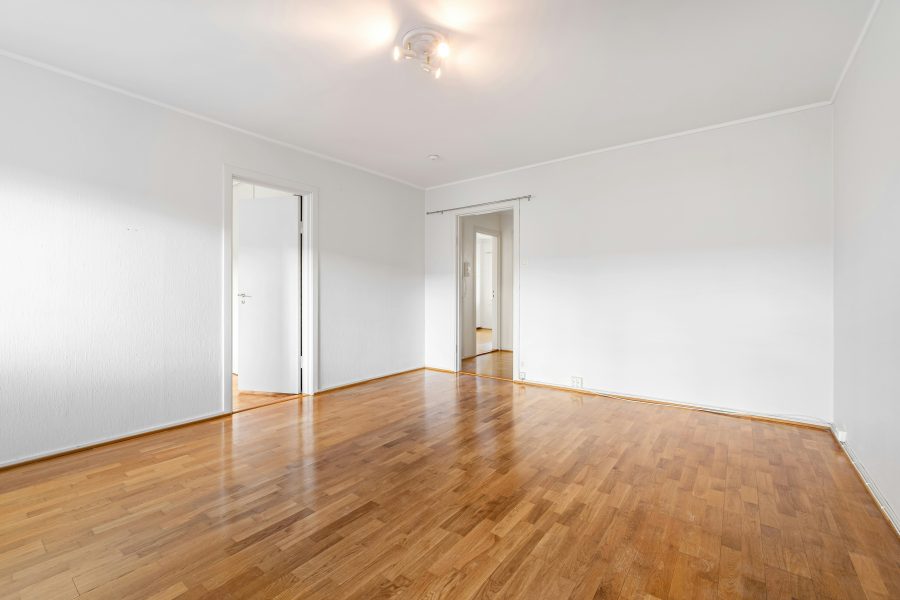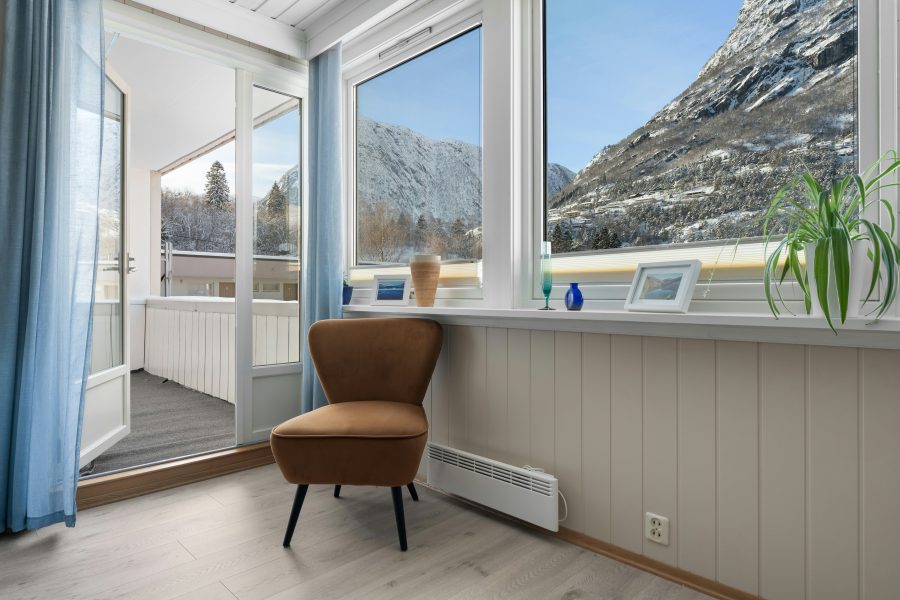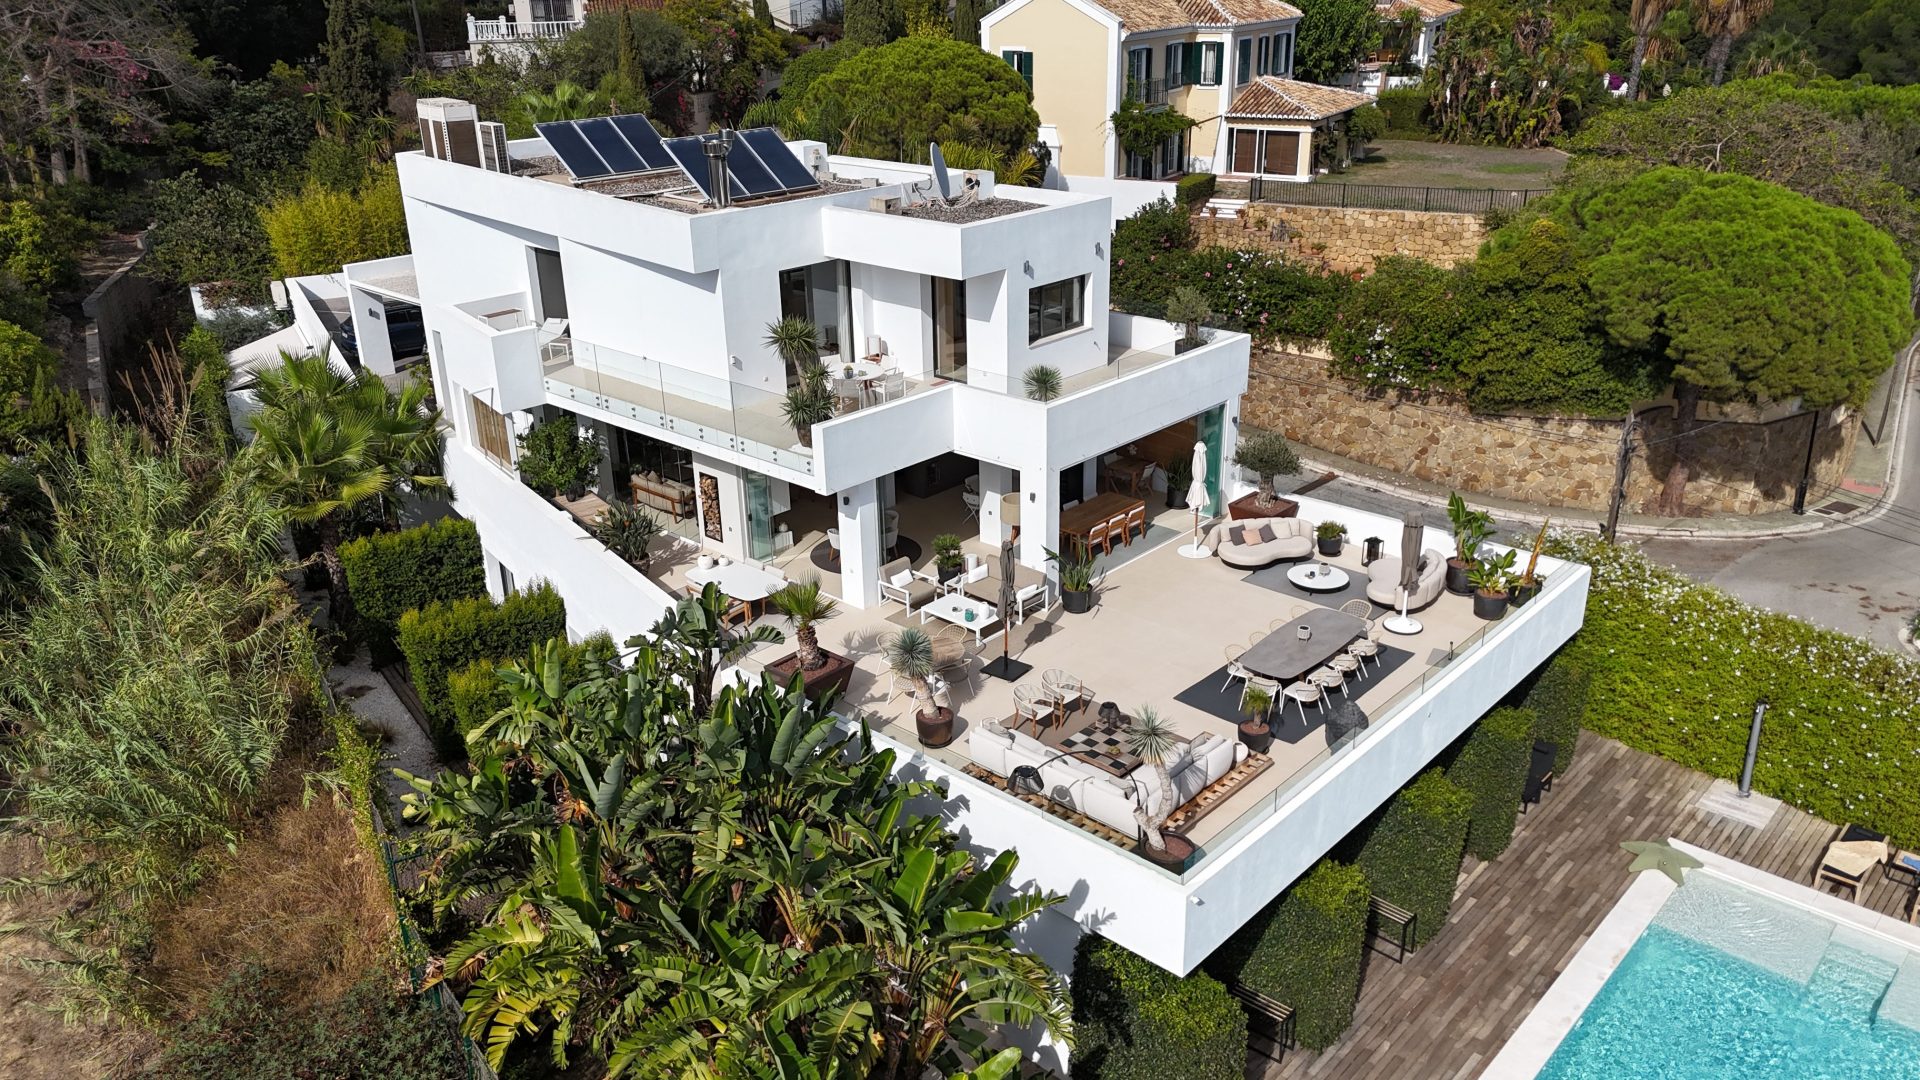
Featured image: Photo by David Pickup on Pexels. Pexels License. (Stock photo, illustrative.)
Updated October 2026
Mastering Real Estate Photography: The Power of Lightroom Presets
 Save
Introduction
Lightroom presets are pre-defined settings from professional photographers that can be applied to photos with one click for the perfect edit. Lightroom presets are an incredible tool especially in the world of real estate photography, where the quality of the images can significantly impact the appeal of a property. In this article, we will explore the various benefits of using Lightroom presets for efficient and consistent editing in real estate photography. The importance of high-quality images in real estate cannot be overstated, as they contribute to the overall perception of the property and can potentially affect its market value.
Understanding Real Estate Photography
Real estate photography, distinct from interior and architectural photography, is specifically designed to showcase properties for sale or rent. The primary objective is to attract potential buyers or tenants through visually appealing photos that accurately depict the property. Therefore, creating a shot list and preparing the property before the photoshoot is vital to ensure comprehensive coverage. For instance, a shot list for a residential property may include the exterior, living room, bedrooms, kitchen, and any special features such as a swimming pool or garden.
The Role of Lightroom Presets in Real Estate Photography
Lightroom presets can significantly enhance both exterior and interior shots in real estate photography. Exterior presets address common issues like darkness, lack of sun, and white fading, thus making outdoor images look more vibrant and attractive. For example, a preset may increase exposure and contrast to accentuate the architectural details of a property’s facade. On the other hand, interior presets improve sharpness, color brightness, and add light to gloomy rooms, thereby enhancing the overall appeal of indoor shots. Moreover, HDR presets can add brightness, contrast, and bring attention to details in real estate photos. This could be particularly useful in highlighting unique elements like hardwood floors or custom cabinetry.
 Save
The exterior frame is usually the first photo a buyer sees, so it carries more weight than any other image in the set. A facade shot taken under flat midday light can look dull straight out of camera even when the composition is right. A well-chosen exterior preset restores contrast to the sky and separation to the walls without pushing the scene into territory that looks manufactured.
Interiors ask for the opposite treatment. Rooms are darker than they feel to the eye, and mixed window light confuses automatic white balance. An interior preset that lifts shadows and neutralizes color gets the frame to a believable baseline, and the photographer then adjusts each room from there. The preset is the floor, not the ceiling.
Benefits of Using Lightroom Presets in Real Estate Photography
One of the key benefits of using Lightroom presets in real estate photography is the time saved and the improvement in editing efficiency.With presets, a set of edits can be applied to multiple photos with a single click, thereby streamlining the editing process. For instance, a real estate photographer working on hundreds of images from a property tour can use a preset to apply uniform adjustments rapidly. Another advantage is the achievement of consistency in editing style, creating a recognizable brand or visual identity. Presets enhance the overall look and feel of real estate photos by instantly improving their quality, thereby helping to attract potential buyers or tenants.
Consistency is what turns a collection of property photos into a portfolio. When every exterior in a set shares the same sky treatment and every interior shares the same warmth, viewers stop noticing the editing and start noticing the home. That invisible uniformity is difficult to achieve frame by frame under deadline, which is exactly the problem presets were built to solve.
Learning and Inspiration from Presets
For beginners, presets in Lightroom serve as a valuable learning tool, demonstrating how settings are adjusted to achieve a specific look. They offer insight into how different adjustments such as exposure, contrast, and color balance can affect an image. Additionally, they can also generate inspiration by showcasing different editing techniques and styles. For example, a beginner might explore a vintage preset to learn how to achieve an old-world charm in their photos.
Studying a preset you admire is faster than studying a finished photo, because the preset shows its work. Open one in the Develop module and the sliders tell you precisely how much contrast, how much highlight recovery and which color shifts produce the look. Beginners who deconstruct a handful of presets this way absorb months of trial and error in an afternoon.
Customization and Flexibility of Lightroom Presets
Lightroom presets offer customization and flexibility, allowing photographers to adjust settings to match their unique style and vision. There is a wide variety of presets available for different editing styles, providing photographers with numerous creative options. For instance, a real estate photographer might prefer a vibrant and colorful style for beach properties and a more muted and sophisticated look for urban apartments. In such cases, the ability to customize presets to fit the specific needs of each property can be a vital asset.
A preset should never be the last click. Treat it as the first move in a short routine: apply, then correct white balance for the room, then trim exposure so the windows hold detail. Two minutes of adjustment per frame keeps the speed benefit while removing the generic look that gives presets a bad name among agents who have seen over-processed listings.
Practical Tips for Using Lightroom Presets in Real Estate Photography
When using Lightroom presets in real estate photography, a calibrated display is crucial for accurate color and contrast in editing. Utilizing the Auto-Sync feature allows for simultaneous editing of multiple photos, ensuring consistent adjustments. For example, if you have several photos of the same room taken under similar lighting conditions, Auto-Sync can help apply the same edits across all those images. The Quick-Develop feature in the Library Module can be used to efficiently adjust brightness and warmth for multiple photos at once. Additionally, creating export presets can streamline the process of exporting photos for various purposes or clients, further enhancing productivity.
 Save
A personal preset collection grows out of repetition. After editing a few dozen properties, most photographers notice they make the same three or four adjustments to every interior and a different set to every exterior. Saving those adjustments as custom presets turns that habit into a one-click starting point, and the saved minutes multiply across every shoot that follows.
It is worth keeping those custom presets simple. A preset that bakes in heavy vignetting, strong grain or a stylized color grade will fight the goal of accurate, inviting listing photos. Save the subtle corrections you reach for every time, and leave the creative experiments for portfolio work rather than client deliveries.
Real Estate Photography Basics Before You Edit
Presets help, but they cannot rescue a bad capture. A good edit starts with a good frame, so get the basics right on site.
- Shoot straight. Keep vertical lines vertical. Leaning walls make a room look odd. A tripod and a level help.
- Use a wide lens, but not too wide. A wide-angle lens shows the whole room, while an extreme one stretches the corners and makes spaces look unreal. Buyers notice when a listing photo does not match the room.
- Shoot at about chest height. This gives a natural view and keeps ceilings and floors in balance.
- Use a small aperture. Something around f/8 keeps the room sharp from front to back. A tripod makes the slower shutter speed practical.
- Shoot RAW. It gives you far more room to fix exposure and white balance, which is exactly where presets do their work.
- Bracket bright windows. Take a normal, a darker and a brighter frame so you can balance the window view with the room.
Preparing a Property for the Shoot
A few minutes of prep makes every photo better. Ask the owner or agent to clear counters, put away personal items and turn on all the lights. Open blinds to let daylight in, and straighten pillows and chairs. Remove cars from the driveway when you can, and check outside for hoses, bins and clutter. In the bathroom, close the toilet lid and hide towels and toiletries. Walk through the home first and plan the order of your shots.
Timing matters as much as tidying. The front exterior usually looks best when the sun falls on the facade, which means checking which way the home faces before scheduling the visit. Twilight shots, with interior lights glowing against a blue sky, are the single most shared style of listing photo and are worth the extra trip when the property justifies it.
A Shot List for a Typical Home
- Front exterior, ideally in good daylight or at dusk
- Entry and main living space, shot from a corner to show depth
- Kitchen, with a wide shot and one or two detail frames
- Dining area
- Primary bedroom and any other bedrooms
- Bathrooms, shot from the doorway or a corner
- Special features such as a pool, patio, garden or fireplace
- Back exterior and any views from windows or balconies
Shoot more than you need. Culling in Lightroom is easier than going back for a missing room.
Treat the list as a floor rather than a ceiling. Small homes may not need every category, and large ones will need more than one frame per room. When in doubt, shoot the extra angle: storage is cheap, and a second visit is not.
 Save
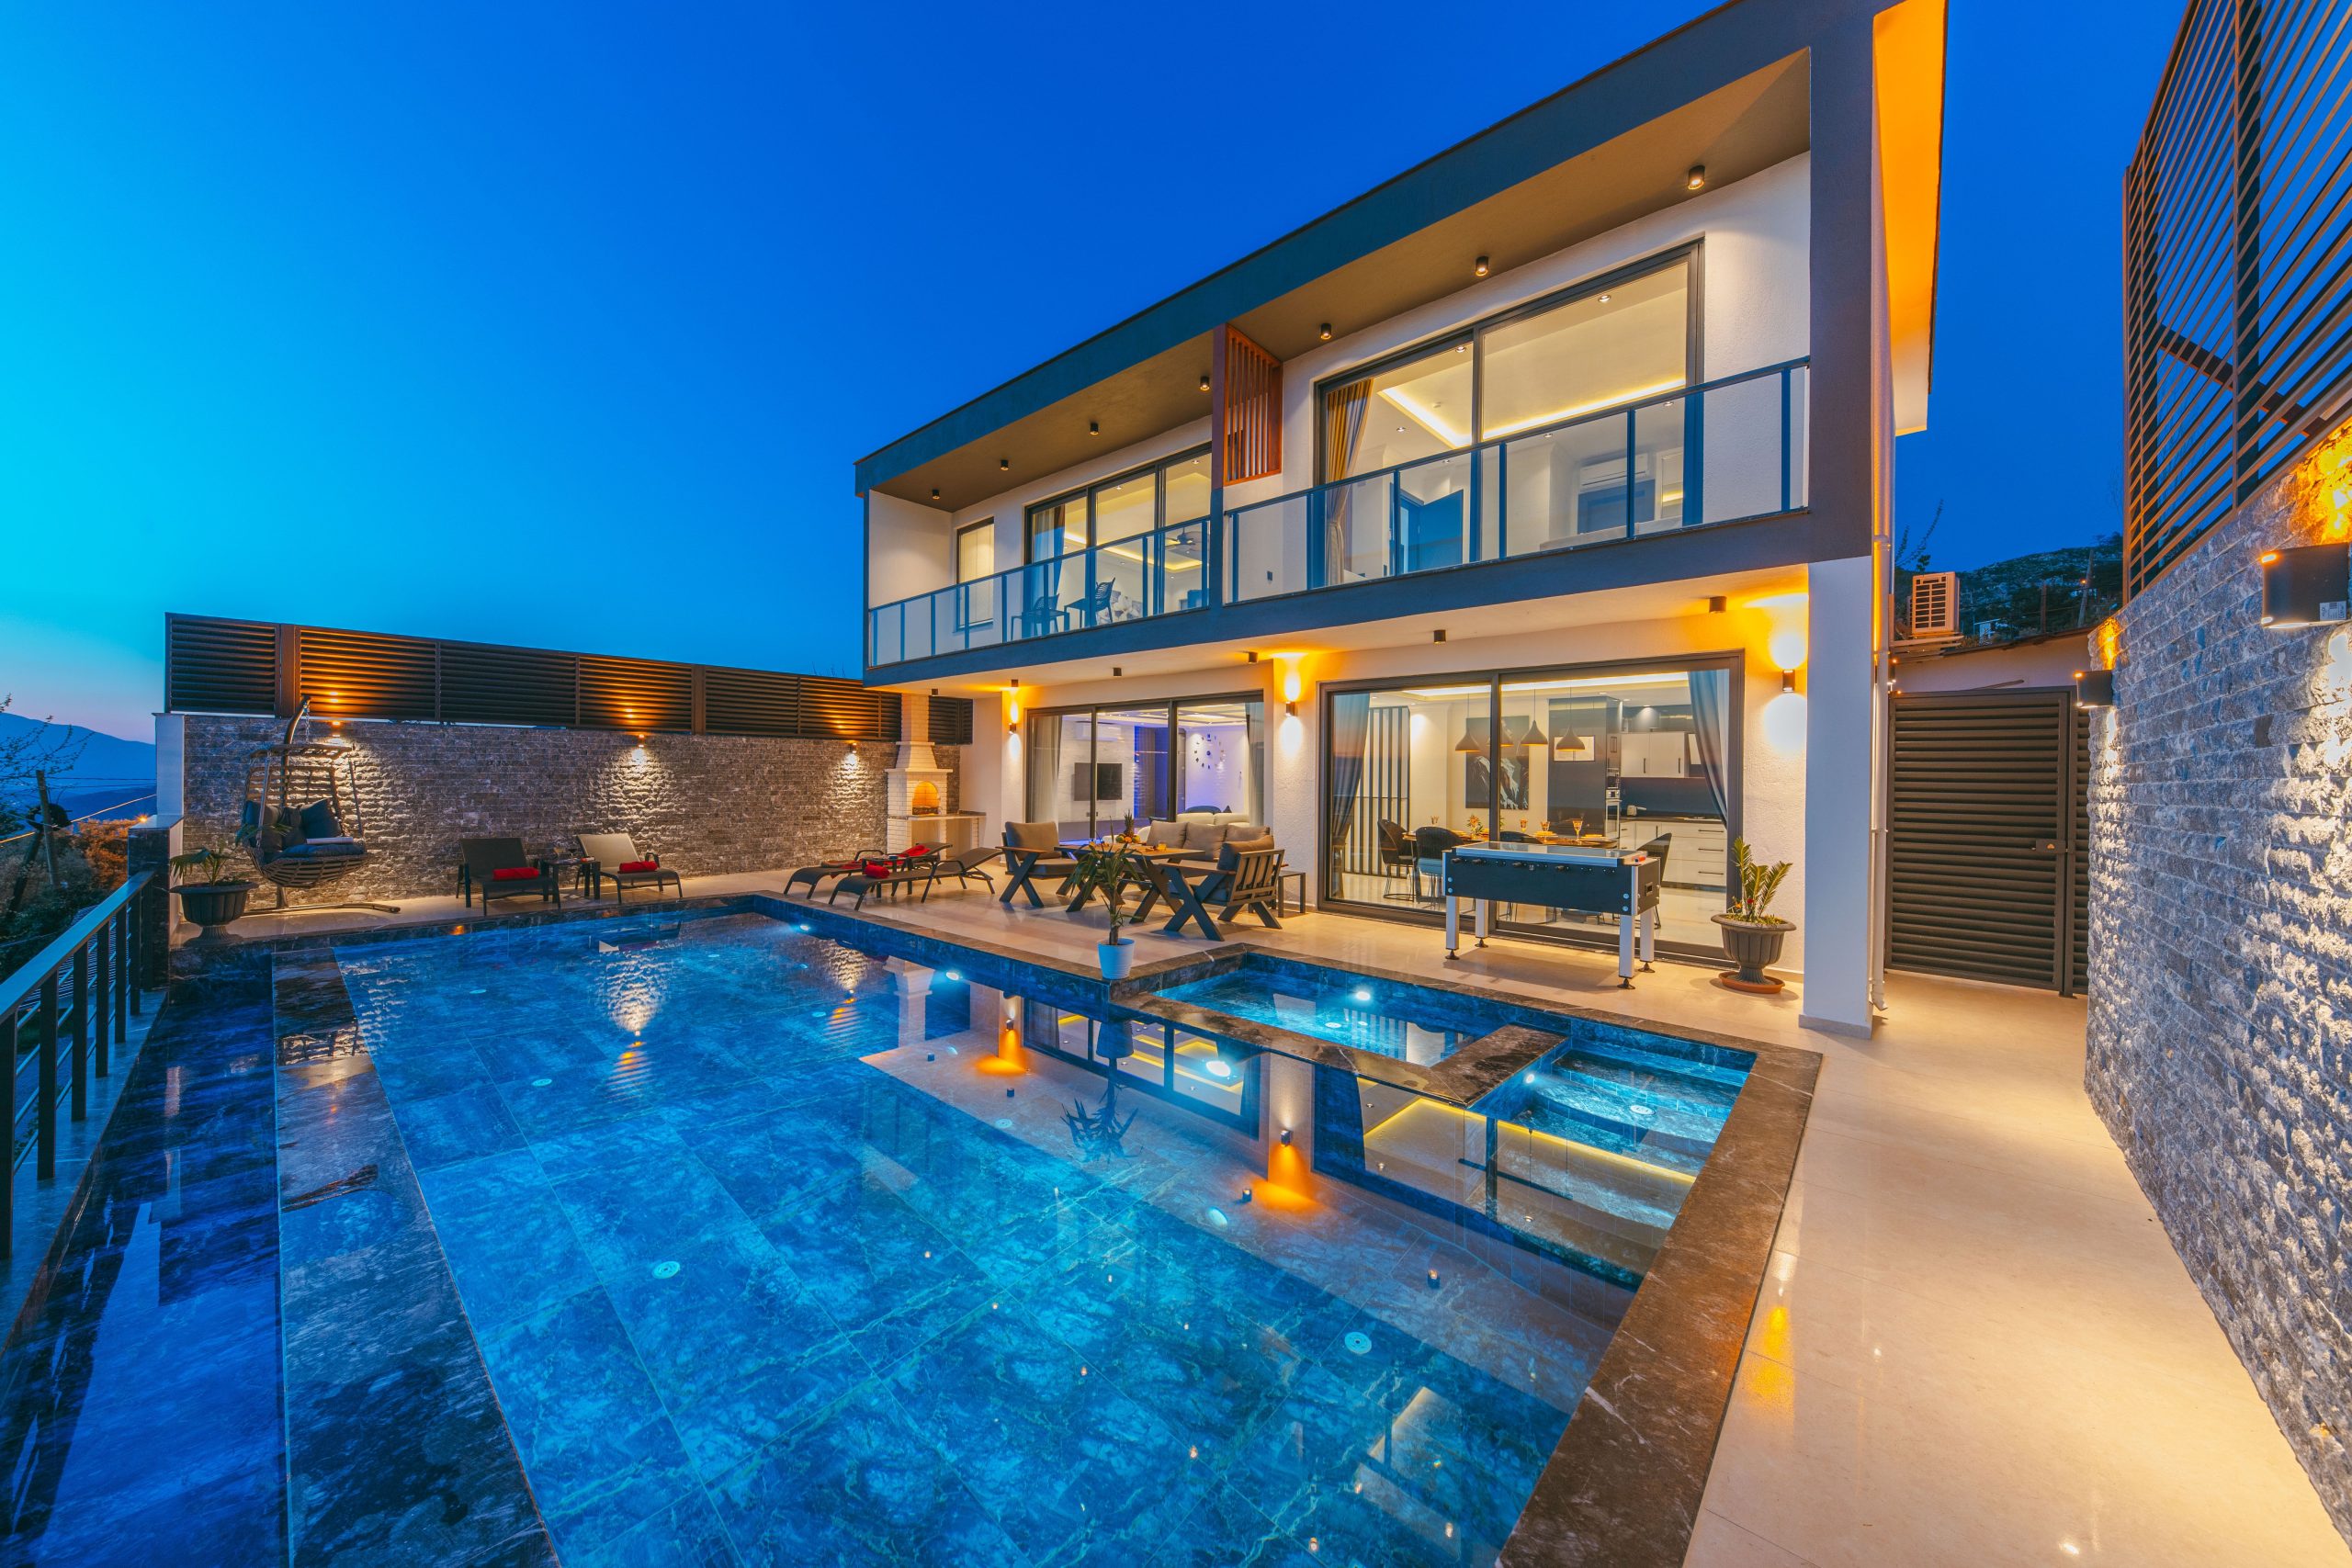
Twilight exteriors deserve a place in that shot list even when the schedule is tight, because a single glowing dusk frame often becomes the listing’s hero image. Plan the visit so the exterior session ends twenty minutes after sunset, with the interior lights on and the sky still holding color. One good twilight frame can carry the entire gallery.
Working Out Your Lighting
Natural light looks best when it is even. Midday sun through windows can create harsh patches, so a bright but overcast day often suits interiors. Turn on interior lights, but watch for color casts: warm bulbs next to cool daylight will mix colors. Some photographers blend several exposures, and others use a flash bounced off a ceiling to balance the room. Pick one approach and use it consistently so that your whole set matches.
A Simple Lightroom Workflow for Real Estate
This is the order that keeps editing quick. See my Lightroom guide for the basics of the Develop module.
- Import and cull. Reject blinks, blurs and duplicates and keep the best frame of each view.
- Fix white balance first. Clean white walls are a good reference point. A neutral wall that looks yellow or blue tells you the white balance is off.
- Apply a preset. Choose one built for interiors or exteriors, as a starting point, not a finish.
- Adjust exposure and shadows. Lift shadows, pull back highlights and keep windows from blowing out.
- Correct lens distortion and straighten. Use the Transform tools so lines are vertical and level.
- Sync across the room. Apply your settings to the other photos taken in the same light, then fine-tune each one.
- Export for the listing. Use an export preset with the size and quality that the listing site or client needs.
Build the export step into the same routine. Listings, print flyers and social posts each want different sizes and sharpening, and export presets keep those outputs consistent without rethinking settings at midnight. The less decision-making left for the end of a long shoot day, the fewer mistakes reach the client.
Presets: Where They Help and Where They Don’t
A preset is a starting point. It can set contrast, tone and color in one click, which saves time across a long shoot. It cannot fix a crooked frame, a mixed lighting problem or a clutter-filled room. A preset that works for one property can look wrong on another because the lighting is different. Always check your highlights and shadows after you apply one, and adjust white balance and exposure for each room. If you want a set built for this kind of work, see my real estate Lightroom presets.
The common thread in these mistakes is haste. Most of them take under a minute to fix at the time and are embarrassing to explain afterward. A sixty-second review of each frame at one hundred percent zoom, checking verticals, window edges and color casts, is the cheapest insurance in the entire workflow.
Editing Mistakes That Hurt Listings
- Over-saturated colors. Rooms should look like real rooms.
- Heavy HDR halos. Glowing edges around windows scream over-processing.
- Changing the property. Do not remove permanent flaws or add features that are not there. It misleads buyers and can cause trouble for the agent.
- Tilted verticals. Straighten every frame.
- Mismatched color between photos. Sync white balance across a room so the listing looks consistent.
- Skipping a final check. View the images at a small size too, since most buyers browse on a phone.
A final quality pass protects both you and the agent. Compare each delivered frame against the room as you remember it, and ask whether a buyer would feel deceived walking in. If the honest answer is yes, pull the edit back. A listing that matches reality generates trust in the agent, and agents remember which photographers make them look reliable.
Finding Real Estate Photography Clients
Agents, brokers, property managers and short-term rental hosts are the usual clients. Offer a clear package, such as a set number of photos with a set delivery time, and explain what they get. Share a small portfolio of a few well-lit homes. Reliability sells: show up on time, deliver quickly and make the agent’s life easier. Quick turnaround is often what keeps an agent coming back. Agree on usage in writing, including how the photos can be used and for how long.
Pricing conversations go better with a defined scope. Quote per property rather than per hour, state how many finished photos the fee includes, and note the turnaround in writing. Surprises erode trust faster than high prices, and a photographer who is easy to plan around gets referred to other agents in the office.
Delivering the Final Photos
Agents are busy, so make delivery simple. Send one gallery link with the web-sized images ready to upload to a listing, and keep full-size files available if they ask. Name files in the order of the tour, starting with the front exterior, so the agent can drop them into the listing without sorting. Tell the agent what you did, such as straightening lines and balancing windows, and confirm that no features were added or removed. A clear, honest handoff builds trust and brings repeat work.
Recommended Starting Points for Gear
These are options based on manufacturer specs, not a claim that I used them on property shoots. Pick a body with a good dynamic range and a wide lens you can use on a tripod.
- Sony A7C II, compact full-frame: Sony A7C II on Amazon | on B&H
- Nikon Z6 III, full-frame all-rounder: Nikon Z6 III on Amazon | on B&H
For more options, see my camera buyer guide. Amazon and B&H links are affiliate links, and I may earn a commission at no extra cost to you. Photos are illustrative.
Want to go further? The ShutYourAperture Academy’s Architectural & Interior Photography (8 modules, 32+ lessons) is built to help you compose with steel, glass and light the way architects do.
Conclusion
The use of Lightroom presets in real estate photography offers significant benefits such as time-saving, consistency, and enhanced photo quality. It is encouraged for photographers to leverage presets to elevate their real estate photos and explore new editing techniques. Whether you’re a beginner looking to learn or an experienced photographer seeking to streamline your workflow, Lightroom presets can be a valuable tool. In essence, Lightroom presets play a significant role in achieving professional results in real estate photography, contributing to the successful marketing of properties.
Frequently asked questions
Do Lightroom presets work for real estate photography?
Yes, as a starting point. Presets speed up editing and keep a consistent look, but you still need to adjust white balance, exposure and shadows for each room.
What lens is best for real estate photography?
A wide-angle lens is the usual choice. Avoid extreme focal lengths that distort corners and make rooms look larger than they are.
Should I use HDR for real estate photos?
Bracketing and blending exposures helps balance bright windows with dim rooms. Keep the result natural and avoid halos and over-saturated color.
What aperture should I use for interiors?
Around f/8 keeps most rooms sharp from front to back. Use a tripod so you can use a slower shutter speed.
How do I get consistent color across a listing?
Set white balance using a neutral wall, apply the same preset and sync settings across photos shot under the same light.
Do I need a tripod for real estate photography?
Yes, for interiors a tripod is close to essential. Rooms are darker than they look, and a small aperture such as f/8 forces slow shutter speeds that cannot be handheld reliably. A tripod also locks your composition so vertical lines stay consistent across a bracketed series, which makes blending exposures far easier.
How many photos should a property listing include?
Enough to cover the home without repetition: typically one or two exteriors, one or two frames per main room, and a few detail or feature shots. For an average single-family home that works out to roughly twenty to thirty delivered images. Quality and coverage matter more than hitting a specific number.
Keep the camera steady indoors
A Manfrotto MT190XPRO4 aluminum tripod is one option for holding vertical lines straight and slow interior exposures sharp. Check the maximum height, leg sections and head compatibility against your camera before buying. Compare the current retailer specifications; no hands-on test, price or stock promise is being made here.
Compare Manfrotto MT190XPRO4 Aluminum Tripod on Amazon | Check Manfrotto MT190XPRO4 Aluminum Tripod at B&H
Affiliate disclosure: We may earn a commission from qualifying purchases through these gear links at no extra cost to you. As an Amazon Associate, Shut Your Aperture earns from qualifying purchases.