Travel Photography Field Guide: 12 Tactical Lessons From the Road
It’s 4:12 a.m. You’re at a trailhead in the Dolomites. You haven’t slept more than four hours thanks to a red-eye connection through Frankfurt. Your headlamp is already dying. In your bag: one mirrorless body, two lenses, a travel tripod folded to the size of a water bottle, three batteries, four SD cards, and a thumb drive loaded with last night’s imports. The pink glow behind the ridge is forty minutes out.
This is travel photography. Not the Instagram reel version — the actual version, with numb fingers, wrong-currency tips, and a two-hour window to get shots that justify a 14-hour flight. This guide is a field manual drawn from that reality. No filler, no generic advice about “finding your vision.” Tactical lessons you can apply on your next trip.
We’ll cover gear selection, pre-trip scouting, on-location workflow, cultural and legal considerations, backup strategy, editing on the road, and how to actually sell what you shoot. And yes, we’ll talk about the five mistakes that cost beginners their best shots.
1. What Should Be In Your Bag (and What Shouldn’t)
The biggest mistake most travel photographers make isn’t technical — it’s packing two bodies, four lenses, a flash kit, and a full-size tripod, then spending the trip exhausted and reluctant to pull gear out at all. Weight is the enemy of spontaneity.
The working field rule is one body, two lenses. A wide-to-normal zoom (something like a 16-35mm or 16-55mm equivalent) handles landscapes, interiors, and environmental portraiture. A fast short telephoto (85mm or 90mm equivalent, f/1.8 or faster) handles street moments, compressed cityscapes, and available-light portraits. Everything else is optional unless you’re shooting a specific assignment.
For the body itself, three cameras dominate serious travel kits right now:
- The Sony a7 IV — full-frame, 33MP, excellent low-light performance, and dual card slots that matter enormously for backup workflow.
- The Fujifilm X-T5 — APS-C sensor with 40MP resolution, film simulations baked in, and a body small enough to feel invisible in crowded markets. For photographers who want to travel lighter without a meaningful quality penalty, this is the current benchmark.
- The Canon EOS R6 Mark II — 40fps burst, best-in-class subject tracking, and Canon’s deep lens ecosystem. Ideal if your travel work mixes wildlife, sports, or fast-moving street scenes.
Any of the three will get you into stock libraries and editorial submissions. The right choice is the one you’ll actually carry all day.
For a tripod, the Peak Design Carbon Fiber Travel Tripod has become the default recommendation for a reason: it folds to 15.5 inches, fits inside or alongside most carry-on camera bags, and deploys fast enough that you won’t miss a shot fumbling with leg locks. The carbon fiber version is worth the premium if you’re also carrying a lens-heavy kit.
The bag itself needs to be carry-on legal and organized for access, not just storage. The Peak Design Travel Backpack 30L handles this well — padded camera cube system, laptop sleeve, side tripod attachment, and shoulder straps that tuck away when you need to check it as a bag. It also passes as a regular travel backpack, which matters when you’re navigating train stations and don’t want to advertise a full kit to the wrong people.
One filter deserves a dedicated slot: a circular polarizer. The B+W MRC-Nano Master Circular Polarizer cuts reflections off water, saturates skies without blowing out clouds, and gives coastal and mountain shots a depth that no post-processing filter can fully replicate. It’s the one optical filter that actually does something Lightroom can’t.
For memory, use two cards per shoot and never rely on a single media source. The SanDisk Extreme PRO 128GB UHS-II cards are the current performance standard — fast enough for 40MP RAW bursts without buffer stalls, and durable enough to survive the humidity and temperature swings that kill cheaper cards. Carry at least four for a week-long trip.
Your backup drive should be an SSD. The Samsung T7 Portable SSD (1TB) runs at 1,050 MB/s, fits in a shirt pocket, and has survived drops, dust, and the occasional bag-through-security incident without complaint. One per trip, kept separate from your camera bag in transit.
2. Pre-Trip Scouting: Do This at Home, Not on Location
Showing up at a location and figuring out where to point your camera is a waste of golden-hour light. Professional travel photographers spend 30–60 minutes scouting per shoot day before the trip even starts.
Google Earth Pro lets you drop into 3D terrain and find exactly where the sun will catch a ridge, where a foreground element lines up with a background peak, and how far you’ll need to hike to clear treeline. Combine it with The Photographer’s Ephemeris or PhotoPills to calculate golden hour, blue hour, and the precise direction of sunrise and sunset for the specific date you’ll be there. Latitude matters enormously — golden hour at 60°N in summer lasts two hours; at 20°N near the equator, you get 20 minutes.
Weather services: Skip standard forecast apps for serious shoots. Windy.com gives you cloud cover and wind forecasts by altitude — critical for mountain work. Meteoblue shows sky clarity and cloud base height. For fog and mist conditions, check Mountain-Forecast.com if you’re shooting above 1,000 meters.
Local photography subreddits are underused gold mines. Search Reddit for r/[city]photography or r/[country] and look through posts from the past year. Locals will tell you about restricted access, permit requirements, scaffolding on landmarks, the actual best vantage point for a famous shot, and whether the “iconic” location is now a tourist zoo at sunrise. This information isn’t in any guidebook.
Build a shot list ranked by lighting dependency. Shots that need specific light (sunrise, golden hour, long exposure) go first; shots that work in any light (markets, interiors, details) go last. Then work the list backward from your departure date — you need at least one weather contingency day per three days of planned shooting.
3. Carry-On Strategy: Never Check Your Camera
The rule is absolute: camera body, lenses, and batteries travel in the cabin with you, always. Checked luggage gets lost, delayed, dropped from height, and X-rayed at pressures that can damage sensor coatings over time. More practically, if your bag doesn’t make your connection, your trip is over.
Most major airlines allow a personal item plus a carry-on. A dedicated camera backpack fits in the overhead bin; a camera cube packed into a 40L travel bag qualifies as a carry-on. Know your airline’s carry-on dimensions before packing — Ryanair and EasyJet are the most punishing, with stricter size limits than full-service carriers.
Batteries: Lithium batteries are prohibited in checked luggage above 100Wh per cell per IATA regulations. Camera batteries (typically 7–16Wh) are fine in carry-on. Bring more than you think you need — cold weather (below 10°C) cuts battery capacity by 30–50%, and charging options at remote locations are unreliable. Three batteries minimum for a full-day shoot; five for a mountain expedition.
Padded dividers beat purpose-built camera cases for TSA interactions. A Lowepro or Peak Design camera cube that pulls out of your main bag and goes through the X-ray separately is faster and draws less attention than a hard Pelican case, which security agents will often open and handle.
 Save
Save4. On-Location Workflow: Scout, Return, Work
The classic error is arriving at a location and immediately shooting. What you should do is arrive, walk the full space, identify your three or four strongest compositions, note where the light will hit at different times, and then — if the light isn’t right — leave and return.
This three-step rhythm — scout, return, work — is how working travel photographers operate. The scout visit is free. You’re not shooting anything worth keeping; you’re learning the space. Return at peak light with a clear shot list. Then work each composition systematically: shoot the obvious frame first to get it out of your system, then move. Change your height (ground level changes everything in landscapes), your focal length, your orientation. Work 90 seconds to 2 minutes on each composition before moving to the next.
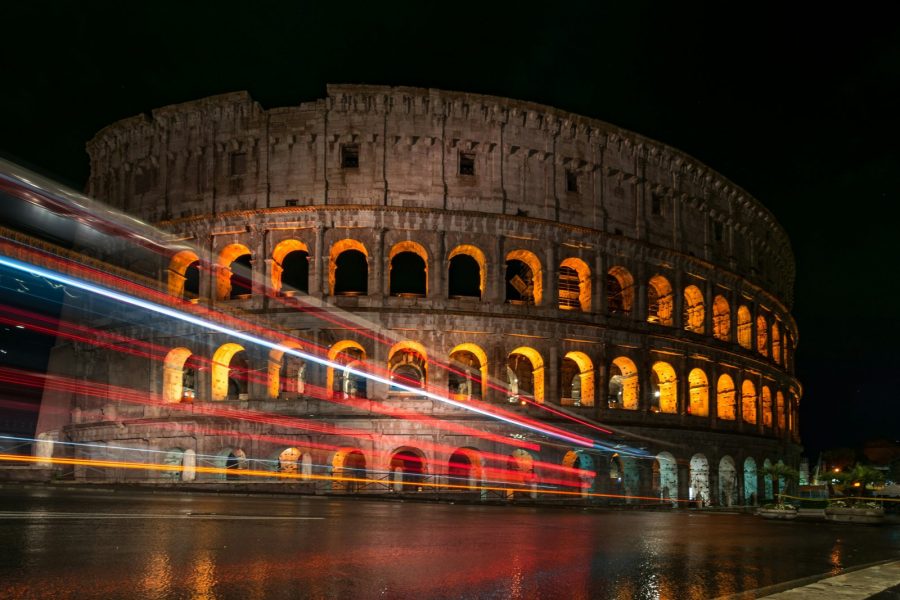
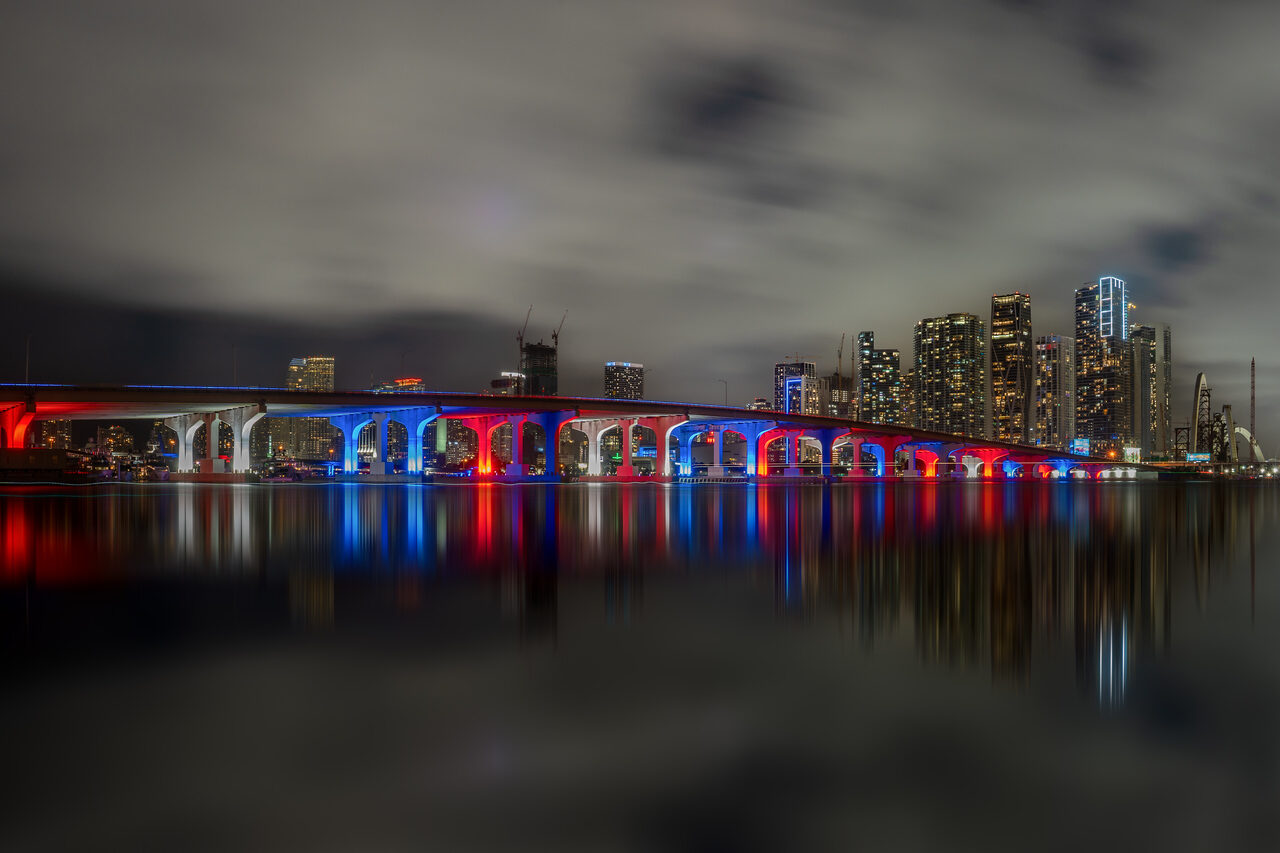
For urban photography, the best light is often not sunrise or sunset — it’s the 30-minute window after sunset, when ambient and artificial light balance. Streets go blue, neon signs pop, and the tourist crowds thin. Bracket exposures for HDR only as a fallback; try to expose correctly in-camera using a sturdy tripod and delayed shutter release.
Understanding aperture’s role in travel shots — when to use f/8 for deep landscape depth of field, when to open to f/1.8 for environmental portraiture — is covered in depth in our aperture photography guide, and how ISO affects your ability to shoot in low-light travel scenes without sacrificing image quality is covered in our ISO photography guide. Both are worth reviewing before a trip where you’ll shoot in extreme lighting conditions.
5. Cultural and Ethical Photography: Know Before You Shoot
The legal and ethical landscape around photographing people is genuinely complex, and “it’s a public space” is not a universal defense.
Consent for portraits: In Morocco, India, and much of Sub-Saharan Africa, photographing strangers — particularly their faces — without permission is considered rude at minimum and can escalate to real confrontation. Beyond being the right thing to do, asked permission produces better portraits: people who know they’re being photographed relax within about 30 seconds, and that relaxation reads in the image. Carry a business card with your website or Instagram — showing your work builds trust quickly.
Religious sites: No flash photography inside temples, churches, and mosques is nearly universal. Many sites prohibit tripods. Some prohibit photography entirely (Varanasi’s burning ghats, Angkor Wat’s inner sanctum during ceremonies). Research specific sites in advance; ignoring these rules isn’t just disrespectful — in some countries it’s a fineable offense.
Photography laws that surprise travelers:
- UAE airports and military installations: Photography of airports, government buildings, and infrastructure is illegal in the UAE under federal law. This applies to Dubai International — don’t shoot from the terminal windows. The fine and potential detention are not proportional to what you think you’re photographing.
- India’s train stations: Indian Railways classified train stations as “strategic installations” in 2012. Photographing railway infrastructure, platforms, and uniformed personnel without official permission is technically illegal, though enforcement is inconsistent. Candid street photography from platforms is typically fine; anything that frames the infrastructure as the subject is risky.
- France’s image rights (droit à l’image): France has strong personality rights law. Photographing an identifiable person and using that image commercially — in print, stock, or advertising — without a signed model release is illegal, regardless of where you were standing. This affects stock sales more than editorial use, but it’s a real limitation if you’re shooting French street subjects for licensing.
- Japan’s drone regulations: Drones require advance registration and many urban areas, including Tokyo, have strict no-fly zones around government buildings, airports, and crowded public spaces. The rules changed significantly in 2022; check the MLIT portal before flying.
6. Backup Workflow on the Road
The field rule: data that exists in one place doesn’t exist. By the end of each shoot day, your images should be in three locations — two SD cards in-camera (if your body has dual slots, enable simultaneous RAW backup), one external SSD, and one cloud location.
Dual card slots on the Sony a7 IV and Canon R6 Mark II make in-camera redundancy easy: set card slot 1 as primary RAW recording, slot 2 as simultaneous RAW backup. On single-slot bodies like the X-T5, you’re relying on card integrity alone, which is why card quality matters — cheap cards fail under the temperature cycling of travel.
Evening routine: Import the day’s cards to your laptop or iPad Pro, back up to your Samsung T7 SSD, then sync the keepers (or all RAWs, if bandwidth allows) to cloud storage. The best cloud storage options for photographers depend on whether you need pure backup or collaborative access — the linked guide covers the current options in detail.
Keep your backup SSD in a separate bag from your camera equipment. If someone grabs your camera bag, your images survive.
Format cards only after confirming a successful backup to two separate locations. This sounds obvious. Under the fatigue and schedule pressure of a travel shoot, it gets skipped.
 Save
Save7. Editing on the Road: Laptop or iPad?
The honest answer depends on how you edit and what you’re delivering.
A MacBook Pro M3 (or equivalent PC) is the full-power option. Lightroom Classic with locally stored previews, full plugin support, precise color work on a calibrated display, and enough processing headroom to handle 40MP RAW files from an X-T5 without painful lag. For photographers who deliver to clients on deadline during a trip, this is the right call.
An iPad Pro with Apple Pencil and Lightroom for iPad covers 80% of travel editing use cases at half the bag weight. The M4 iPad Pro’s display is professionally color-accurate, Lightroom syncs libraries via the cloud, and Lightroom AI masking handles sky replacement and subject isolation competently. The limitations are real — no Photoshop layers, no external plugin workflow, restricted file management — but for social-ready selects and rough client proofs on the road, it works well.
Whatever you’re editing on, calibrate your screen before starting. A free tool like DisplayCAL paired with a budget colorimeter (the Datacolor Spyder is under $100) takes ten minutes and ensures what looks right on your laptop actually looks right everywhere else. Editing on an uncalibrated display is a mistake that compounds through every step of your post workflow.
8. Selling and Licensing Your Travel Work
Travel photography is one of the few niches where consistent income from image licensing is realistic for non-celebrity photographers, provided you shoot with licensing in mind from the start.
Stock photography: Adobe Stock, Getty Images / iStock, and Shutterstock remain the three largest markets by volume. For acceptance, most agencies require technical quality (no noise, correct exposure, accurate focus), model releases for identifiable people, and property releases for private property. Getty is the most selective and pays the highest per-image rates; Shutterstock is lowest-barrier with the highest volume potential. Submit to at least two agencies simultaneously.
Editorial submissions: Travel magazines (Condé Nast Traveler, Travel + Leisure, Afar) purchase images for one-time editorial rights. They want specific destinations, specific seasons, and culturally relevant context — not generic “beautiful landscape” shots. Research their submission portals or work through a photo editor rep if your portfolio is strong enough.
Print sales: Platforms like Fine Art America and SmugMug let you set your own margins on print-on-demand fulfillment. Landscape and architecture images from specific destinations with strong regional interest (national parks, iconic cities, lesser-photographed destinations) perform best. Prints from a single popular image can generate passive income for years.
License tracking: Use a simple spreadsheet or a tool like Cradoc fotoQuote to track what you’ve licensed, at what rights level, and when exclusivity periods expire. This matters when an image gets picked up for commercial use at a different rights level than editorial.
For a complete workflow covering how your travel portfolio feeds into a broader photography business, browse our full collection of travel photography guides.
 Save
Save10. The Versatility vs. Weight Tradeoff: One Body, Two Lenses in Practice
The one-body two-lens rule breaks down when photographers try to apply it without actually committing to it. “I’ll just bring the 70-200 in case” becomes three lenses, which becomes a sore back and a reluctance to hike the extra mile to the good vantage point.
Here’s how to actually choose your two lenses before a trip:
Identify your primary subject. Landscapes and architecture: a wide-to-normal zoom (16-35mm full-frame equivalent) plus a mid-telephoto prime (85mm or 90mm). Street and documentary: a normal prime (35mm or 50mm equivalent) plus a fast short telephoto for compressed framing (85–135mm). Wildlife or birds: a telephoto zoom is your primary lens; your normal prime is the backup.
Accept the gaps. A 16-35mm + 85mm kit has a gap in the 35–85mm range. That gap forces creative solutions — you move your feet, you change your frame, you find compositions you wouldn’t have considered with a 24-105mm zoom keeping you rooted to one spot. The constraint is productive.
Test the kit at home first. Take it for a full day in your home city. If you find yourself frustrated by missing focal lengths, adjust before you’re on the road.
11. 5 Mistakes New Travel Photographers Make (and How to Stop)
1. Over-packing gear. Covered above, but worth repeating: the photographer who carries less shoots more. Every extra kilogram reduces the distance you’re willing to walk, the time you’re willing to wait, and the spontaneity with which you pull out your camera. Cut to the minimum viable kit and then trust the kit.
2. Chasing the icon shot. Every city has an image that’s been photographed from the same angle by a million people. You’ll take it too — that’s fine, it’s cathartic. But the work that actually differentiates a travel portfolio comes from finding the frame twenty meters to the left of where everyone else is standing. The icon shot is a starting point, not a destination.
3. Ignoring local light timing. Golden hour isn’t at 6 a.m. everywhere. At 65°N in Norway in June, the sun barely sets — you have warm light from 9 p.m. to midnight. In equatorial locations in December, golden hour is over by 6:15 a.m. Pull up PhotoPills or The Photographer’s Ephemeris for your specific location and date, not a generic “shoot at sunrise” rule.
4. Shooting without a backup plan. Memory cards fail. Batteries die at the worst moment. Lens caps get left on. A second card formatted and ready in your pocket, a spare battery in an accessible pouch, and a quick pre-shoot checklist (cap off, correct exposure mode, card inserted and recognized) takes two minutes and prevents the shoot-ending surprises that happen to unprepared photographers.
5. Skipping the edit review. Most travel photographers import and cull selects but never do a thorough edit review of an entire trip’s take. A systematic pass — not just the best frames but everything you shot — reveals patterns: what compositions you default to, what you consistently miss, what times of day produce your strongest work. That analysis is how you improve trip over trip, not just by shooting more.
9. The Gear Box
Everything field-tested and recommended in this guide, with current links:
| Item | Our Pick | Where to Buy |
|---|---|---|
| Full-frame mirrorless (all-around) | Sony a7 IV | B&H Photo |
| Compact mirrorless (travel-light) | Fujifilm X-T5 | B&H Photo |
| Full-frame mirrorless (action/wildlife) | Canon EOS R6 Mark II | B&H Photo |
| Travel tripod | Peak Design Carbon Fiber Travel Tripod | B&H Photo |
| Camera backpack | Peak Design Travel Backpack 30L | B&H Photo |
| Circular polarizer filter | B+W MRC-Nano Master CPL (77mm) | B&H Photo |
| SD cards | SanDisk Extreme PRO 128GB UHS-II (4-pack) | Amazon |
| Portable backup drive | Samsung T7 1TB SSD | Amazon |
Want to go further? The ShutYourAperture Academy’s Wander & Capture: Travel Photography (7 modules, 28+ lessons) is built to help you cover the art and practice of photographing a place well.
Keep Building Your Travel Photography Skills
A field manual covers the framework. The gaps get filled by shooting — by the bad trips where you miss the light, the good trips where everything clicks, and the gradual accumulation of location-specific knowledge that no guide can give you in advance.
The Shut Your Aperture library has detailed guides for every technique covered here. Start with the full travel photography guide collection for destination-specific coverage, or go deeper on the technical fundamentals — our aperture guide and ISO guide are the most practical starting points for photographers who want more control over their in-camera exposure decisions.
The gear in your bag matters less than the decisions you make with it. Go shoot.