By Edin Chavez | Updated October 2026
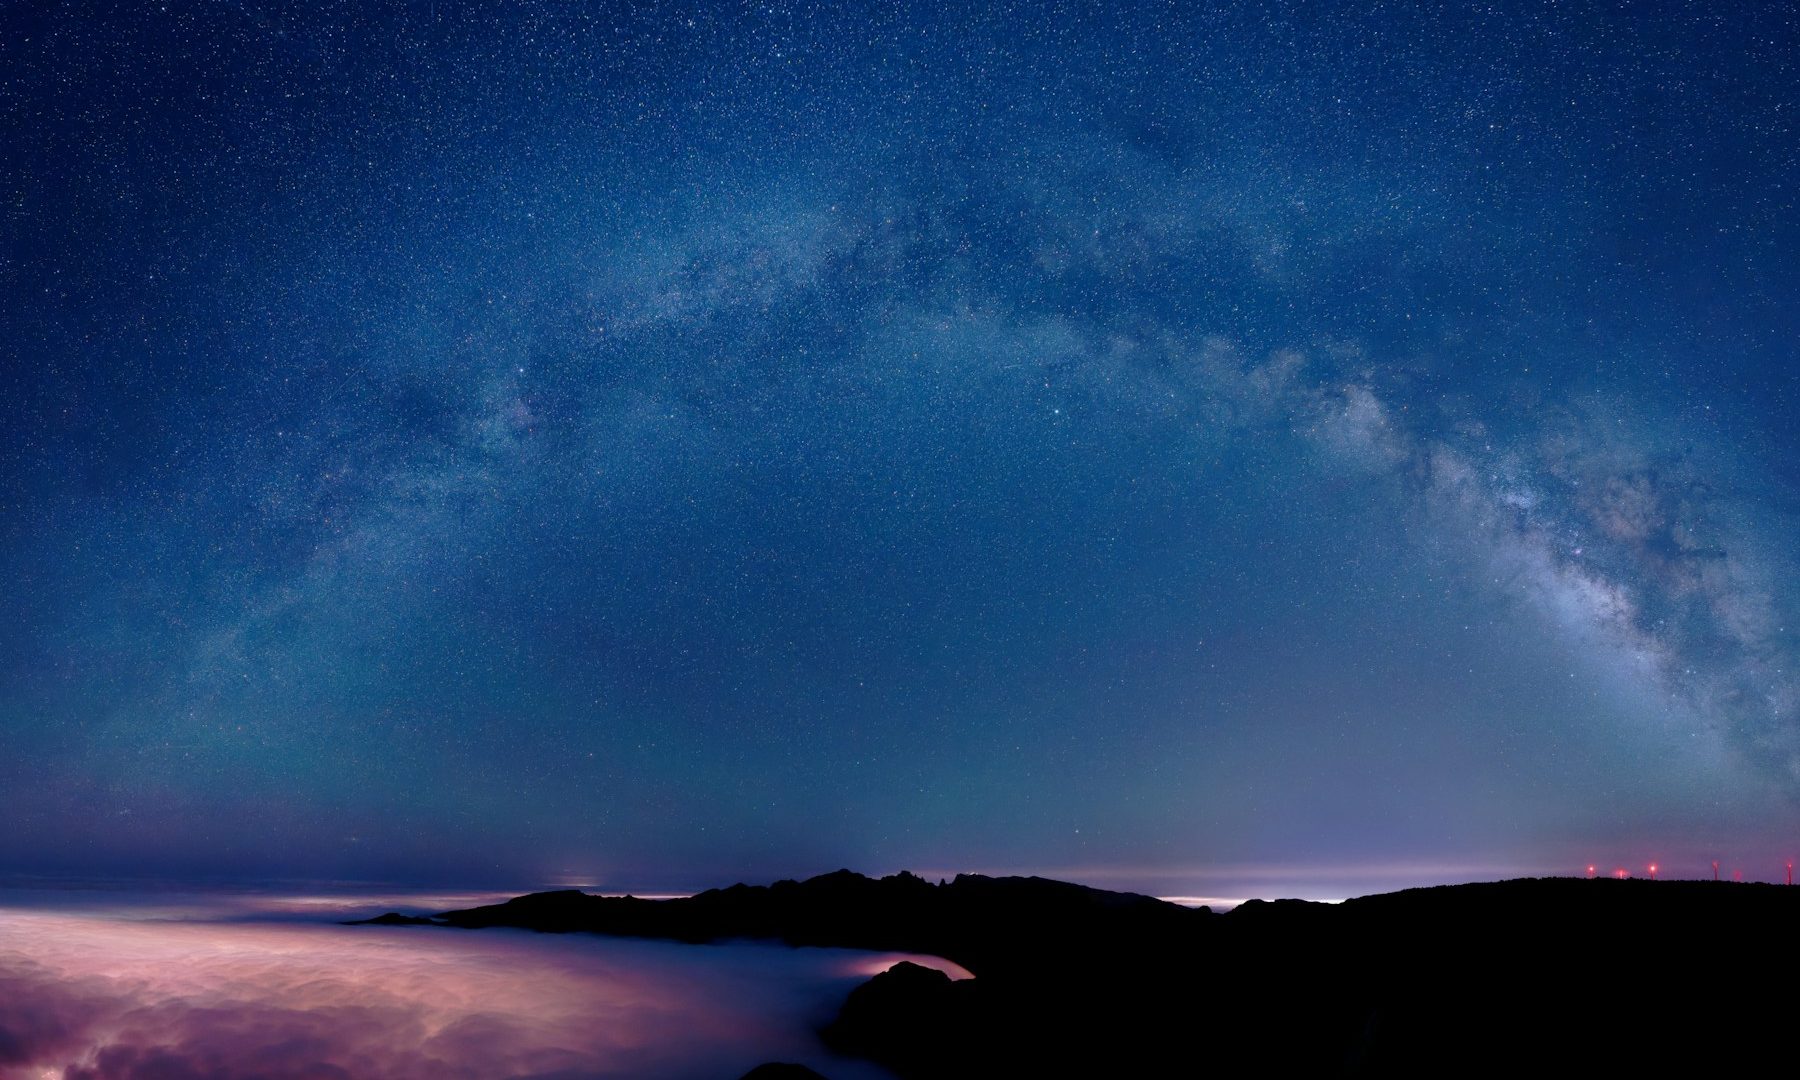
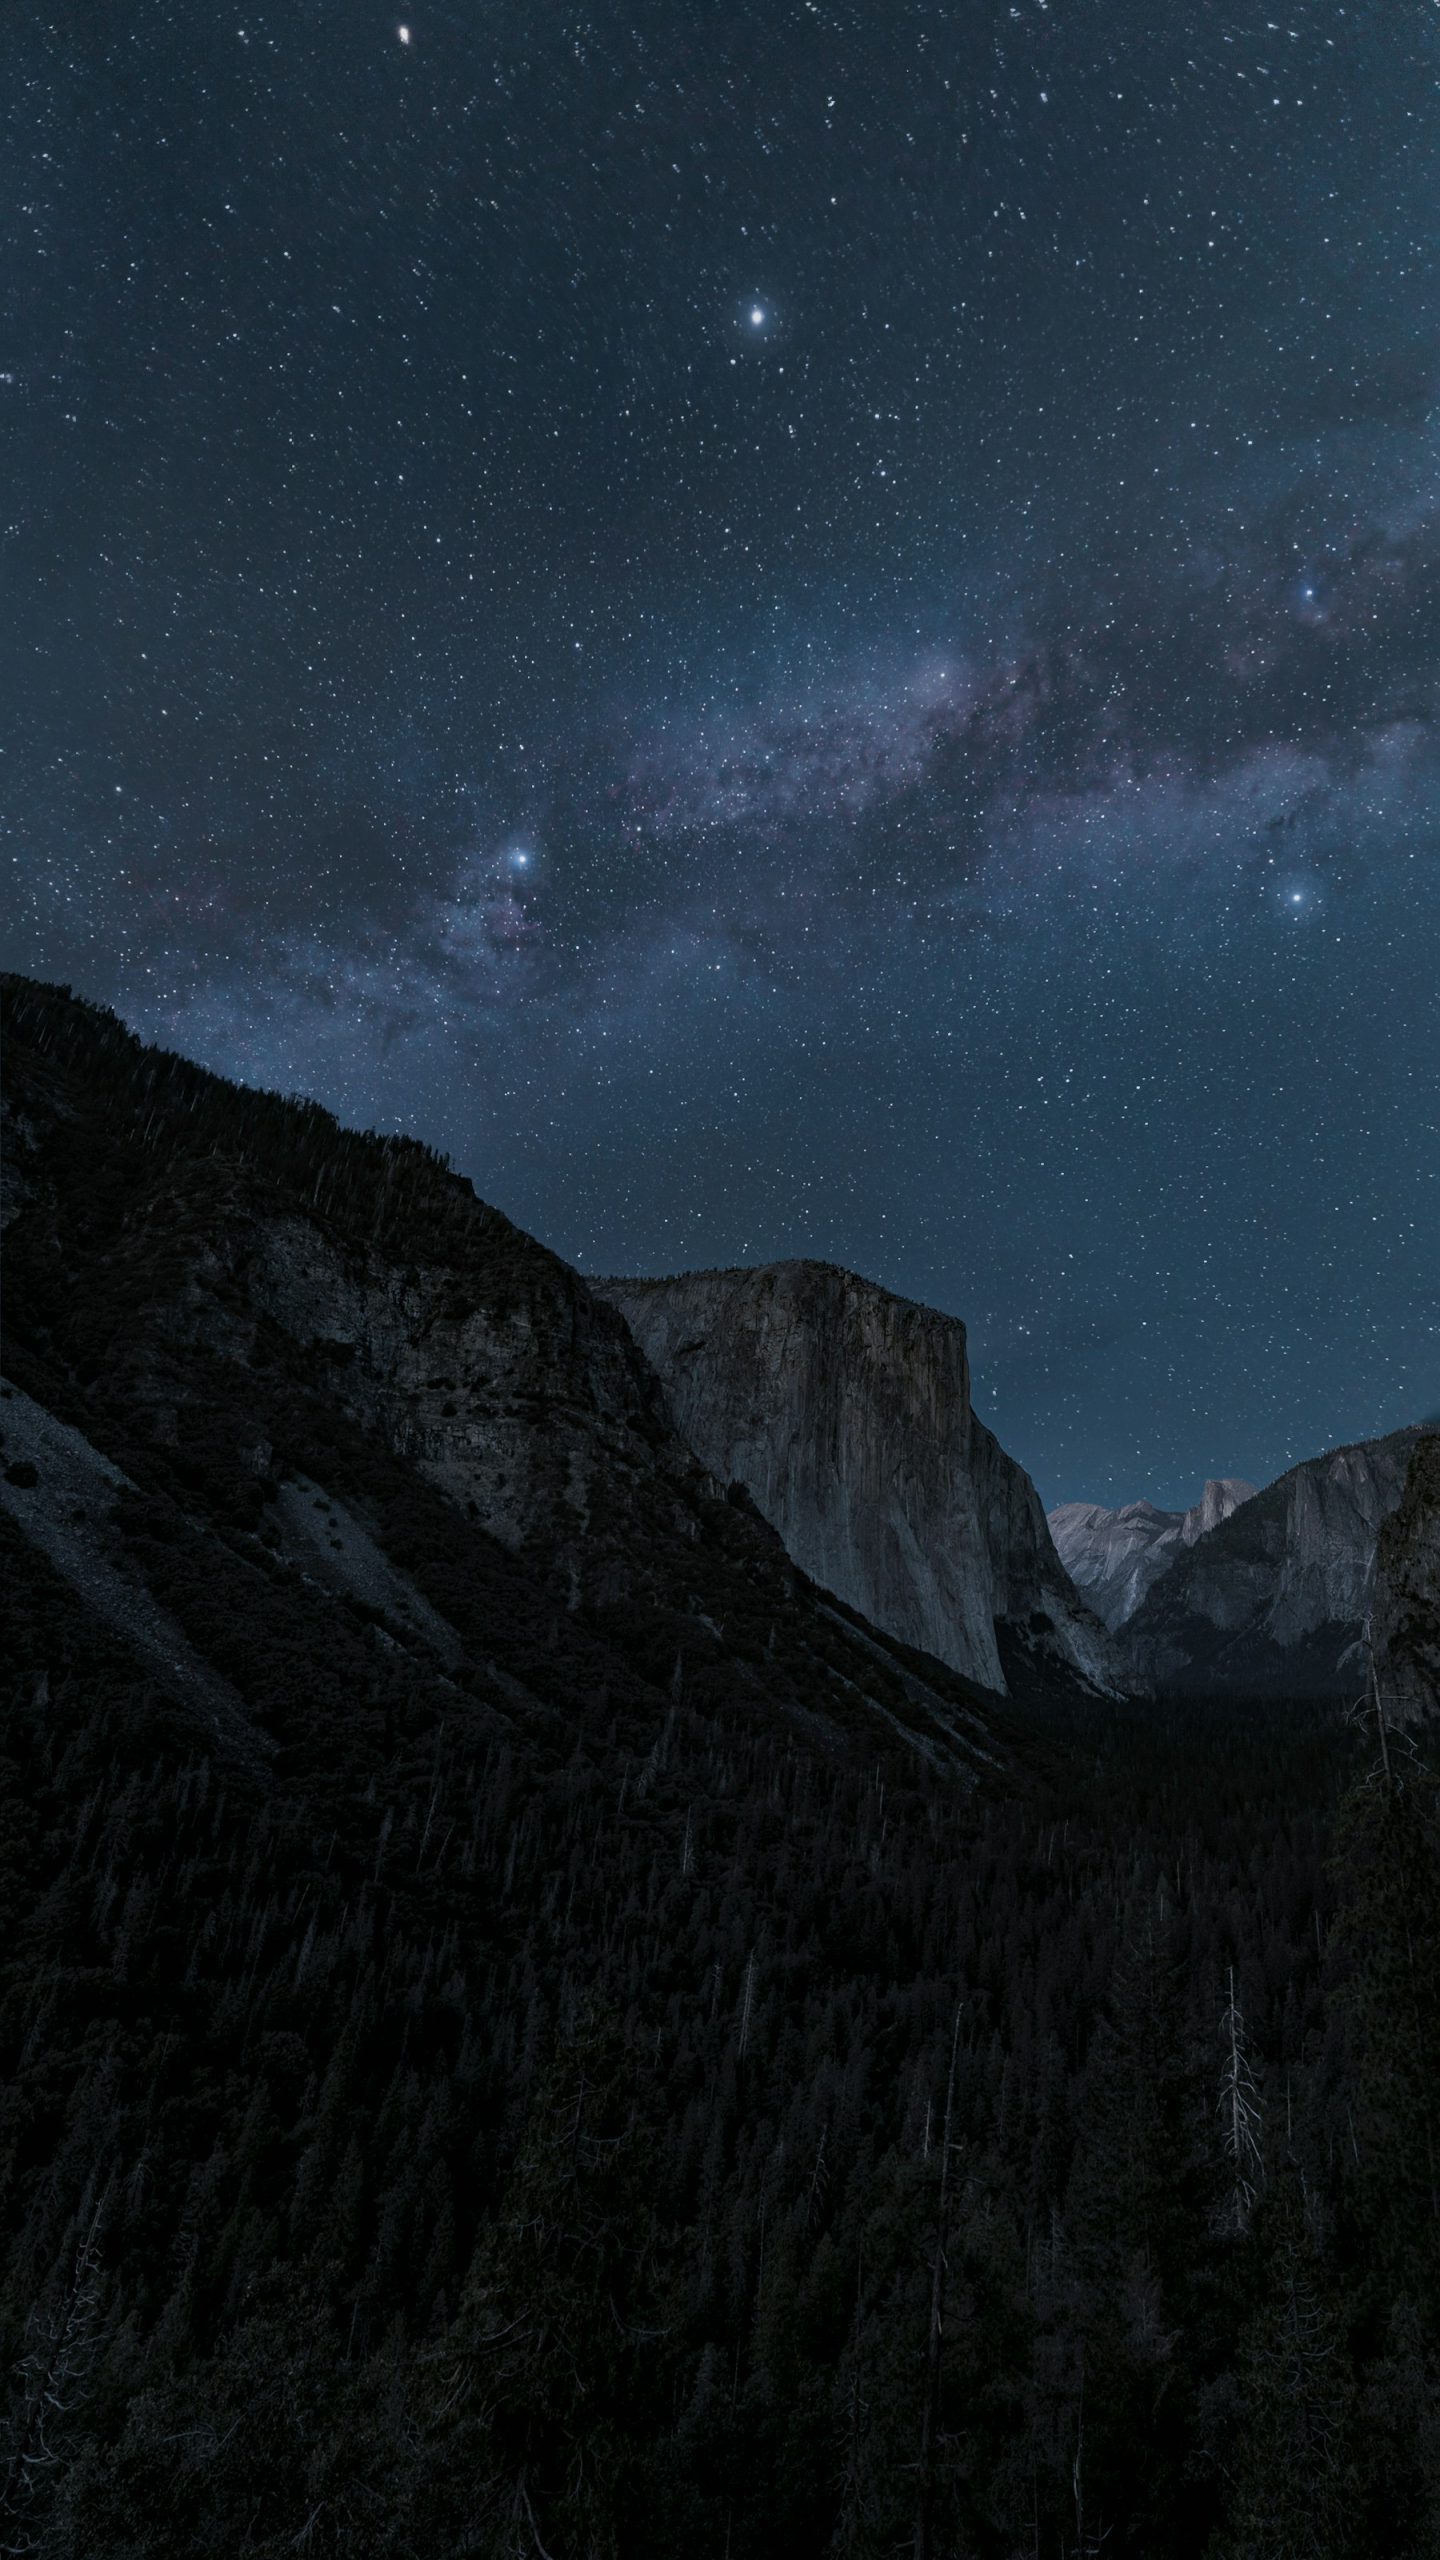
Hero: a real starry mountain-sky photograph supplied under the Unsplash License. No shooting-star effect was added by us. It is a base-photo illustration, not the finished tutorial composite or a claim of an observed meteor.
A shooting star effect in Photoshop is a creative composite, not evidence that a meteor crossed the sky when you made the photograph. That distinction is part of the workflow, not a tiny caption to remember at the end. Keep the original image intact, build the streak on separate layers, and save an editable file. If the image will be used for news, astronomy, a travel record or a place listing that implies an observed event, label the addition plainly or do not make it.
This guide shows a small, controllable streak that suits an existing night photograph. You can draw it with a brush, use a path for a smoother taper, add a restrained glow and mask it behind clouds or buildings. The best result usually comes from looking at the sky you already have: a short light mark in a mostly dark frame needs less spectacle than an effects demo. Adobe’s photo-composite introduction covers why independent layers and masks matter, and its star-making guide explains brush and shape options for sky artwork.
Before the Photoshop shooting star effect: choose an honest source
Use a night photograph that you shot or are licensed to edit and publish. A downloaded image being easy to save does not grant reuse rights. If it contains another person’s artwork, a recognizable property with restrictions or a licensed stock scene, check the applicable terms before publishing a derivative. Work from the highest-resolution file available and keep the original in a separate folder. If you are compositing for a client, agree on whether the output is editorial or illustrative before you add an event that never happened.
Look at the exposure. A nearly black sky can take a faint streak; a bright twilight sky needs a different contrast and color. Consider existing star density, clouds, horizon lights, reflections and direction of illumination. If the photograph has a prominent building or tree, decide whether the streak belongs behind it or in a clear part of the sky. Do not position the effect across the most important feature simply because there is room to draw a long line.
Decide what you are representing. A meteor-like streak is usually brief in this design exercise; a long, uniform, ruler-straight glowing slash can read like a graphic overlay. This is art direction, not a scientific classification of a captured object. If you are making a poster or surreal artwork, a bold treatment can be intentional. If you want a believable composite, simplify and use the original scene’s scale as your reference.
Set up a non-destructive Photoshop document
Open your licensed photograph and save a working copy as a layered Photoshop document. Give it a name that distinguishes it from the unaltered capture. Leave the source layer untouched or duplicate it before editing. Add a new transparent layer above the photograph and name it “meteor core.” Add another empty layer named “meteor glow.” If you use more than one streak, place them in a group so you can turn the entire effect off with one click.
Zoom to a working size where you can see individual pixels and the surrounding sky, but also return often to the image’s intended display size. An effect that looks thin at 100 percent may appear enormous in a social preview; the reverse can happen in a large print. Set a few guides only if they help alignment. Do not flatten the file at this point, because the ability to change opacity and masking later is what makes the technique useful.
Choose a canvas color space and export settings appropriate to the delivery. A dim sky can show banding after heavy edits, so avoid repeatedly compressing a JPEG while experimenting. A layered master lets you export a fresh JPEG or other delivery file without degrading the same pixels over and over. Keep a copy of the original’s metadata separately if it will matter for provenance; a finished composite should not be represented as an unaltered camera record.
Plan a short direction and a believable scale
Before drawing, point to where the streak begins and ends. Think about the frame’s visual flow: a short diagonal in an open area may lead the eye toward a mountain or building; a line pointing out of the frame can pull attention away from your subject. Avoid making every line converge on a landmark as if the meteor were a spotlight. With clouds, decide whether a thin tail would be partly obscured, not painted on top of every opaque patch.
Start smaller than you think. Try a streak that occupies a modest fraction of the frame, with a thin tail and a brighter head or short core. The exact pixel length depends on output resolution and composition; no universal brush size works. A sky photographed with a wide lens may contain tiny star points, so compare the new streak to those highlights. If you intend a dramatic poster, make a separate version instead of destroying a restrained edit.
Use the colors that already exist. A cool blue night sky can accept a desaturated warm-white or cool-white streak, but pure white at full opacity may look pasted on. Sample a nearby star or light source as a starting reference, then tune by eye. Atmospheric color is not a single preset. The key is to keep one direction, one main bright region and a falloff that makes the effect sit inside the image rather than float over it.
 Save
SaveDraw the core on its own layer
Select “meteor core.” With a small soft brush, make one short stroke from tail toward head using a tablet or mouse. If your hand cannot draw a steady taper, create a path with a gentle curve and stroke it on the empty layer, then refine with a mask or eraser on a duplicate. You can also build the mark from a thin shape and mask its ends. These are alternative methods for the same controlled result, not steps you must all perform.
Keep the core narrower than the finished glow. Make its brightest segment short and uneven enough to fit the rest of the sky, then reduce layer opacity if it dominates. If your brush makes a blunt beginning or end, add a layer mask and paint black on the mask with a soft brush to fade it. Work on the mask, not by permanently deleting the core: you can reverse or move it when you inspect the full frame. Adobe’s composite example uses layer masks to reveal only the parts of a layer that belong in the final image.
A single stroke may be enough. Do not stack a dozen overlapping lines merely to make the effect “cinematic”; it can turn a night sky into a lens flare. If the intended image is clearly fantastical, multiple marks may fit, but the presentation should still label them as created. If you do add several, vary length and opacity and keep their relationship to the scene intentional.
Add a restrained glow without washing out the sky
Duplicate the core layer or paint a wider, softer version on “meteor glow.” Apply a small blur to the glow layer, leaving the core reasonably defined. The blur radius should be judged at the final output size, not copied from another file with different dimensions. Lower the glow layer’s opacity until you notice it when looking for it but not before you notice the photograph. Try turning the glow off; if the image gains depth or becomes more believable, leave it off.
Photoshop’s Screen blend mode can lighten a layer while letting dark areas below show through; Adobe’s blend-mode reference describes how Screen combines pixels. On an empty transparent layer with painted light, Normal at lower opacity may be simpler and clearer. Compare both. Screen is not a magic “real meteor” switch, and other modes can make the sky look unnaturally flat or colored. Keep the editable layer so you can change your mind.
If you want a faint color fringe, add it to the glow rather than painting the whole core saturated orange or cyan. Sample the sky and test a small adjustment. Watch for clipped white areas or a bright rectangular patch left by an imported asset. If your glow sits over a dark cloud and makes the entire cloud transparent, the layer needs a mask or the effect needs a different position. The surrounding light must make visual sense within the photograph.
 Save
SaveUse masks for clouds and foreground
A streak behind a tree, roof or dense cloud should not simply paint across the object’s edge. Select the effect group or the individual core and glow layers, add masks, then hide the parts that should be covered. Paint black on a mask to conceal and white to restore. For a soft cloud edge, use a softer transition; for a sharply silhouetted roof, keep the edge appropriate to the source image. Inspect at full size for bright halos at the boundary.
Clouds can be translucent, so a meteor-like mark might be reduced through a thin patch rather than completely hidden. This is a design judgment. Toggle the masks off and on and look for the simplest consistent relationship. A hard white line crossing a cloud bank is often the first sign of a pasted overlay. If you cannot make the occlusion credible without a long repair, move the effect to a clear part of the sky.
Check reflections. A very bright, low streak over still water might suggest a faint reflection, but inventing a perfect mirrored line can be more distracting than omitting it. If you add one, keep it separate and account for water movement, perspective and the strength of other reflected lights. A subtle composite is not obligated to simulate every possible optical consequence; it is obligated not to mislead when shown as documentary photography.
Match the sky’s texture and brightness
At 100 percent, compare the added layer to the sky’s grain or digital noise. An extremely smooth streak against a noisy high-ISO sky can look pasted on. Add or match a small amount of texture only if needed, ideally on a separate layer or smart filter so you can revise it. Do not blur the whole photograph to conceal the mismatch. A well-exposed source gives you a better starting point than a heavily stretched file with crushed blacks.
Zoom out. If the first thing you see is a pure-white slash, lower opacity or shorten the core. If you can barely find the addition and the scene still feels purposeful, the subtlety may be right. Compare on a second screen or a small thumbnail because display brightness changes perception. Review the original next to the composite and ask whether the new element supports the subject or competes with it.
Watch for color banding in broad dark gradients after glow or sky adjustments. Work from the original file where possible, avoid repeated low-quality exports, and make gentle changes. If you introduce an adjustment layer to tint the sky, use a mask so foreground lights and natural colors do not shift unexpectedly. The point is a controlled effect, not a global color makeover that hides defects in the new layer.
Alternative: use a path when a brush stroke will not taper cleanly
Create an empty layer and draw a short, slightly irregular path along the intended direction. Stroke it with a brush sized for the core. If your Photoshop setup supports pen-pressure simulation for the stroke, test it; otherwise mask the ends manually and keep a brighter small segment near the head. Do not build a perfectly even vector line and expect it to pass as part of a photograph. A path gives you direction control, while opacity, texture and masking give it context.
Use a separate duplicate for the faint blur, just as in the brush workflow. If you dislike the placement, move or transform the group cautiously and review the occlusion mask. Masks tied to a specific cloud or roof edge may need to be redone after moving a streak. A fast edit that creates a bright edge artifact is worse than leaving the sky alone.
 Save
SaveCheck the effect at output size
View the image at fit-to-screen, at 100 percent and at the final export dimension. Look at the streak’s ends, the glow’s boundary, any cloud crossing, the brightest sky and the foreground silhouette. Then turn the effect group off. If the edited version looks less like your scene and more like a generic template, reduce the treatment. Do not judge only while zoomed into the one tiny area you painted.
Export a small proof and inspect it outside Photoshop. Dark colors and faint gradients can change in a phone app, a browser or a print preview. Confirm that the composite label or caption travels with the image where it will be posted. A metadata field inside a PSD will not help a viewer who only sees a cropped social preview. If a client will repost it, give them the disclosure words with the file.
Save a master and a clearly labeled delivery file
Keep the layered PSD with a named original, core, glow, masks and any adjustments. Save a new exported image rather than flattening over the source. Name the delivery file so you can identify it as an edited artwork later. Make sure the export has the right dimensions, color profile and quality for its destination. Check that the final caption does not imply an actual meteor was observed if none was.
For a creative portfolio or poster, a simple label such as “night-sky composite; meteor effect added in Photoshop” is clear. For a documentary caption, describe only what the camera recorded, or omit the effect entirely. For news, science, contests or location guides with authenticity rules, follow their disclosure and manipulation policies. An attractive artwork can be honest artwork; its visual plausibility is not permission to invent an event.
Common problems and quick fixes
The meteor looks like a neon tube
Shorten it, thin the core, reduce the glow and avoid uniformly bright ends. Compare at thumbnail size. A long line across the whole frame can work in graphic art but often overpowers a photographic night scene.
The glow makes a rectangle or gray patch
Check whether an imported layer carries a dark background. Use a clean transparent layer or a suitable lightening blend mode, then mask and lower opacity. Inspect the entire layer boundary, not just the bright stroke.
The streak cuts through a cloud or building
Mask the core and glow behind the foreground object, or move the effect into clear sky. Match hard and soft edges to what the source photograph actually shows.
The effect disappears on my phone
Check the final export size and display brightness. Slightly strengthen the core before enlarging the glow. Do not solve a small-screen issue by turning the whole sky bright.
Can I use this image as evidence of a meteor?
No. It is an added Photoshop effect. Preserve the original and label the exported composite when viewers could reasonably mistake it for an observed event. In documentary contexts, the safest choice may be not to add the streak.
Do I need a purchased overlay pack?
No. A transparent layer, brush or path, blur and mask are enough for this workflow. If you do use a downloaded overlay, verify its license, remove any baked-in background and match the source scene’s light and scale. A commercial asset does not make a false documentary caption acceptable.
The finished image should still be your image
The best shooting star effect supports the photograph you started with. Keep the mark small enough to belong, give its light a reason to be there, and let clouds and foreground stay in front when they should. Save the editable file, inspect the export, and describe the result as a composite. Photoshop makes the effect possible; good judgment makes it worth showing.
Keep the editing workflow organized
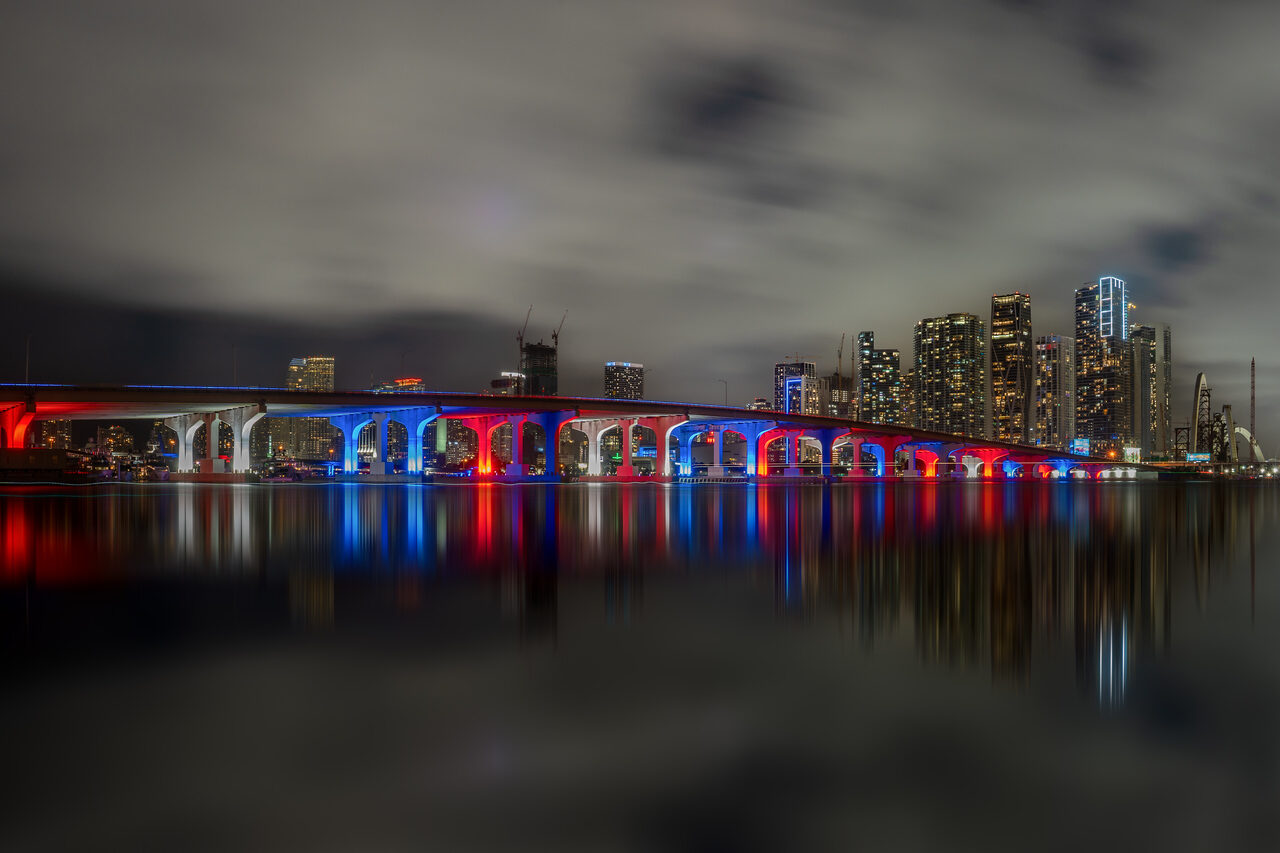
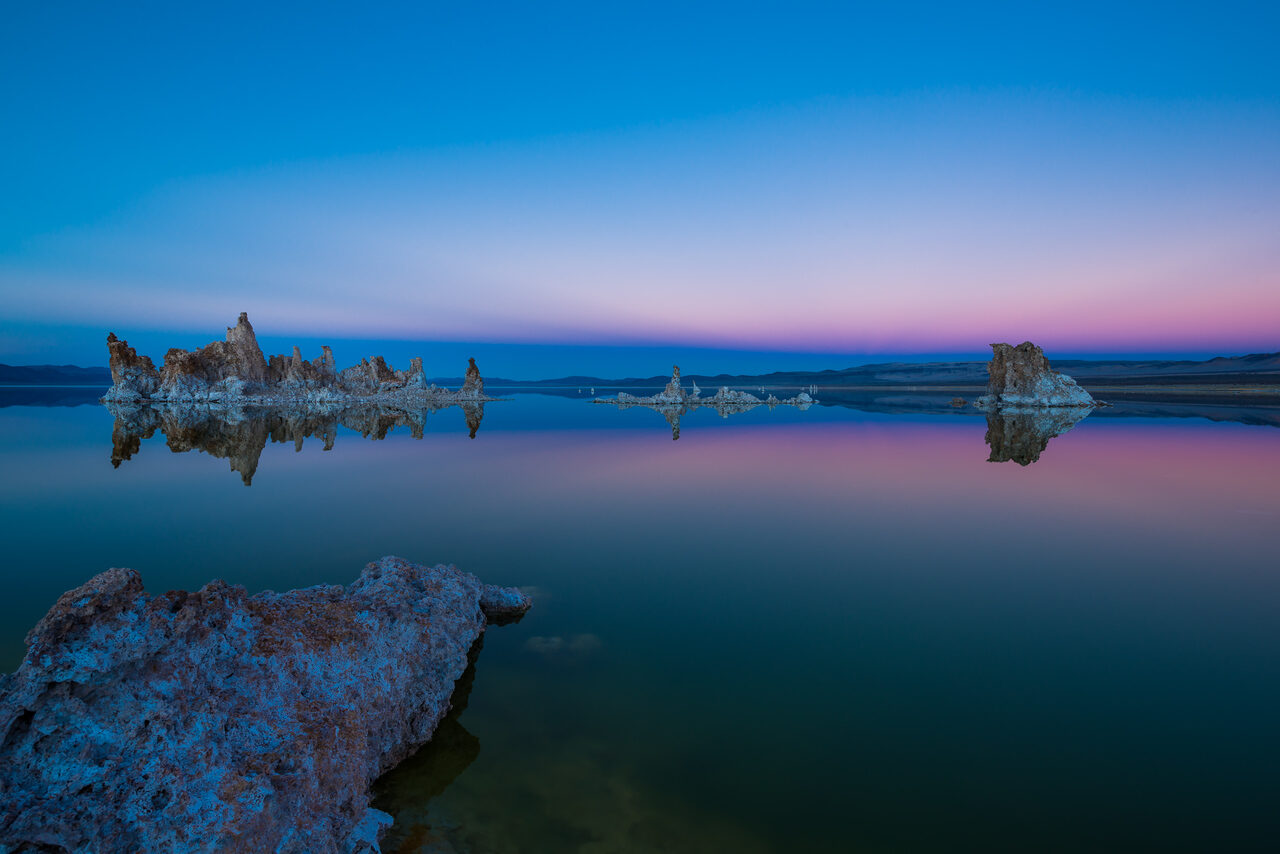
The illustrations on this page are photographic base scenes, not before-and-after demonstrations. Follow the layer steps on a copy of your own file and label any added streak as a Photoshop composite. Start with our camera buyer guide if you are planning a night kit, and read the photo storage guide before putting your originals and layered masters on a single drive. Keep location PDFs and camera notes with your shoot plan when they match the trip, but do not present an edited sky as a record of what that location looked like.
Want to go further? The ShutYourAperture Academy’s Edit Like You Mean It: The Complete Lightroom Editing Course (10 modules, 42+ lessons) is built to help you learn to edit with a clear workflow, from catalog organization to color.
Gear for layered Photoshop files: Samsung T7 Shield 2TB
Samsung T7 Shield Portable SSD, 2TB, Black (MU-PE2T0S/AM)
A portable drive to consider for carrying source photographs and layered PSD masters. Storage is relevant to this workflow; a drive does not create the effect or replace a separate backup. Keep another independent copy of the originals and masters. Confirm your computer connection and the exact capacity before ordering.
Check the black T7 Shield 2TB on Amazon | Compare the same 2TB model at B&H
Affiliate disclosure: we may earn a commission from qualifying purchases through these links, at no extra cost to you. Prices, stock, and seller terms can change. This is a storage option, not a claim of hands-on drive testing or a requirement to buy equipment for the tutorial.