Original date June 12, 2024.
A photo book is a different experience from a screen or a single print. You hold it, turn the pages and move through a sequence at your own pace. For photographers, books are one of the best ways to learn. For collectors, they are an affordable way to live with great work. And for anyone who shoots, making a book is one of the best projects you can take on.
This guide explains what makes a fine art photography book good, how to build a library without wasting money, how to study a book properly, and how to make your own.
Why photography books matter
- They teach sequencing. A good book shows how pictures talk to each other, not just how they look alone.
- They set a standard. Seeing well printed work on good paper raises your own bar.
- They are portable galleries. You can study a whole body of work for the price of a single print.
- They last. Printed pages survive hard drives, platform changes and dead links.
- They build a visual vocabulary. The more you look, the more you notice about light, edges, tone and timing.
What makes a fine art photography book good
Not every book of beautiful pictures is a good book. The best ones share a few qualities.
 Save
A clear idea
The book is about something. It may be a place, a person, a mood, a question or a way of seeing. You can describe it in a sentence, even if the pictures themselves are open ended.
Strong editing
A good editor removes more than they keep. Weak pictures are cut, repeats are cut, and what remains is a set that feels inevitable. If a book feels long, the edit is probably loose.
Thoughtful sequencing
Pictures are ordered for rhythm: loud and quiet, wide and close, dark and light. Pairs and spreads are planned so the two pages talk to each other.
Good printing and paper
Ink, paper and binding shape how the photographs feel. A matte uncoated paper gives a soft, quiet look. A coated paper gives punch and detail. A good book matches the paper to the work.
 Save
Design that serves the pictures
Margins, captions, type and layout should support the images without competing with them. If you notice the design more than the photographs, it is probably too busy.
 Save
Types of fine art photography books
Knowing the main types helps you decide what to look for.
- Monographs focus on one photographer, either a career overview or a single project. They are the best way to understand how a photographer thinks.
- Thematic books collect work around a place, a subject or an idea. They give you a range of approaches to the same theme.
- Retrospectives and exhibition catalogues accompany shows and usually include essays and larger reproductions.
- Instructional and technique books teach craft. They are useful, but they do the job of a classroom, not of a gallery.
- Zines and self-published books are small, personal and often experimental. They show how much a modest budget can do.
How to judge printing and binding in a shop
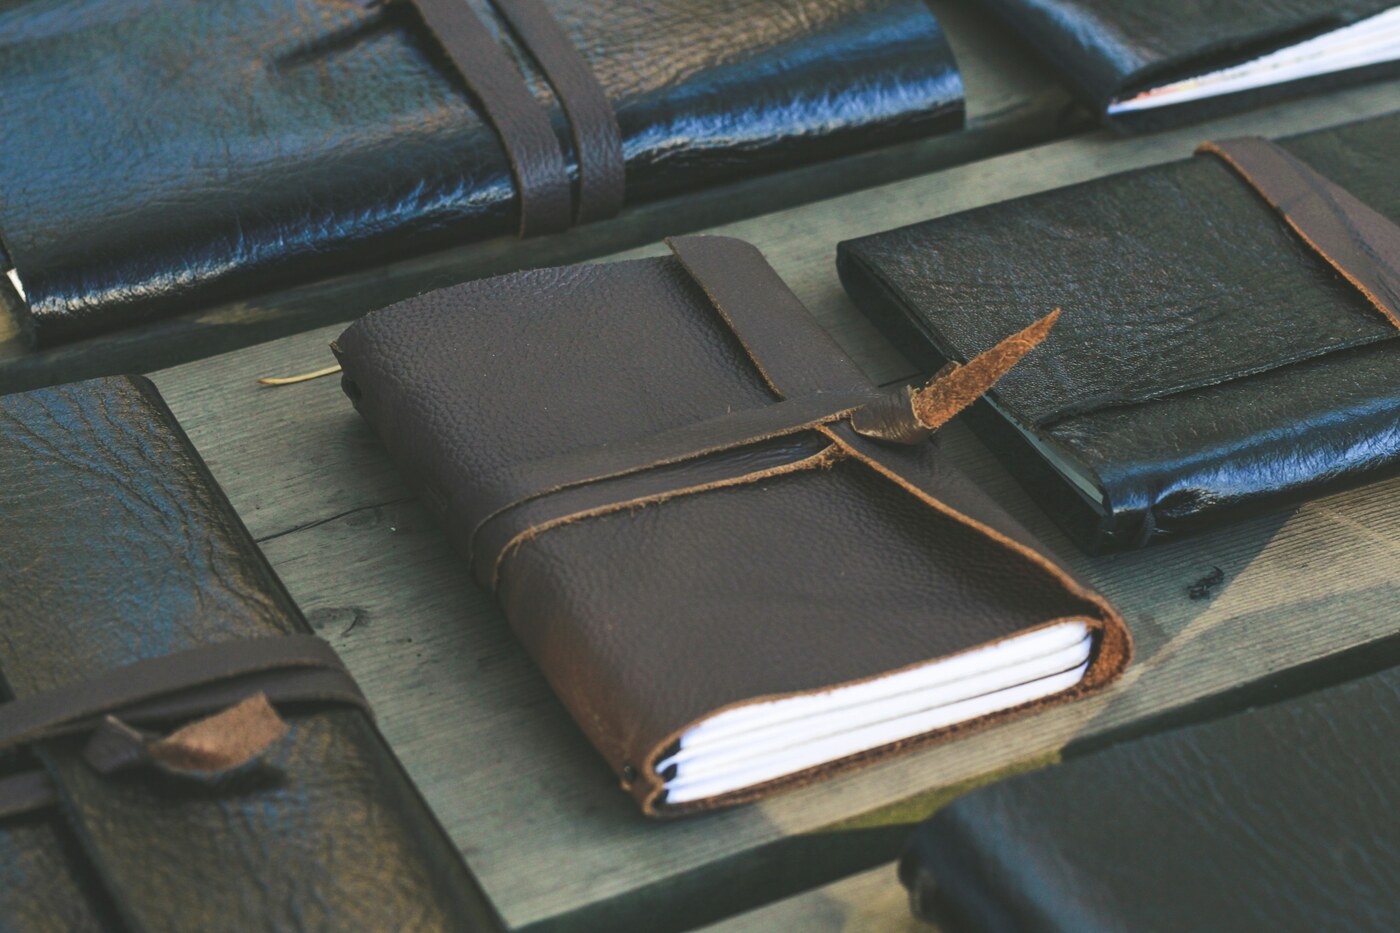
If you can, hold a book before you buy it. A few checks tell you a lot in under a minute.
 Save
- Look at the blacks. Are they deep and even, or muddy and gray?
- Check the skin tones and sky gradients for banding or odd color casts.
- Open the book to the middle. Does it lie reasonably flat, or does the spine fight you?
- Run a finger across the paper. Is it smooth, textured, thick or thin? Does it suit the pictures?
- Look at how images cross the gutter, the fold in the middle. Good books place the important detail away from it.
- Check the cover materials. Cloth, board and uncoated paper each give a different feel.
Reading the words in a photo book
Many fine art books include an essay, a poem or a short statement from the photographer. Treat the text as part of the book, but read it after you have looked at the pictures. The best texts open a door without telling you what to see. If the text explains every photograph, the pictures may not be doing their job. If it adds a layer of history, place or feeling, it is helping.
Captions are a similar choice. Some books put captions beside the pictures and some collect them at the back, so the images can be seen without interruption. Neither is right or wrong. Notice which one makes you look more closely.
How to study a photography book
Reading a book well is a skill. Try this approach the next time you pick one up.
- Go through it once quickly, without stopping, to get the overall feel.
- Go through it again slowly. Notice which pictures hold you and which do not.
- Look at the pairs on each spread. Ask why those two images sit together.
- Find the rhythm. Where does the book slow down? Where does it speed up?
- Read the text last. Check whether it adds to the pictures or explains them away.
- Write notes in a notebook: what worked, what you would borrow, what you would avoid.
Keep a short list of books you return to. Over time, the list tells you a lot about your own taste.
Building a library on a budget
You do not need a big budget. A library grows one good book at a time.
- Start at your public library. Many libraries carry large photography collections and let you borrow expensive books for free.
- Look at used shops and online secondhand sellers. Many books are available at a fraction of the original price.
- Check small presses and independent publishers. Their books can be affordable, and you support working artists directly.
- Buy fewer, better books. One book you study for a year beats ten you flip through once.
- Visit book fairs and gallery shops. You can inspect the printing and binding before you buy.
- Mind condition. For used and collectible books, check for marks, torn dust jackets and loose bindings.
A note on first editions and signed copies
Some photography books gain value over time, especially small first editions. If you are buying for that reason, check the edition, the condition and the seller. For most people, though, the best reason to buy a book is that you want to spend time with it. Buy a reading copy if you plan to handle the book often, and keep a collectible copy protected.
Caring for your books
- Store them upright or flat, away from direct sun and damp.
- Handle them with clean, dry hands.
- Avoid forcing a book fully flat, which can damage the spine.
- Use a dust jacket cover if you want to protect a valuable copy.
- Keep large books stacked flat, not leaning.
Making your own fine art photography book
Making a book is the best way to understand one. It also gives your work a finished form that is easy to share. You can do it on any budget.
 Save
Step 1: Find your subject
Choose a body of work with a clear thread. It might be a place you keep returning to, a project over a year or a set of pictures with a common mood. Aim for a theme you can describe in one sentence.
Step 2: Edit hard
Start with all the candidates, then cut. Print small proofs and lay them on a table or wall. Move them around. Remove the ones that repeat or distract. The right count depends on the project, the page size and the pacing, so do not start from a target number. Test the edit instead: remove one picture at a time and ask if the sequence loses something. If it does not, the picture can go.
Step 3: Sequence
Decide how the book opens, where it builds and how it ends. Think in spreads, not single pages. Give your best images room, and use quieter pictures to let the strong ones breathe.
A worked example: a 12-page sequence
Here is a sample structure for a 12-page book on a single subject, such as one street photographed over a season. It is a template, not a rule. Change the roles to suit your pictures.
- Page 1 (opening): one strong, calm picture that sets the subject and the tone.
- Pages 2 and 3 (a pair): two pictures that echo each other in shape or colour, so the eye moves between them.
- Pages 4 to 7 (the build): a mix of wide and close pictures that widen the story. Avoid two near duplicates in a row.
- Pages 8 and 9 (the quiet spread): a single plain picture with white space on the facing page, to slow the reader down.
- Pages 10 and 11 (the turn): a stronger pair that raises the pace again.
- Page 12 (the end): a picture that closes the idea without repeating the opening.
Step 4: Design the pages
- Pick a page size that suits the pictures. Landscape images often want a landscape format.
- Choose consistent margins and keep captions small and simple.
- Decide whether pictures bleed to the edge or sit with a white border.
- Add a short introduction if it helps, but keep it brief.
Step 5: Choose how to print
- Print on demand services let you order one copy or a handful. They are the easiest way to start.
- Short run printing gives more control of paper and binding for larger quantities. Minimums, options and pricing vary by printer and there is no fixed cutoff, so ask several printers for a sample and a quote before you decide.
- Hand-made books suit small editions and give you complete control, but take more time.
Order a proof copy first. Colors and tones on paper never match the screen exactly, and a proof shows you what to fix before you commit.
Proof-check checklist
- Read every page for typos, including captions and credits.
- Check that each image is sharp at the printed size and that no key detail sits in the gutter where the fold will cut it.
- Compare tone and colour across all pages. A proof on the real paper may look different from your screen.
- Confirm the page order and that the left and right pages pair as you planned.
- Check margins, and that text and page numbers are not too close to the trim edge.
- Order a physical proof before the full run, and read it again.
Step 6: Share it
Send copies to friends whose taste you trust, bring one to gallery visits and show it at local events. A book is a great calling card, and the feedback is worth more than the sales.
Photo books and your photography business
A book can also help you sell prints and win clients. A printed book gives a client or an editor something to hold and keep on a desk, which a link in an email does not. If you are thinking about how to present your work online next to a printed book, see the SmugMug review for a look at one portfolio and print-sales option. If you are still choosing gear, the camera buyer guide is a good starting point, and the Shut Your Aperture Academy has lessons on editing and building a body of work.
Common mistakes with photography books
- Buying only for the cover or the name.
- Reading the text and skipping the pictures, or the other way around.
- Making a book with no clear idea behind it.
- Including too many images, so none can breathe.
- Skipping the proof copy.
- Ignoring paper and binding until the end.
- Waiting for a perfect project instead of starting a small one.
A simple 8 week plan to make your first book
- Weeks 1 and 2: Gather candidate images and write one sentence about the book.
- Weeks 3 and 4: Edit down and test sequences with small prints.
- Weeks 5 and 6: Design the layout and write a short intro and captions.
- Week 7: Order a proof and review it page by page.
- Week 8: Fix problems, order the final copies and share them.
Finishing one project teaches you how editing, sequencing and printing fit together, which scrolling through other people’s work does not.
Keep a running wish list in your phone. When you see a book mentioned that interests you, note the title and the photographer, then check your library or a used shop before you buy new. A little patience usually saves a lot of money, and the books you wait for tend to be the ones you read most.
Related reading on Shut Your Aperture: fine art workflow from idea to finished print, black and white photography techniques.
Frequently asked questions
What is a fine art photography book?
It is a book built around photographs as art, with careful editing, sequencing, printing and design. It usually presents a body of work with a clear idea, not just a collection of pictures.
How do I choose a good photography book?
Look for a clear idea, strong editing, good sequencing and printing that suits the work. Browse it in person or in a library if you can, and notice whether the pictures hold you through the whole book.
Where can I find affordable photography books?
Check public libraries, used bookshops, secondhand online sellers, small independent publishers, book fairs and gallery shops.
How many photos should a photography book have?
There is no fixed number. It depends on the project, the page size and the pacing. Test your edit by removing one picture at a time: if the sequence does not lose anything, the picture can go. Edit until every picture earns its place.
How do I make my own photo book?
Choose a theme, edit down your images, sequence them in spreads, design simple pages, order a proof from a print on demand or short run printer, then fix any problems and print final copies.
Are photography books good investments?
Some rare books gain value, but most people should buy for the pleasure of the work. If you buy for value, pay attention to edition, condition and the seller.
Photography books reward slow attention. Borrow them, buy a few that you love, study how they are made, and then make one of your own. The habit of editing, sequencing and finishing work will improve every picture you take.