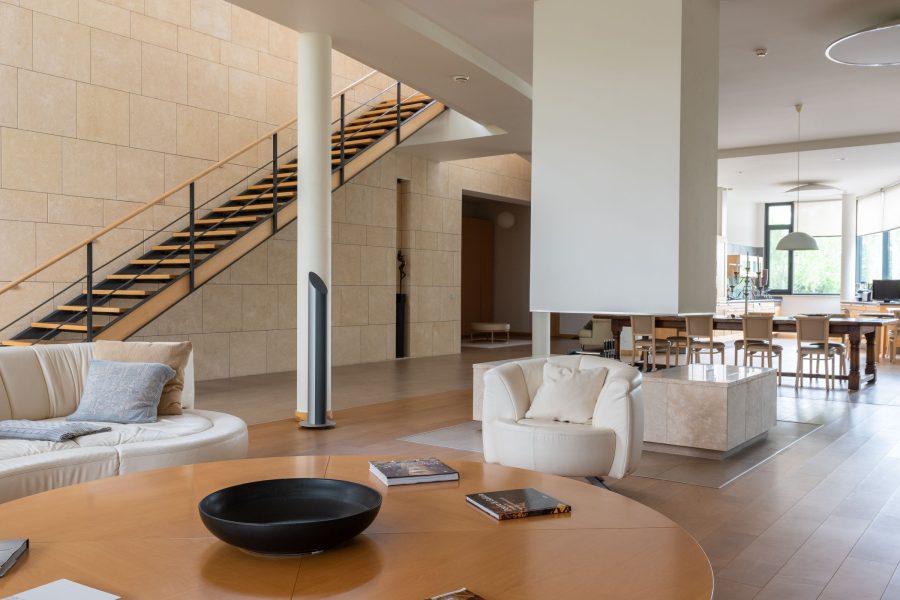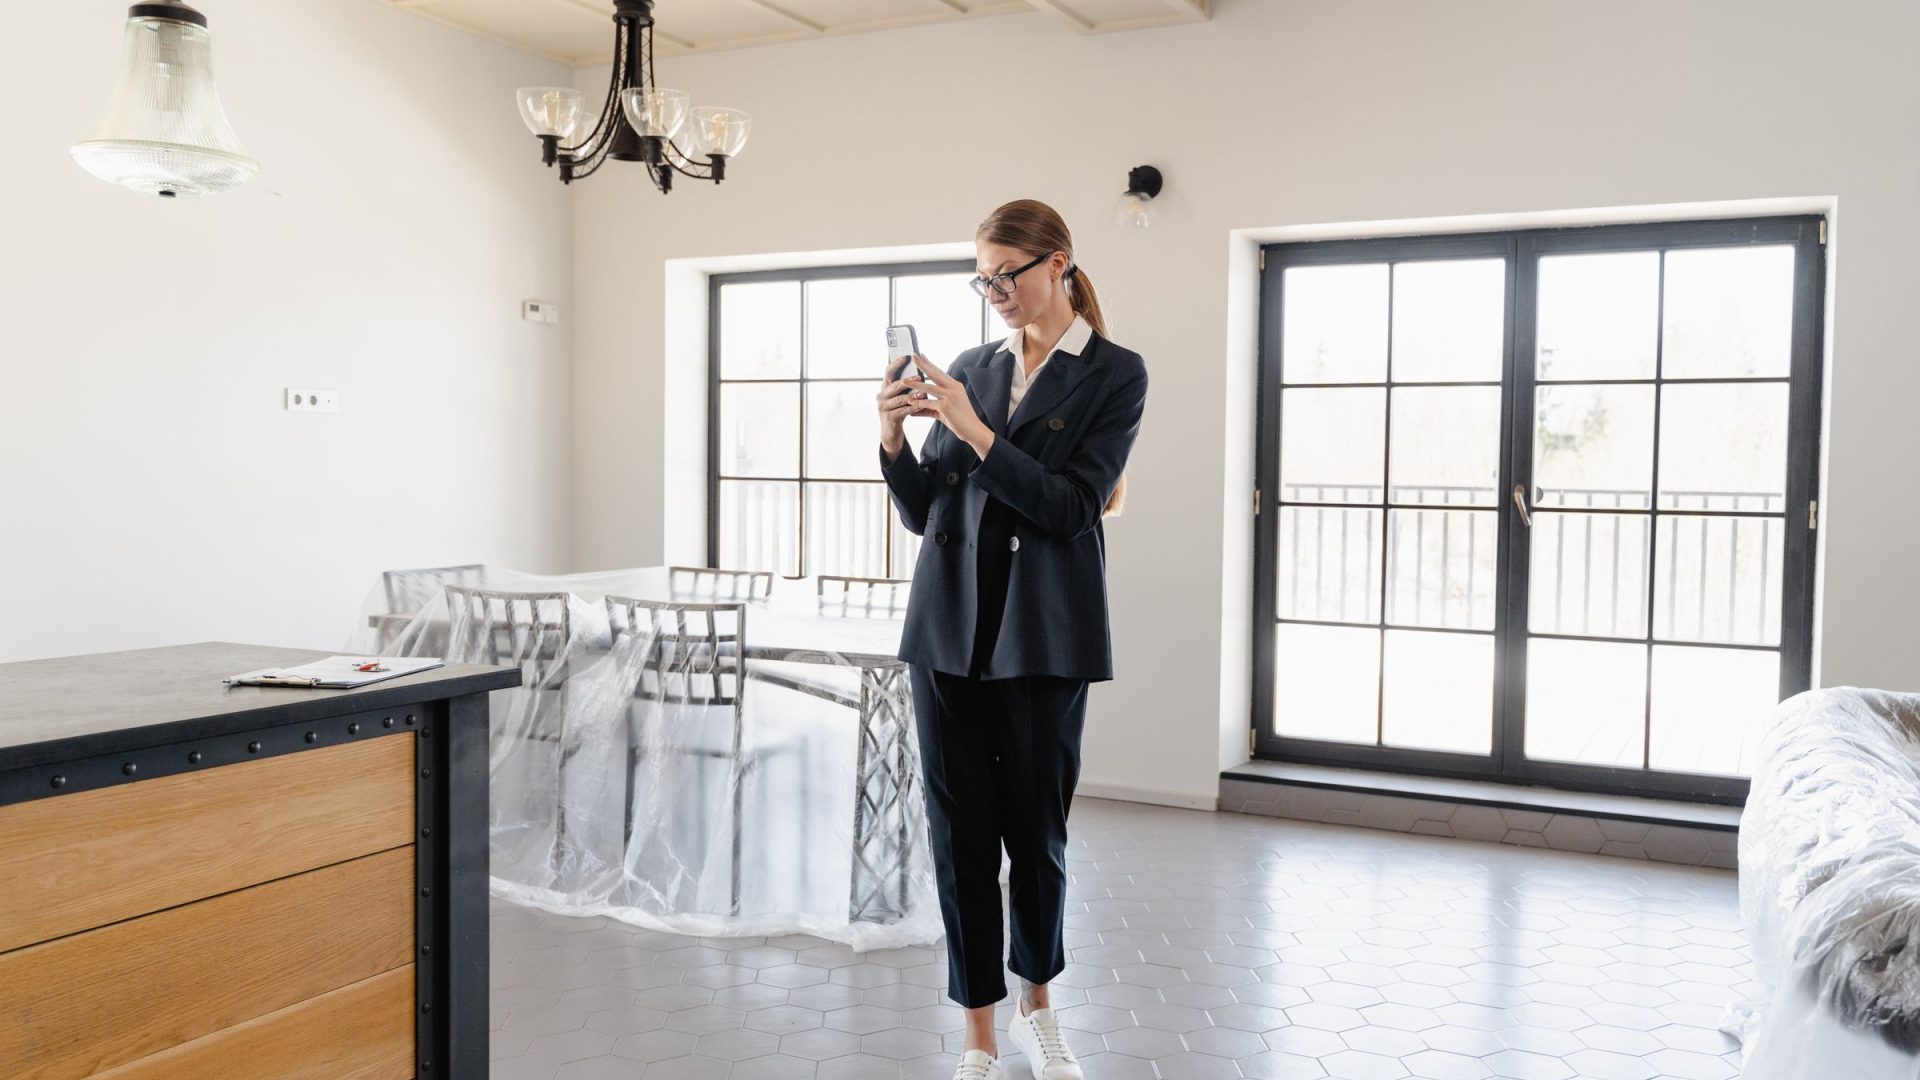
Real estate has a faster turnaround expectation than almost any other photography niche: agents often need edited photos within hours, not days. Lightroom Mobile’s preset system was built for exactly this kind of repetitive, deadline-driven editing. This guide covers what belongs in a real estate mobile preset, how to set it up, and the workflow that holds up across different properties and lighting.
Why Presets Work Differently for Real Estate
Portrait and landscape photographers use presets as a mood to customize from. Real estate editing is different: buyers scrolling a listing expect consistency, so the kitchen and the master bedroom need to feel like the same house. Heavy creative grading looks out of place and can even raise suspicion about what is being hidden. A good real estate preset is not a style; it is a reliable baseline that fixes the predictable problems, blown windows, flat tungsten warmth, muddy shadows, so the finished photo looks like a well-lit room rather than a processed one.
 Save
SaveWhat to Build Into Your Mobile Preset
Exposure and tone
Most interiors benefit from a slight exposure lift, +0.3 to +0.5 EV, because rooms photograph darker than they look in person. Pull highlights down -50 to -70 to recover window detail, lift shadows +20 to +30 for dark corners, and trim whites slightly so nothing clips.
 Save
SaveColor temperature and tint
Interior light is almost always mixed: daylight from windows, warm overheads, the odd cool LED or fluorescent. No single white balance fixes all three, but a preset around 5000 to 5500K with a small positive tint (+8 to +12) lands closer to neutral than auto on most interiors. Expect to fine-tune per property.
Clarity and texture
A small clarity boost (+10 to +15) defines tile, wood grain, and cabinet edges. Go higher and surfaces turn gritty. Texture around +10 does similar work with less midtone crunch. Avoid negative clarity here: the soft look some portrait work favors reads as out-of-focus on a listing.
HSL for the usual problem colors
Two ranges cause constant trouble indoors. Orange from tungsten light turns walls pumpkin: desaturate orange -15 to -20 and nudge its hue toward yellow. Aqua from appliance glass and window reflections goes garish: a small aqua desaturation keeps it in check. Both belong in the preset because they show up on nearly every interior shoot.
Setting Up Presets in Lightroom Mobile
Presets built in Lightroom Classic or CC on desktop sync to mobile automatically when Creative Cloud sync is on and they live in the User Presets folder. They appear under Presets in the mobile editing panel within minutes. To build one directly on mobile: edit one image to your liking, tap the three-dot menu, choose Create Preset, give it a clear name like “RE Interior Base”, and file it in a presets group.
For the full library-building workflow from scratch to a finished collection, see the Lightroom presets guide.
The Mobile Workflow for a Real Estate Shoot
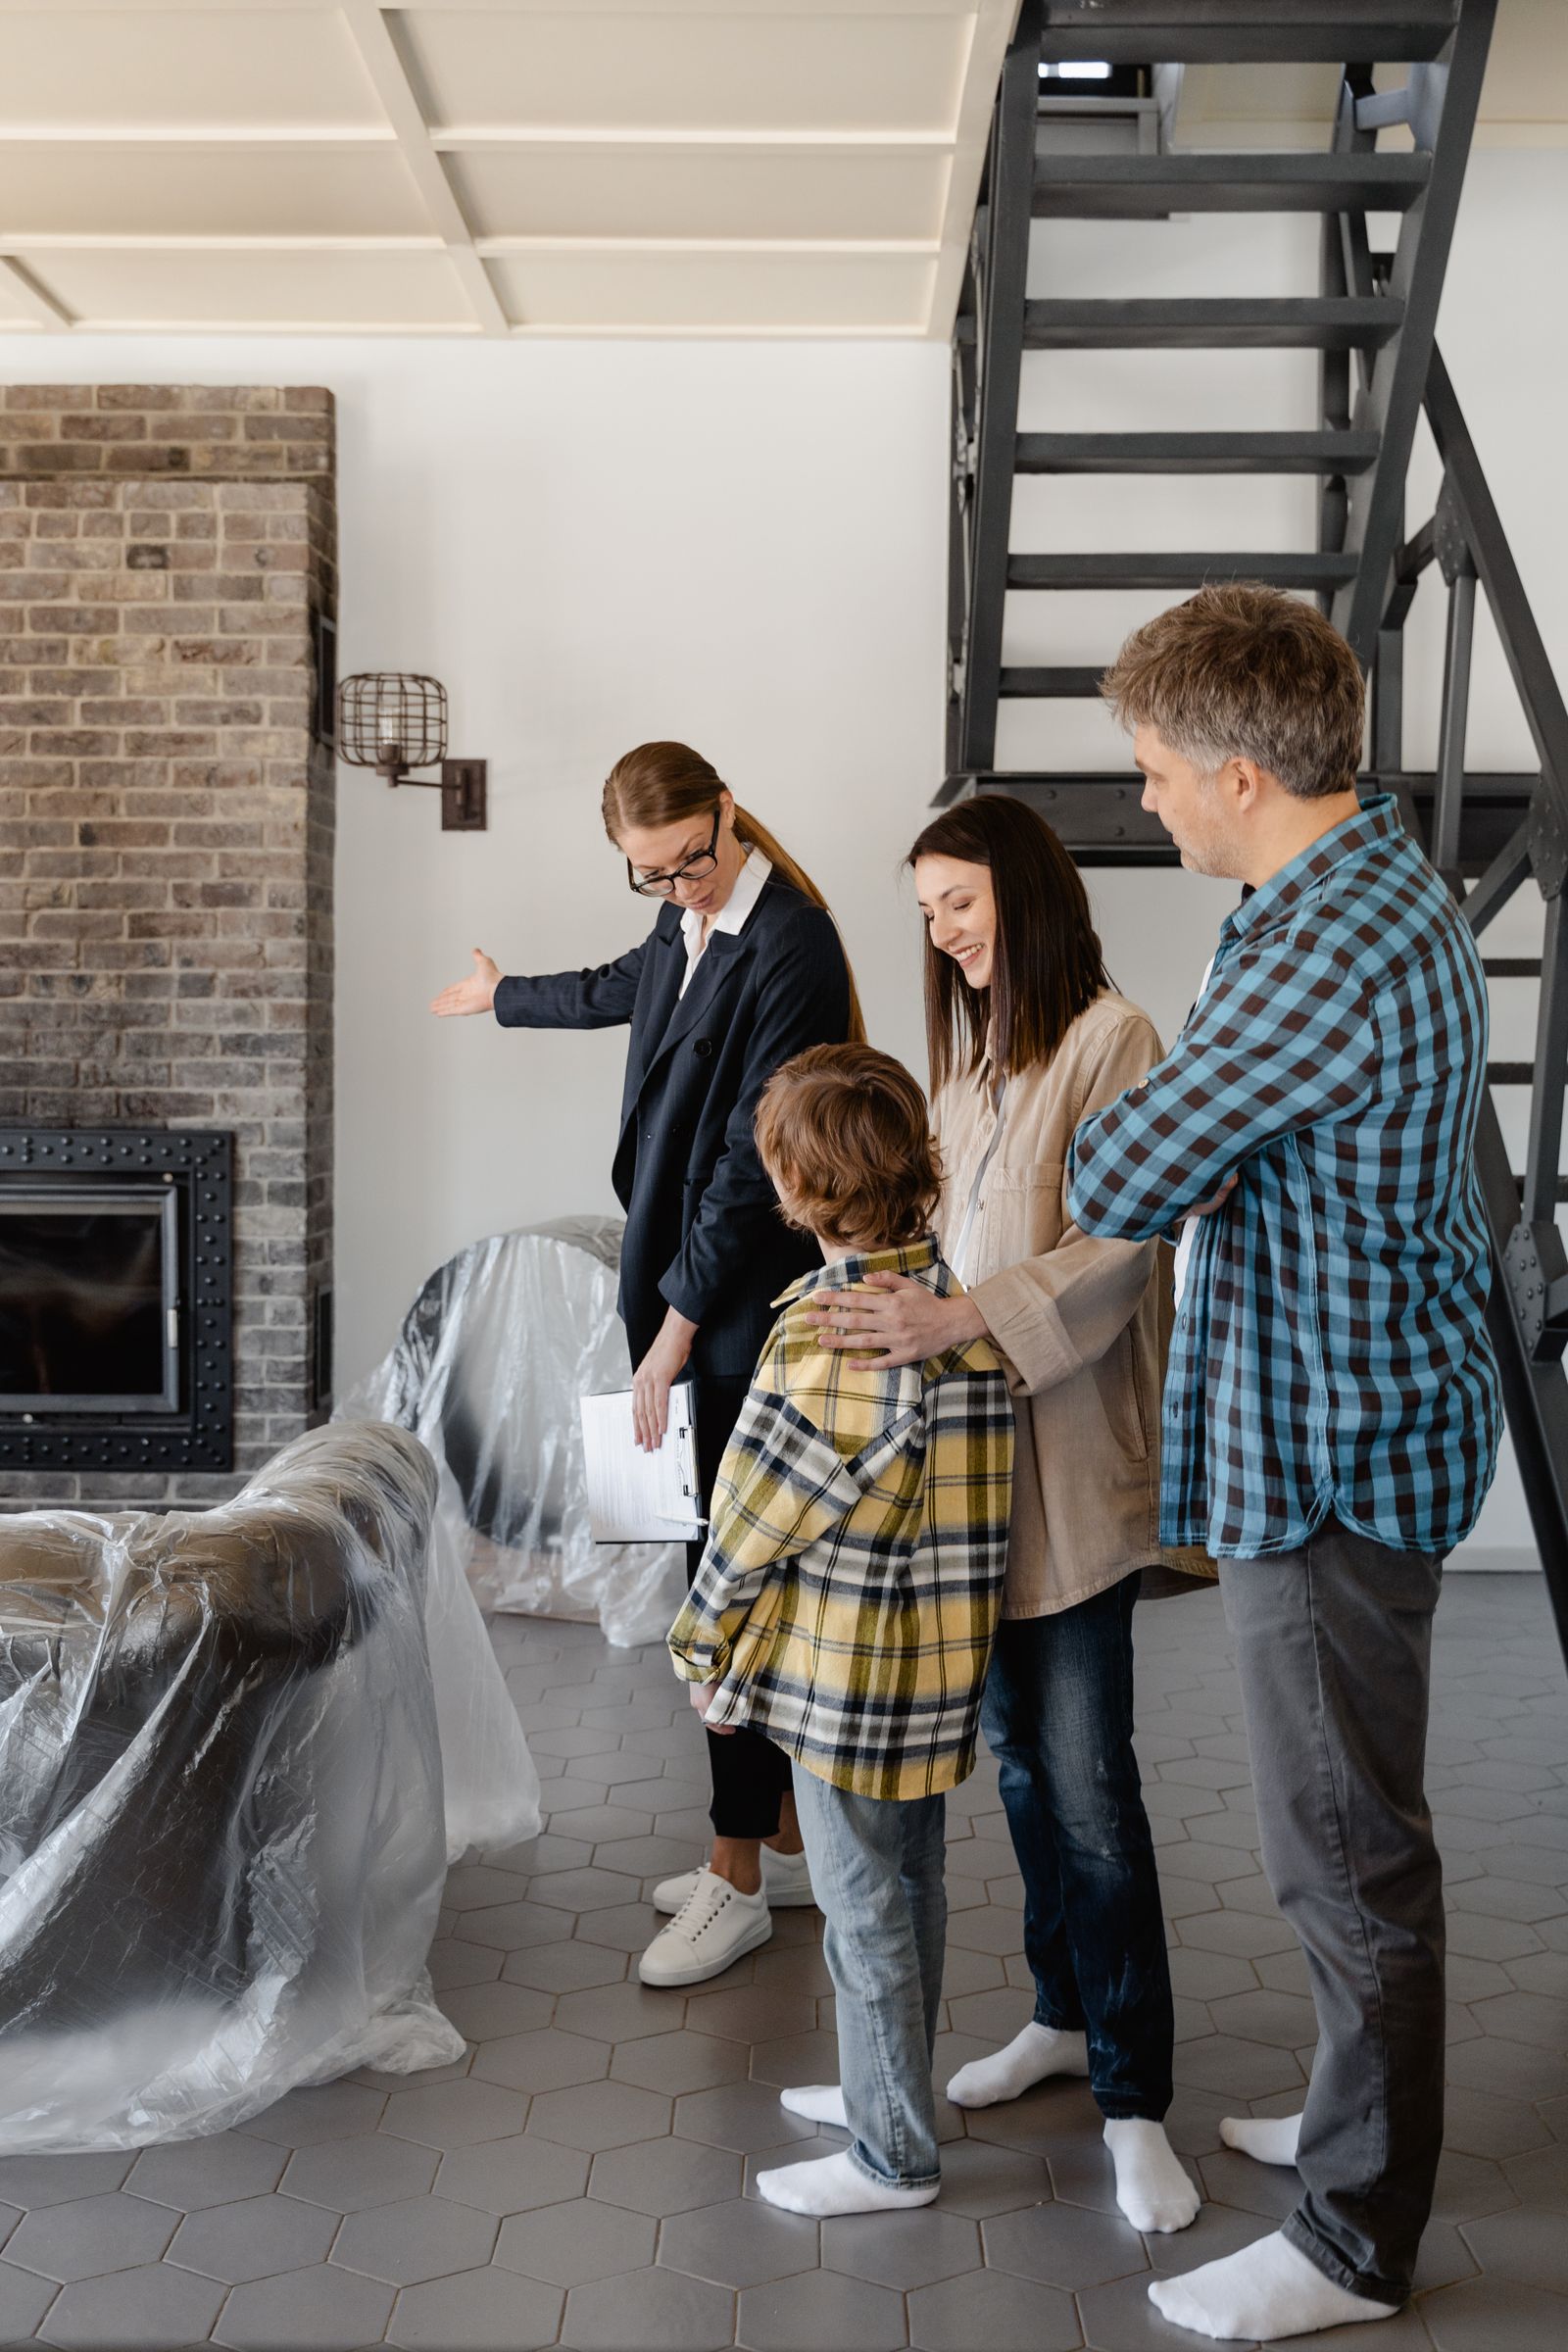
A practical on-site-to-delivery process for phone or mirrorless shooters working through Lightroom Mobile:
 Save
Save- Shoot RAW when your device supports it (Apple ProRAW or Android RAW) so Lightroom has real data to work with.
- Import immediately after the shoot; sync runs while you pack up.
- Pick the best frame per room, apply the base preset, then adjust white balance and exposure for that specific shot. With practice this runs 45 to 90 seconds per image.
- Use Copy Settings and Paste Settings across similar frames from the same room. That is where the time savings compound.
- Export full resolution for MLS upload.
Shooting decisions feed the edit: aperture at f/8 for depth of field in tight rooms means higher ISO, which the preset’s shadow recovery has to manage. Note which properties force the biggest deviations from your baseline and fold those lessons back into the preset over time.
Want to go further? The ShutYourAperture Academy’s Architectural & Interior Photography (8 modules, 32+ lessons) is built to help you compose with steel, glass and light the way architects do.
Managing Multiple Property Styles
One preset does not cover everything. A vacant condo with white walls and floor-to-ceiling glass needs different starting adjustments than a wood-toned craftsman with small windows. Two or three base presets beat one catch-all: name them by context (“RE Bright Vacant”, “RE Mixed Light”, “RE Dark Rooms”), pick the right one when you walk in, and refine from there.
Real estate editing is a volume business, and the photographers who earn well at it run systems that are fast without being sloppy. A tested mobile preset library is the simplest of those systems to build. If you want a head start, the Real Estate Preset System covers 88 interior, exterior, twilight, and drone looks that sync to mobile, and the free starter pack in our presets guide costs nothing to test first.
Keep a separate copy of the mobile edits
A Samsung T7 Shield 1TB portable SSD in black, model MU-PE1T0S/AM, is one option for keeping a computer-side copy of real estate originals and exported mobile edits. Verify your computer connection and capacity, copy the files, then open them before clearing the source. This is not a claim of direct compatibility with your phone or Lightroom Mobile. The drive does not sync presets or improve an edit. One drive is not a complete backup; keep a separate checked copy of files you cannot replace. Compare the current retailer specifications; no hands-on test, price or stock promise is being made here.
Compare Samsung T7 Shield 1TB Black MU-PE1T0S/AM on Amazon | Check Samsung T7 Shield 1TB Black MU-PE1T0S/AM at B&H
Affiliate disclosure: We may earn a commission from qualifying purchases through these gear links at no extra cost to you. As an Amazon Associate, Shut Your Aperture earns from qualifying purchases.