For the underlying mechanics behind every choice below, our aperture photography guide is the fastest way to get fluent.
So, you finally took the plunge. You ditched the smartphone (mostly) and picked up a mirrorless camera. Maybe it was a gift, or maybe you spent weeks obsessing over specs until your eyes bled. Either way, you’re now holding a piece of technology that’s more powerful than the computers that put humans on the moon. And yet, if you’re like most beginners, you’re looking at that dial and those menus like they’re written in ancient Sumerian.
Don't panic. Mastering mirrorless photography isn't about memorizing a textbook; it’s about understanding a few core principles and then getting out there to make mistakes. This guide is your roadmap to going from "I have no idea what I'm doing" to "I actually meant to do that." We're going to break down the tech, the settings, and the soul of photography so you can start capturing the world exactly how you see it.
What Exactly is a Mirrorless Camera?
For decades, the Digital Single-Lens Reflex (DSLR) was the king of the mountain. It had a physical mirror inside that flipped up every time you took a photo. Mirrorless cameras, as the name suggests, kicked the mirror to the curb. Instead of light bouncing off a mirror and into an optical viewfinder, the light goes straight to the sensor.
Why does this matter? Because it allows cameras to be smaller, faster, and smarter. You’re not looking at a reflection; you’re looking at a digital preview of your actual image through an Electronic Viewfinder (EVF) or on the rear LCD screen. If you change a setting, you see the result before you press the shutter. That’s a massive advantage for beginners. If you're still deciding on a body, check out our 2026 mirrorless camera comparison to see where the industry is heading.
The Holy Trinity: The Exposure Triangle
If there is one thing you must master to call yourself a photographer, it’s the exposure triangle. This is the relationship between Aperture, Shutter Speed, and ISO. Think of it like a three-legged stool: if you move one leg, you have to adjust the others to keep the stool level (or in this case, the image properly exposed).
1. Aperture (The "F-Stop")
Aperture is the hole in your lens that lets light in. It’s measured in f-stops (like f/2.8 or f/11).
- Low f-number (f/1.8, f/2.8): The hole is wide open. This lets in a ton of light and creates that creamy, blurred background everyone loves (bokeh).
- High f-number (f/11, f/16): The hole is tiny. This lets in less light but keeps everything from the foreground to the background in sharp focus.
If you’re struggling to grasp how this affects your shots, you might want to read our guide on how to master your camera's manual mode in 5 minutes for a quick refresher.
2. Shutter Speed
This is how long your camera sensor is exposed to light.
- Fast shutter (1/1000s): Freezes motion. Perfect for sports, birds, or hyperactive toddlers.
- Slow shutter (1/30s or slower): Blurs motion. This is how people get those silky waterfall shots or light trails in the city.
3. ISO
ISO is your sensor’s sensitivity to light.
- Low ISO (100-400): Use this in bright daylight. It produces the cleanest, highest-quality images.
- High ISO (3200+): Use this in dark environments. It makes the sensor more sensitive, but the trade-off is "noise" or graininess in your photo.
Mastering these three settings is the difference between a lucky snapshot and a deliberate piece of art. For a deeper dive, head over to PhotoGuides.org for some excellent technical breakdowns.
The Magic of the Electronic Viewfinder (EVF)
One of the biggest perks of going mirrorless is the EVF. In the old days, you’d take a photo, look at the back of the screen, realize it was too dark, and try again. This is called "chimping," and it’s a waste of time.
With an EVF, what you see is what you get (WYSIWYG). If you crank your exposure up, the image in your eye gets brighter. This allows you to nail your exposure on the first try. Plus, you can overlay helpful tools like a histogram (a graph of your light levels) or "focus peaking," which highlights what's in focus with bright colors. It feels like having a superpower.
Autofocus: Let the Camera Do the Heavy Lifting
Mirrorless cameras have revolutionized how we focus. Gone are the days of "focus and recompose." Modern systems use On-Sensor Phase Detection, which covers almost the entire frame.
The real game-changer? Eye-AF. Most modern mirrorless cameras can detect human (and animal!) eyes and lock onto them instantly. This is a lifesaver for portrait photography. Instead of worrying if the nose is in focus while the eyes are blurry, you let the camera track the eye while you focus on the composition.
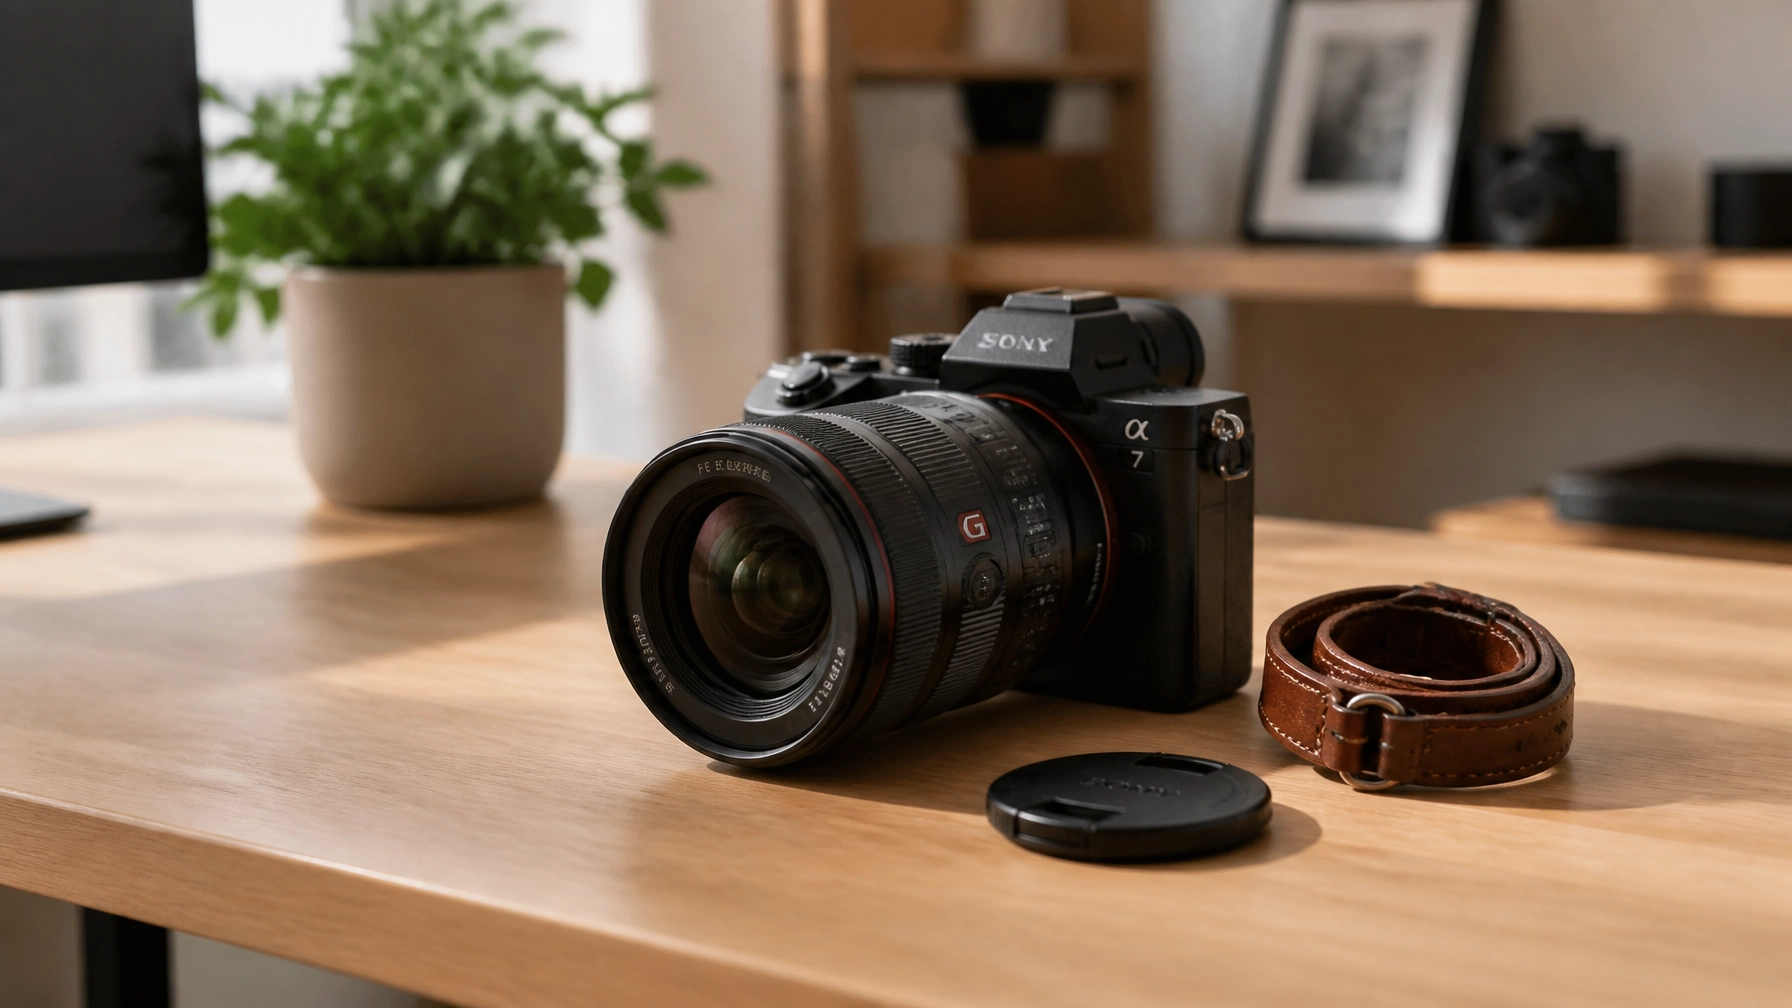
If you’re using a Sony system, for example, we’ve broken down specific settings for the Sony a7 IV that can help you get the most out of these advanced AF systems.
IBIS: Handholding Like a Pro
IBIS stands for In-Body Image Stabilization. It’s a mechanism that physically moves the sensor to counteract your shaky hands. This is one of the "secret sauces" of mirrorless tech.
Why should you care? Because it lets you shoot at slower shutter speeds without needing a tripod. Imagine being in a dimly lit cathedral and being able to snap a sharp photo at 1/10th of a second while holding the camera. Without IBIS, that photo would be a blurry mess. However, remember that IBIS doesn't stop subject movement. If you’re shooting a racing car at a slow shutter speed, the car will still be a blur, even if the background is sharp.
Understanding Sensor Sizes: Full Frame vs. APS-C
When you start browsing lenses, you’ll hear these terms thrown around.
- Full Frame: The sensor is the size of a traditional 35mm film frame. These sensors generally perform better in low light and provide more "depth" (easier bokeh).
- APS-C (Crop Sensor): These sensors are smaller. They make the camera body and lenses more compact and affordable. Because the sensor is smaller, it "crops" into the image, giving your lenses more "reach." A 50mm lens on an APS-C camera looks more like a 75mm lens.
Neither is "better" in a vacuum; it depends on what you shoot. Street photographers often love the portability of APS-C, while landscape and wedding photographers often lean toward Full Frame for the extra detail. You can see some stunning examples of what different sensors can achieve over at Edin Fine Art.
Lenses: The Glass is Everything
Your camera body is the brain, but the lens is the eye. You can have a $5,000 camera, but if you put a cheap, plastic lens on it, your photos will look average.
Prime vs. Zoom
- Prime Lenses: These have a fixed focal length (like 35mm or 50mm). You can't zoom in or out: you have to use your feet to move. Because they are simpler, they are often sharper and have wider apertures (better for low light and bokeh).
- Zoom Lenses: These offer a range (like 24-70mm). They are incredibly versatile for travel or events where you don't have time to swap lenses.
For beginners, I always recommend picking up a "nifty fifty": a 50mm prime lens. It’s usually cheap, sharp, and teaches you more about composition than any zoom ever will. If you're looking for inspiration on how to use these lenses creatively, check out our 25 creative street photography ideas.
The Shooting Modes: Moving Off "Auto"
The green "Auto" mode on your dial is like training wheels. It’s fine for the first day, but you’ll eventually want to take them off.
- Aperture Priority (A or Av): You choose the aperture, the camera does the rest. This is the mode most pros use 90% of the time. It gives you control over the "look" of the photo (how blurry the background is).
- Shutter Priority (S or Tv): You choose the shutter speed. Great for action or waterfalls.
- Manual Mode (M): You control everything. It’s intimidating at first, but it’s the only way to truly understand light. We have a great beginner’s guide to manual mode that makes it way less scary.
Composition: The Secret to "Pro" Looking Photos
You can have the best settings in the world, but if your composition is boring, the photo will be boring. Here are three quick tips:
- Rule of Thirds: Imagine a tic-tac-toe grid over your frame. Place your subject on one of the lines or intersections rather than right in the middle.
- Leading Lines: Use roads, fences, or shorelines to lead the viewer’s eye into the photo.
- Fill the Frame: Don't be afraid to get close. Sometimes the most interesting part of a scene is a tiny detail.
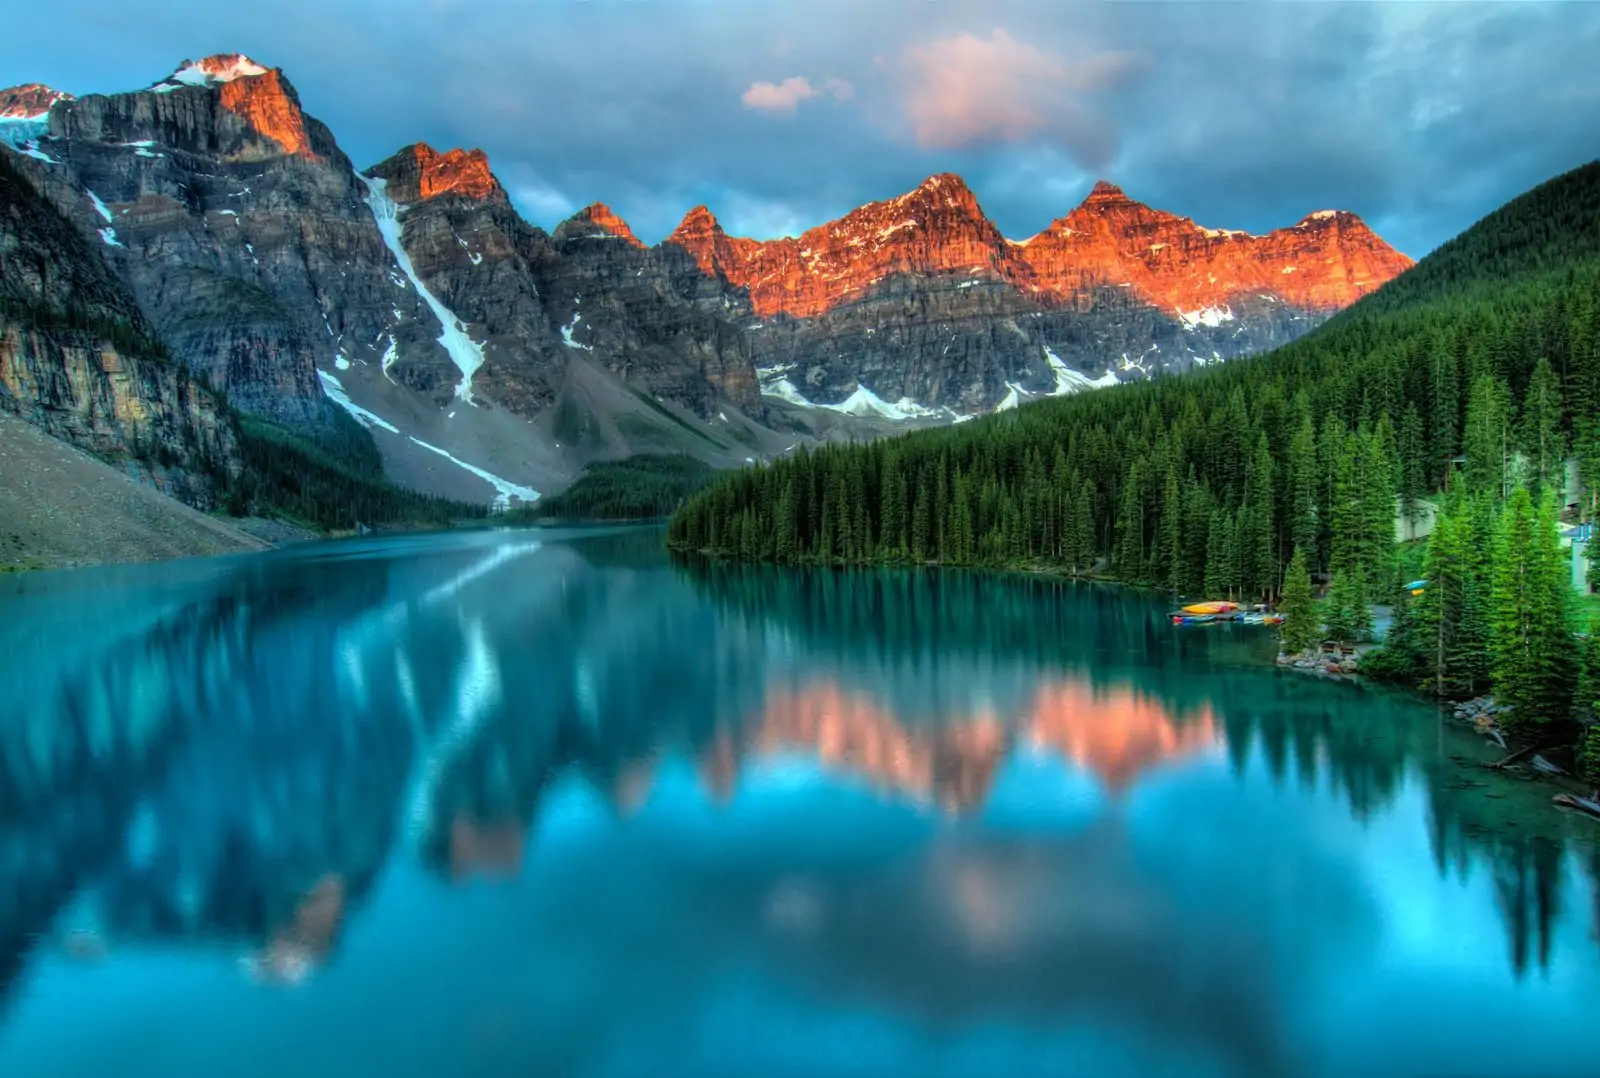
Landscape photography is a great place to practice these. Avoid common traps by reading up on 7 landscape photography mistakes you're probably making.
Post-Processing: Where the Magic Happens
Taking the photo is only half the battle. To really make your images pop, you need to edit them. Don't worry, you don't need to be a Photoshop wizard.
I highly recommend checking out Luminar. It uses AI to handle the tedious stuff (like masking or sky replacement) so you can focus on the creative side. It’s a game-changer for beginners who want professional results without the steep learning curve of Adobe. If you're curious about how AI is changing the landscape, we've got a breakdown on AI-powered photography news that’s worth a read.
A Practical 5-Day "Mastering" Plan
Don't try to learn everything at once. Use this plan to get comfortable with your mirrorless camera over the next week:
- Day 1: The Body. Don't even take a photo yet. Sit on your couch and go through every single menu item. Map your favorite settings to custom buttons. Learn where the ISO and Aperture dials are by feel alone.
- Day 2: Aperture Experiment. Find a subject (a coffee cup, a flower, your cat). Shoot it at every f-stop your lens allows. Notice how the background changes from a blurry mess to sharp detail.
- Day 3: Shutter Speed Play. Go to a busy street or a park with a fountain. Practice freezing the action at 1/2000s and then blurring it at 1/15s (use a railing to steady your hands if you don't have a tripod).
- Day 4: Focus Modes. Practice switching between AF-S (for still objects) and AF-C (for moving objects). If your camera has Eye-AF, find a friend and see how far away you can get while still locking onto their eye.
- Day 5: Manual Mode. Take it all into the real world. Try to get a perfect exposure using only the manual dials. Check your histogram to make sure you aren't "clipping" your highlights.
If you want to take this to the next level, our Learning Portal has structured courses that go much deeper than a blog post can.
Essential Accessories for Beginners
You don't need a lot of gear, but a few things will make your life easier:
- Extra Battery: Mirrorless cameras eat batteries because of the screens and EVFs. Always have a spare.
- Fast SD Card: If you want to shoot video or fast bursts of photos, you need a card that can keep up.
- Lens Pen: Fingerprints happen. Keep your glass clean.
- Comfortable Strap: The one that came in the box is usually terrible. Invest in a good padded or leather strap.
For more gear talk and industry rants, you can always head over to Edin Chavez’s blog.
Final Thoughts: Just Keep Shooting
The gap between the "pros" and the beginners isn't just gear; it's the number of shutter clicks. A pro has simply failed more times than a beginner has even tried. Your mirrorless camera is a tool: a very expensive, very smart tool: but it doesn't have an "art" button. That part is up to you.
So, get out of the house. Shoot in the rain, shoot in the sun, shoot the mundane things in your kitchen. The more you shoot, the more the camera becomes an extension of your own eye. And if you ever feel stuck, come back and revisit our guide on mastering landscape photography for some fresh inspiration.
Now, stop reading this and go take some photos.