
Kerry Park is the single highest-yield photography location in Seattle — and it is not particularly close. A strip of viewpoint barely 1.26 acres wide on the south slope of Queen Anne Hill, the park frames the Space Needle, the Columbia Center, the downtown core, Elliott Bay, and on a clear day, the 14,411-foot volcanic cone of Mount Rainier in one locked-in composition you can shoot from a fixed position along the railing. Every postcard, magazine cover, and stock-library image of the “Seattle skyline” that places the Space Needle mid-frame with the city behind it was taken from roughly this spot. The question is not whether to go. The question is how to go — because a bad plan here produces the same clichéd, blown-out, soft-focused frame that 10,000 other photographers also brought home. These notes are how to avoid that. For practitioners, see our breakdown of shutter for stadium sports.

Access, hours, and the logistics that actually matter
Kerry Park sits at 211 W Highland Drive, Seattle, WA 98119 (coordinates 47.6295°N, 122.3600°W), on the south rim of Queen Anne Hill between 2nd Avenue W and 3rd Avenue W. According to the Seattle Parks and Recreation official listing, the park is free and open to the public year-round with no gate or entry fee. Hours are posted as 6 a.m. to 10 p.m. daily, which gives photographers a legal window for both first light and the full twilight sequence after sunset — the park does not close at dusk. There are no restrooms on site. The nearest public facilities are inside the Safeway at Queen Anne Avenue N and Crockett Street, approximately seven blocks north. Plan accordingly, particularly for multi-hour evening shoots.
Street parking along W Highland Drive and the immediate residential side streets is free but operates on residential permit restrictions in some zones — check posted signs before you leave the car. On any evening when conditions favor photography (clear sky, mountain visible, or even just a clean twilight), the block in front of the park and both adjoining streets will be full by late afternoon. Arrive before 4:00 p.m. in summer if a specific rail position matters. If you are driving up on a summer weekend evening, extend your search to W Galer Street a few blocks north, or to the blocks around 5th Avenue W and W Lee Street — a five-to-ten-minute flat walk along Highland back to the viewpoint. There are no dedicated paid parking lots immediately adjacent to Kerry Park; the nearest paid options are down the hill near Seattle Center, adding a strenuous uphill walk. Budget extra time.
Transit is a genuinely viable alternative and, on crowded evenings, the faster option. King County Metro Route 2 and Route 13 both serve Queen Anne Hill with stops on Queen Anne Avenue N at W Highland Drive, two blocks east of the park — a flat walk along Highland. Catch northbound buses in the heart of downtown or on the west side of Seattle Center. For the return trip, the stop on the west side of Queen Anne Avenue N at Highland handles southbound service. If you are walking from Seattle Center, the distance from the base of the Space Needle to Kerry Park is approximately one mile, but Queen Anne Hill rises steeply — the last four blocks gain significant elevation. Some photographers ride transit uphill and walk back down after the shoot. Rideshare services drop off directly in front of the park and are especially useful for gear-heavy twilight sessions when street parking is a gamble.
The light — when each layer of the frame actually works
Kerry Park is a twilight location. That is the cleanest summary of when to be there. The geometry of the view faces almost due south, which means the sun sets to the right of the frame over the Olympic Mountains to the west-southwest — it does not blast the camera directly. What this produces is side-lit architecture during the golden hour, warm-toned glass on the towers, and then the transition into blue hour that makes this viewpoint famous. Understanding the three distinct light phases helps you decide how long to stay and what to shoot at each stage.
Golden hour: side light on the towers
 Save
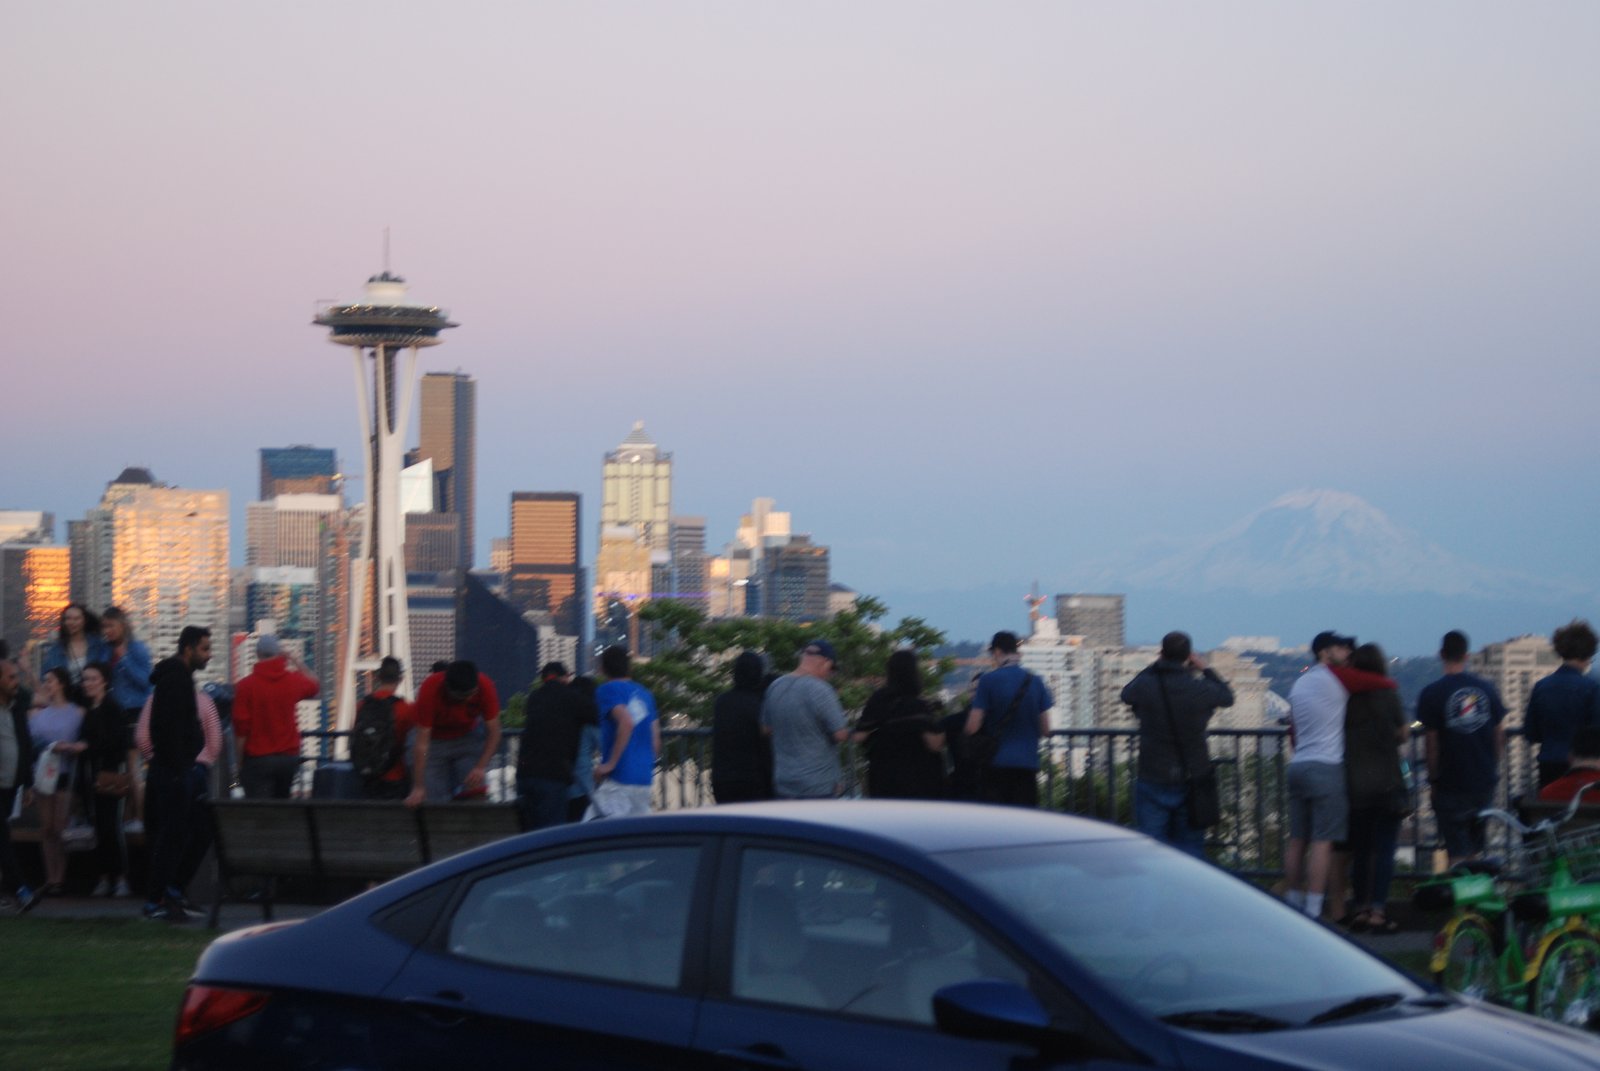
SaveThe 30 to 45 minutes before sunset paint the Space Needle and the glass curtain walls of Columbia Center and the downtown core in warm amber. This is not the defining shot from Kerry Park — the city does not yet have its lights on, and the sky is still brighter than the foreground — but it is the time to be in position. Use this window to dial in composition, confirm focus on the Space Needle, and check your tripod stability against any wind coming up the hillside. It is also when the rail begins to fill. Crowds that arrive at sunset frequently claim spots as early as 4:00 p.m. in June, July, and August. Arriving 90 minutes before sunset on a clear summer evening is not an exaggeration — it is what you need to secure a tripod position at the center wall.
Blue hour and twilight: the signature window
 Save
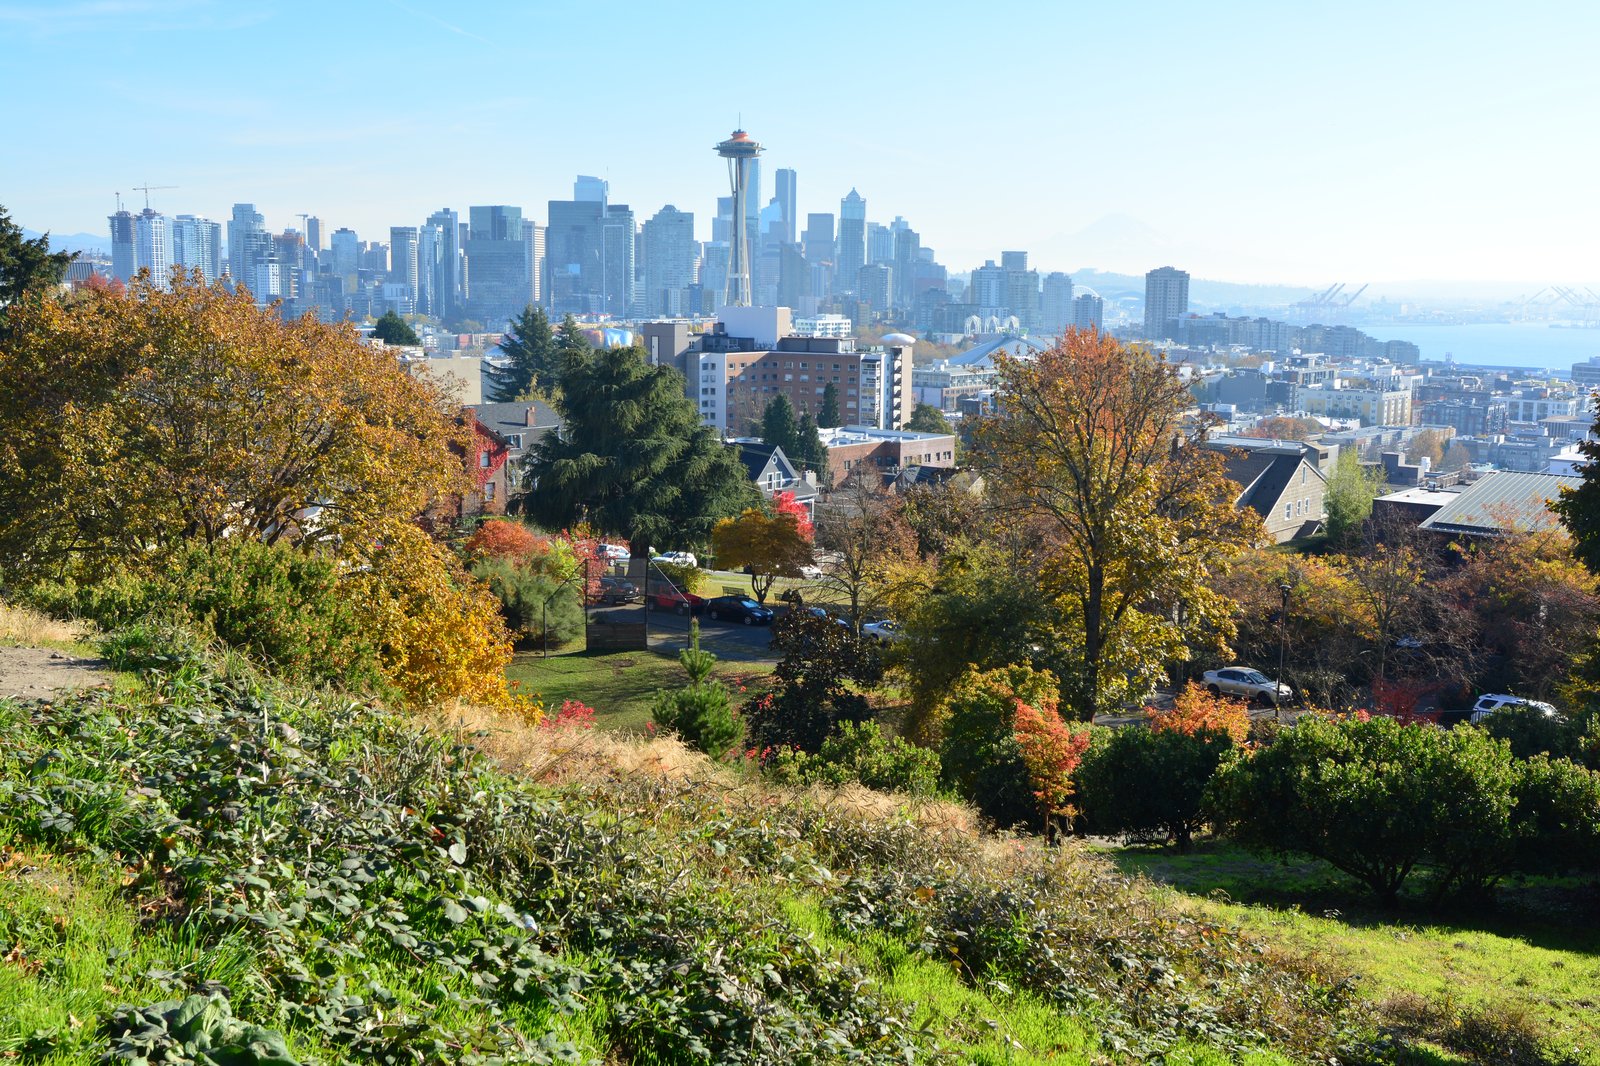
SaveBlue hour is the defining light for Kerry Park. The 20 to 35 minutes beginning approximately 10 minutes after sunset — when the sky transitions from orange to a deep cobalt and the Space Needle’s illumination kicks in against a sky that still holds color — is when the frame locks together. The city lights are on, the sky is not yet black, and the tonal balance between the illuminated foreground and the gradient sky is workable in a single exposure or a modest bracket. Use a 2-second timer or remote shutter, close down to f/8 for maximum sharpness, and shoot at base ISO (ISO 100 or 200 depending on your sensor) for 2–8 second exposures. The park gets noticeably windy at this hour — a locked-down ball head is not optional. Even a slightly loose head will soften the Space Needle’s LED crown into a smear.
Sunrise is worth noting for a different reason: the sun rises to the east-northeast and puts light behind the photographer, meaning the city faces the light rather than being backlit. This produces a cleaner architectural image with detail in the shadows, and the park is nearly empty. Winter mornings after a cold front — when the air is scrubbed clean — can deliver some of the sharpest views of the year. Mount Rainier, discussed below, is also well-lit at sunrise. For those willing to set an alarm, the tradeoff is real: the light is good, the crowds are absent, and parking is trivial.

The Mount Rainier conditional — and why it changes everything
Mention Mount Rainier and every Seattle photographer nods with the same complicated expression. The mountain stands 14,411 feet, approximately 54 miles southeast of Kerry Park, and it is the largest glaciated peak in the contiguous United States by volume. On a clear day it appears behind the downtown skyline with a visual weight that no telephoto compression can fully convey — it simply dominates the background. The composition of Space Needle + Columbia Center + Rainier compressed into a single frame is the difference between a competent cityscape and a magazine cover.
The problem is Seattle’s weather. According to data analyzed by Is It Visible, Mount Rainier is visible from Seattle approximately 83 days per year — roughly 20 to 30 percent of days. Seattle averages approximately 150 rainy days annually, and the marine layer that flows in off Puget Sound reliably obscures the mountain on many otherwise pleasant days. The clearest windows are:
- August through October — the peak reliability window, when the Pacific High stabilizes the region, marine stratus weakens, and post-frontal clearing events deliver days of exceptional visibility. This is when serious photographers schedule Kerry Park shoots.
- Summer mornings (late June through early September) — the mountain can disappear behind afternoon convective cloud build-up even on clear days, making morning shoots more reliable than evenings despite the reverse light direction.
- Winter cold snaps — when a strong Arctic outbreak scours the atmosphere, winter days can produce the sharpest, most dramatic views of the year, with fresh snow on the summit glowing against a deep blue sky. These are rare and unpredictable.
- Spring and early fall — variable. A front clearing overnight often brings a crisp morning window before the next system rolls in.
For forecasting tools, the two most useful resources are Cliff Mass Weather and Climate Blog (cliffmass.blogspot.com), where the University of Washington atmospheric scientist posts detailed Pacific Northwest weather discussions, and NWS Seattle at weather.gov/sew, which includes area forecast discussions that address cloud ceiling and visibility. A cloudbase above 14,500 feet is your basic minimum for Rainier to be visible; watch for forecast language like “post-frontal clearing,” “north flow aloft,” or “boundary layer mixing” — all indicators of a potential visibility window.
The operative principle: when the mountain is visible, go. Adjust your schedule, leave early, and accept imperfect light if necessary. A shot of the Seattle skyline with Rainier clearly in frame is worth three technically perfect blue-hour frames without it. The mountain is what separates the Kerry Park postcard from the Kerry Park magazine cover.

Compositions — what actually works from this viewpoint
The railing at Kerry Park spans roughly one city block, and every position along it frames the skyline differently. Understanding the two primary compositional approaches before you arrive prevents the 20-minute post-arrival scramble that costs you the best light.
The compression shot: 70–200mm
 Save
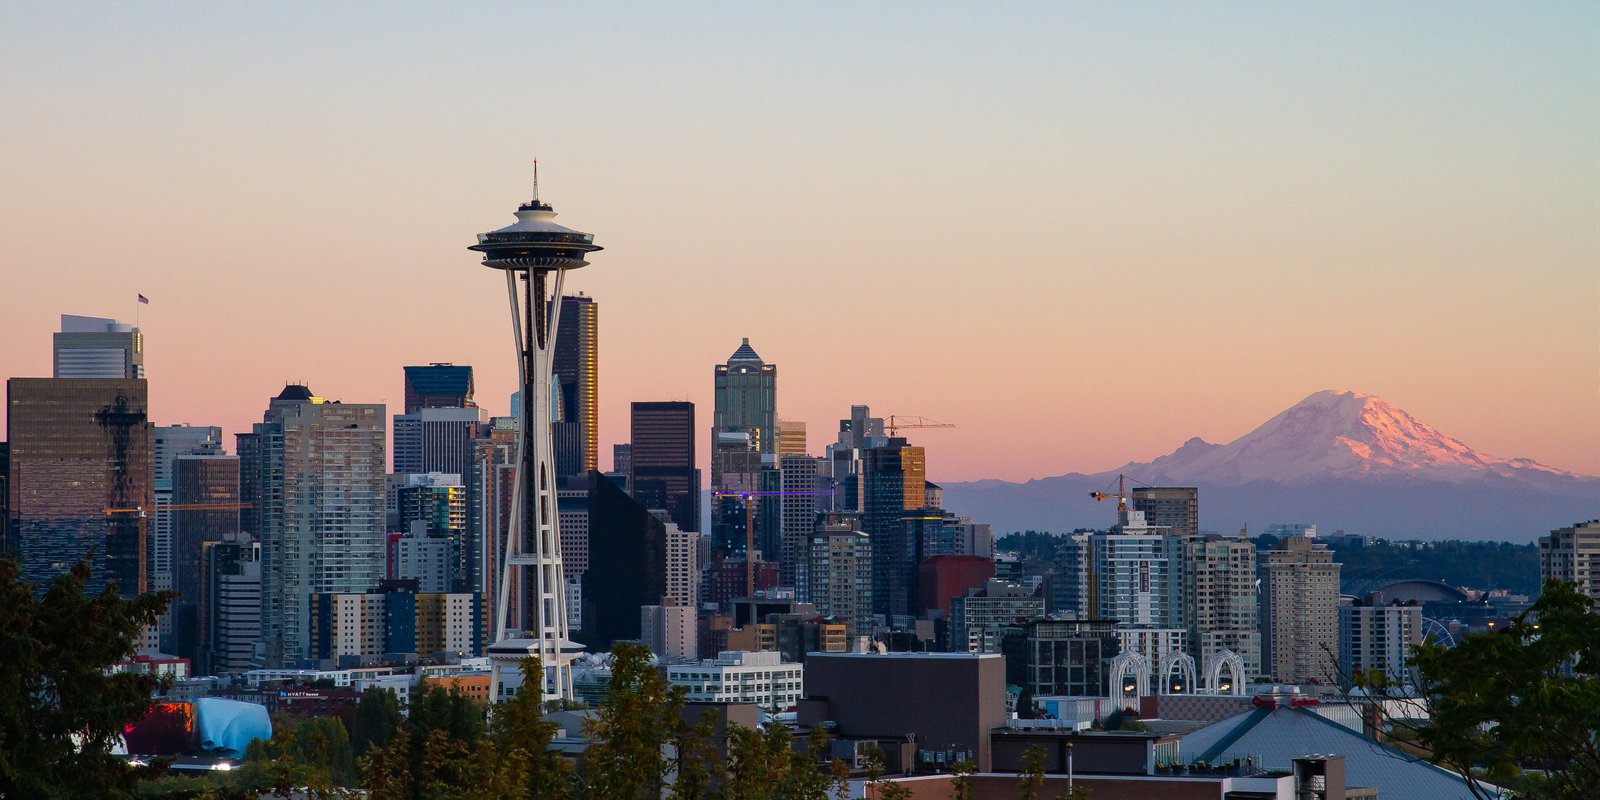
SaveA telephoto in the 100–200mm range (on full frame) stacks the Space Needle, Columbia Center, and the downtown towers with Rainier behind them in a compressed, dense frame that eliminates foreground clutter and makes the mountain appear proportionally larger relative to the city. This is the editorial composition — high impact, minimal context, maximum punch. Set up toward the center or right of the railing for the cleanest line on the Needle. At 200mm you will need a well-locked tripod head and a remote shutter; even a light wind produces enough vibration to soften the frame at these shutter speeds. Check your focus with live-view zoom on the Space Needle’s crown before the light shifts.
The wide environmental shot: 24–70mm with the sculpture
The Changing Form sculpture at the center of the park — a 15-foot hollow steel piece by artist Doris Totten Chase, installed in 1971 — is one of the most underused compositional tools at Kerry Park. Shot at 24–35mm from a position slightly right of and behind the sculpture, the curved steel forms a natural arch that frames the Space Needle within it. This requires a wider aperture than the compression shot to manage depth of field, and it works best during golden hour when the warm light catches the sculpture’s surfaces. The wider field of view also brings in more of the sky, making this the better composition when there is dramatic cloud structure or a strong sunset gradient above the horizon. Be aware that the sculpture is a popular photo backdrop for visitors — build in time to wait for a clean frame, or incorporate the figures as intentional foreground elements.
Crowd management and position strategy
The viewpoint is small and the railing finite. On clear summer evenings, every position along the front wall will have a tripod on it by 30 minutes before sunset. Arrive 90 minutes early to claim a specific spot; 45 minutes gives you what is left. On weekday mornings, the entire park is typically empty and the light is often better. If the wall is full and you cannot get the angle you want, step back to the grass area — the elevated perspective from slightly further back often produces a cleaner frame by clearing the railing from the foreground entirely. This is not obvious to most photographers who crowd the front wall, but it is worth experimenting with.
Tripods, permits, and the rules that catch commercial photographers
Tripods are allowed at Kerry Park for personal use. The conflict arises when commercial intent, large equipment, or pathway obstruction is involved. According to Seattle Parks and Recreation’s photography permit policy, a photography permit is required if you are a hired photographer, if you plan to hire a photographer, or if you plan to sell or profit from photos or videos taken on Seattle Parks property. This covers portfolio sales, commercial clients, editorial licensing, stock photography sales, and social media business pages — the language is broad. Photos used for any commercial purpose, including brochures, magazines, websites, or stock libraries, require a Commercial Use Photography Permit through the Seattle Office of Film and Music (filmoffice@seattle.gov, 206-233-3948).
Photography permit applications must be submitted between 3 and 14 days in advance of the shoot. Personal photography — a hobbyist with a tripod shooting for personal enjoyment or non-commercial sharing — generally does not require a permit. However, if a personal setup involves a large group, significant equipment, or has the potential to impact the park for other users, a permit may still be required. At a location as small and heavily trafficked as Kerry Park, a large-format production setup that blocks the railing for other park users would almost certainly cross that threshold. Keep your footprint proportional to the space: one tripod, one camera, and reasonable bag storage does not raise issues. A C-stand, umbrella light, and assistant blocking the viewpoint for a portrait session will.
Gear for Kerry Park
The gear list for Kerry Park is shorter and more specific than most cityscape locations. The view is fixed, the subject is known, and the light sequence is predictable. What you bring should serve the two primary compositions and the wind.
- Tripod with a locked ball head. The park gets windy on the exposed south slope of Queen Anne Hill, particularly after sunset when the thermal gradient shifts. A light travel tripod will vibrate. Use a sturdy three-section carbon or aluminum tripod and a ball head with a solid friction lock — not a pan-tilt head. Add a small sandbag or hang your camera bag from the center column if conditions are gusty.
- 70–200mm f/2.8 or f/4. The compression shot. f/4 is sufficient for blue-hour cityscape work because you will be stopping down to f/8–f/11 for depth of field anyway. Image stabilization is largely irrelevant on a tripod; what matters is sharpness wide open and autofocus performance in dim conditions.
- 24–70mm or 16–35mm. The environmental and sculpture-framing shot. A 24mm on full frame captures the sculpture foreground comfortably while keeping the skyline in frame. Understanding how aperture controls depth of field is critical here — at 24mm and f/5.6, both the sculpture and the distant skyline can be in focus; stop down to f/11 at twilight with a longer exposure on the tripod.
- Remote shutter release or 2-second self-timer. At exposures of 2–8 seconds, touching the camera introduces vibration. A cable release or wireless remote is the clean solution. The self-timer is an adequate substitute.
- ND and graduated ND filters. In the transition from golden hour to blue hour, the sky is significantly brighter than the foreground cityscape. A 2-stop soft graduated ND (GND) applied to the upper half of the frame helps balance the exposure without blocking out the twilight gradient entirely. A 3-stop or 6-stop solid ND can extend exposures during golden hour for motion blur on Elliott Bay. Know your ISO ceiling for acceptable noise — Kerry Park requires real low-light discipline because long exposures at high ISO produce color noise in the dark sky areas.
- Extra batteries. Cold Seattle evenings drain batteries faster than expected. Carry at least one spare.
- Lens cloth or microfiber. Seattle’s air is damp. Dew can form on front elements during multi-hour evening shoots. Check and wipe before each sequence.
Etiquette — this is a small space
Kerry Park is a public viewpoint, not a photography reserve, and the railing belongs to everyone who shows up. At peak twilight on a clear evening, the space holds a mix of tripods, tourists, couples, and families — all sharing roughly 80 feet of front wall. The photographers who develop a reputation for poor behavior at well-known spots are the reason stricter permit rules get implemented, and the locations that stay permit-free and accessible are the ones where the photography community manages itself well.
A few specific points worth naming:
- Do not run light painting or off-camera flash during the main twilight window. A single flash or light wand sweep affects every long-exposure frame on the wall simultaneously. If you want to light paint the sculpture, do it after the blue-hour window closes and the casual crowd has thinned.
- Do not block public sightlines. The low wall along the viewpoint is shared. Setting up your tripod to occupy more than one person’s worth of space — or to block a section of railing during a crowded evening — creates conflict that is easy to avoid by arriving early and claiming your position before the crowd arrives.
- Share information about conditions. If you know the mountain is visible, or you have found a particularly good angle, the culture of the photography community at Kerry Park runs on mutual generosity. Withholding condition information to “protect” a spot at a public park is poor form.
- Pack out what you bring in. The park is small and there is no staff. Leave the wall and grass clean.
Practical logistics
Address: 211 W Highland Drive, Seattle, WA 98119
Coordinates: 47.6295°N, 122.3600°W
Elevation: Approximately 450 feet above sea level
Hours: 6 a.m. to 10 p.m. daily, free, no reservations
Parking: Free street parking on W Highland Drive and residential side streets; limited and competitive during clear evenings and weekends. No dedicated paid lots adjacent to the park.
Transit: King County Metro Routes 2 and 13; stop at Queen Anne Ave N and W Highland Drive, two blocks east of the park.
Restrooms: None in the park. Safeway, 520 Queen Anne Ave N (7 blocks north), or Seattle Center facilities (approximately one mile downhill).
Cell service: Good across all major carriers on Queen Anne Hill.
Weather resources: Cliff Mass Weather Blog, NWS Seattle.
Photography permits: Personal use — generally not required. Commercial or for-profit — Seattle Parks photography permit required, apply 3–14 days in advance via the Seattle Office of Film and Music (filmoffice@seattle.gov).
Kerry Park asks very little of you and returns one of the most technically rewarding cityscape compositions in the American West. The access is free, the view is world-class, and the only real barriers are weather, crowd timing, and preparation. Get there early. Lock down the tripod. Watch the sky. And if the mountain is out, cancel whatever else you had planned.
More photography spots in this area
Gear Blueprint: What to Pack for This Shoot
Kerry Park is a tight overlook on Queen Anne Hill — you’re shooting the Seattle skyline with the Space Needle and (on clear days) Mt. Rainier compressed behind it. You don’t need wide gear; you need telephoto reach and a stable platform for low-light blue hour shots.
- Telephoto zoom (70-200mm) — The compression that makes Mt. Rainier look huge behind the Space Needle happens at 100-200mm.
- Mid-range zoom (24-70mm) — For the full park-railing skyline composition.
- Compact travel tripod — The park is small and crowded. A 5-foot footprint tripod is the most you should bring.
- Intervalometer / remote — For long-exposure light-trail shots of cars on Aurora Bridge below.
- Lens hood (always on) — Streetlights right above the railing flare into the lens.
- Rain shell jacket — Seattle drizzle is constant October-April.
- Polarizer (CPL) — Cuts haze on the skyline at sunset — especially useful in summer wildfire-smoke season.
Affiliate disclosure: links above go to Amazon. We may earn a small commission at no extra cost to you. We only recommend gear we’d take ourselves to this specific location.