
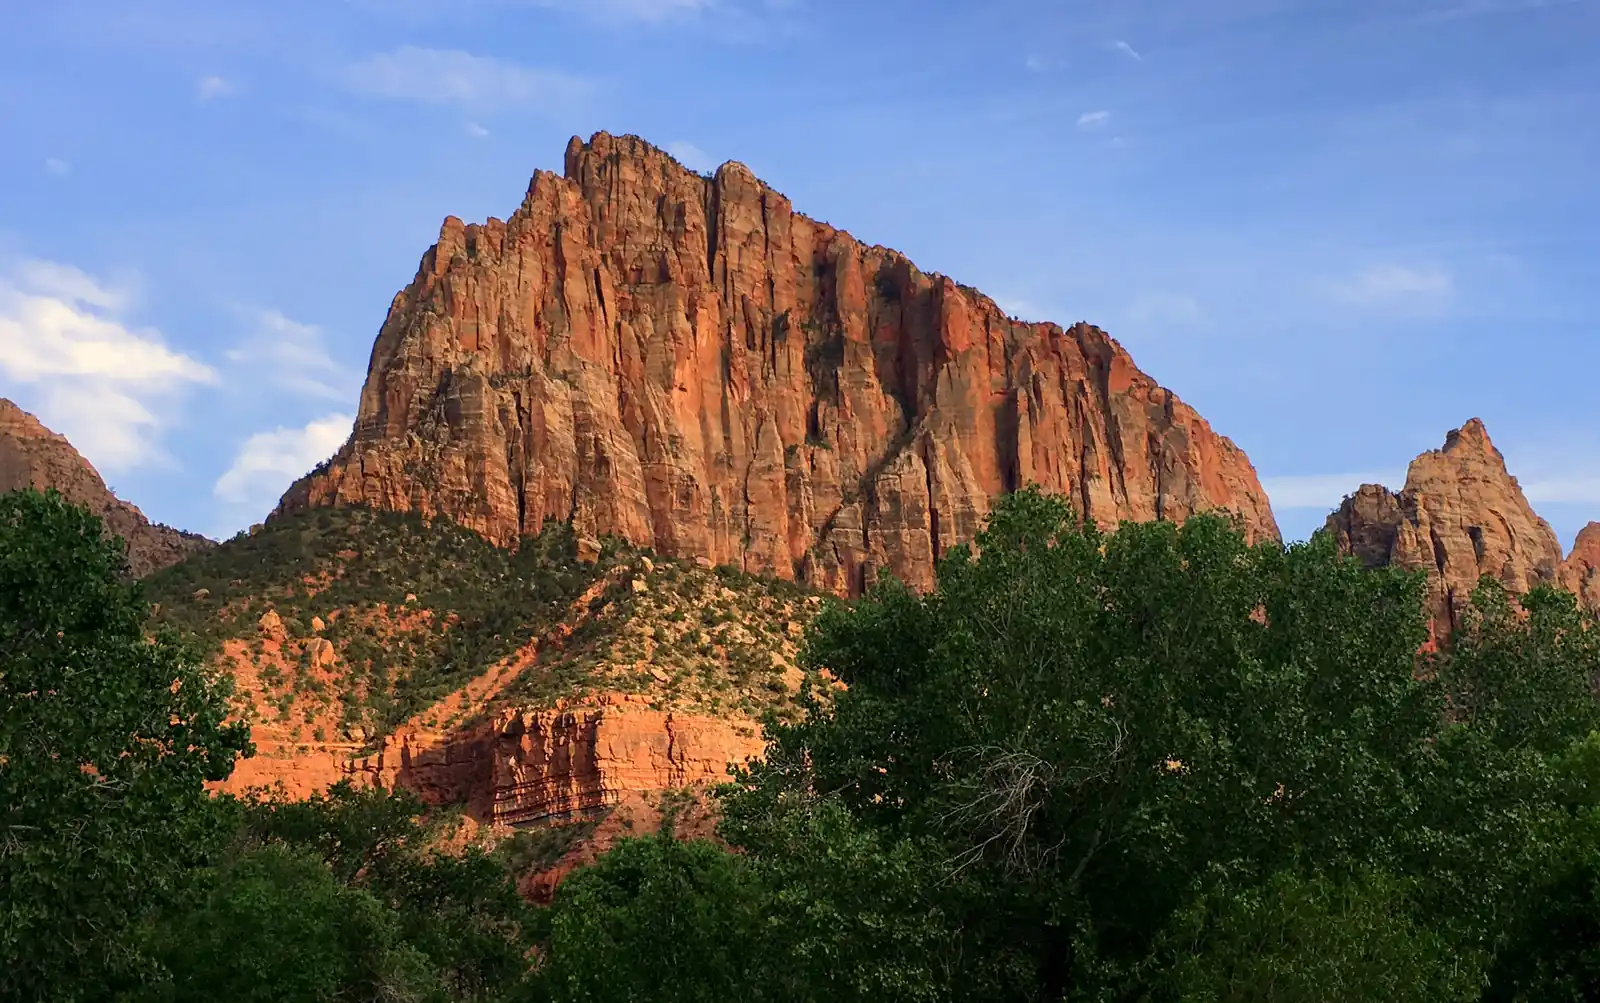
The Watchman is the large sandstone formation that dominates the view south of Zion’s visitor center, rising 2,555 feet above the canyon floor. Photographers target the Virgin River in the foreground at sunset, when the peak catches direct alpenglow while the river reflects the darkening sky. The Watchman Trail gives multiple river access points and elevation options.
Best Time to Shoot
Late afternoon to sunset, spring through fall. Spring brings the Virgin River at higher flow for better reflections. Fall cottonwood color adds foreground interest from October into early November. The formation faces west, so the sun tracks directly toward it in the afternoon — the glow typically peaks 20-30 minutes after the sun drops below the opposite canyon rim. For practitioners, see our breakdown of ISO 12800 concert work. For practitioners, see our breakdown of aperture stops in a single scene. For practitioners, see our breakdown of calibration panel basics.
How to Get There
From the Zion Canyon Visitor Center, walk or take the free shuttle to the Watchman Trailhead. Easy river access points are within 5 minutes of the trailhead. No additional permit beyond park entry ($35 per vehicle, 7-day). The Watchman Trail itself climbs to a viewpoint useful for a different angle.
Camera Settings
ISO 100, f/11-f/16. For reflections, shoot at 1/4 to 1 second to smooth the water surface. A polarizer cuts glare except directly into the sun. Graduated ND (2-stop) helps balance the bright sandstone against the darker river. Vertical compositions work well for this tall formation.
Recommended Gear for This Spot
Common Mistakes
- Standing only on the riverbank — wade 6-12 inches in for a better low-angle reflection (waterproof sandals required).
- Arriving after sunset: the alpenglow on the formation fades quickly.
- Forgetting that winter visits mean low crowds and possible snow on the upper ledges — a completely different shot.
- Shooting only in landscape orientation when vertical compositions often work better for this tall formation.
A Zion sunset photography tour covers the Watchman, the Canyon Junction bridge, and the narrows entrance all in one evening session. Browse The Watchman photography tours to find options that fit your schedule.
For more location guides like this, see the Landscape Photography Guide on Shut Your Aperture. Browse all spots on the USA UT photo spots hub.
What to Pack
A focused landscape kit handles every shot at The Watchman without breaking your back. Here is the working photographer's pack list — every link goes to B&H Photo Video (our primary supplier) or Amazon (for accessories and same-day delivery in the US).
| What & Why | B&H | Amazon |
|---|---|---|
Wide-angle zoom (14-35mm range) The single most important lens for sweeping vistas. Pair with a circular polarizer for skies and water. | Shop B&H → | Shop Amazon → |
Sturdy travel tripod Carbon fiber, packs to 15 inches, holds steady in wind off the coast. Essential for blue-hour and long-exposure work. | Shop B&H → | Shop Amazon → |
Circular polarizer (77mm or 82mm) Cuts haze, deepens sky, reveals texture in water. Non-negotiable for landscape work. | Shop B&H → | Shop Amazon → |
10-stop ND filter For 30-second exposures that turn moving water and clouds into silk. | Shop B&H → | Shop Amazon → |
Extra batteries (3 minimum) Cold weather and long exposures eat batteries. Carry triple what you think you need. | Shop B&H → | Shop Amazon → |
Fast SD/CFexpress cards V90 or CFexpress depending on your body. Two cards minimum so a failure mid-trip is recoverable. | Shop B&H → | Shop Amazon → |
Microfiber lens cloths Salt spray, mist, and dust will ruin every shot if you don't carry a cloth. | Shop B&H → | Shop Amazon → |
B&H and Amazon links are affiliate links. We earn a small commission on purchases at no extra cost to you. We only recommend gear we use or would buy ourselves.