
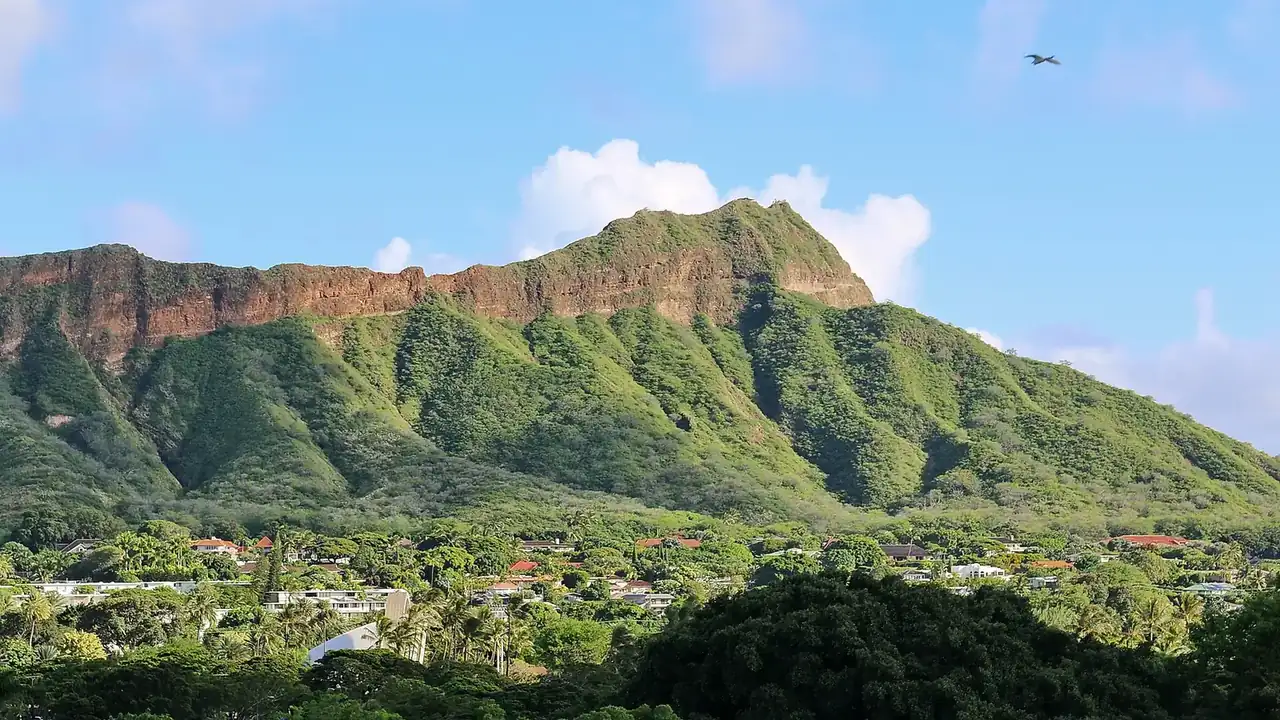
Diamond Head State Monument is the volcanic tuff cone that frames the eastern end of Waikiki Beach. The hike to the summit gives a 360-degree view: Waikiki’s skyline and the south shore to the west, the Pacific Ocean to the south, and the windward coast to the northeast. At sunrise the city is lit from behind you while the water transitions from black to deep blue-green.
Best Time to Shoot
Sunrise from the summit is the standard play. Arrive at the crater entrance 45 minutes before sunrise (it opens at 6 a.m. — check current hours). Clear mornings in winter are more reliable than summer when trade wind clouds build. The crater itself, photographed from the rim trail, is best lit at midday when the sun reaches the flat crater floor. For practitioners, see our breakdown of smart collections. For practitioners, see our breakdown of ISO and sensor heat noise. For practitioners, see our breakdown of shutter for stadium sports.
How to Get There
Diamond Head State Monument is at the end of Diamond Head Road off Monsarrat Avenue. Online reservations are required ($5 per vehicle, plus $1 reservation fee) at gostateparks.hawaii.gov. The trail is 1.6 miles round trip with 560 feet of gain, including a tunnel and narrow stairs near the summit.
Camera Settings
For the Waikiki cityscape at sunrise: 24-70mm, f/8, ISO 400-800. Once on the summit: polarizer for ocean color, f/11 for depth. Shoot both portrait and landscape orientation from the summit pillboxes. A 70-200mm isolates specific Waikiki towers against the ocean.
Recommended Gear for This Spot
Common Mistakes
- Arriving after sunrise: by 7:30 a.m. the summit is crowded and the light is ordinary.
- Not booking the reservation in advance — walk-ins are limited and the lot closes when full.
- Shooting with a tripod on the narrow summit paths: the crowd flow makes it impractical.
- Ignoring the inside of the crater: the interior walls and flat floor, seen from the rim, are a distinct composition from the coastline views.
A Diamond Head sunrise photography walk includes transport from Waikiki, positioning on the less-crowded north side of the summit, and a post-sunrise shoot at the crater base. Browse Diamond Head photography tours to find options that fit your schedule.
For more location guides like this, see the Landscape Photography Guide on Shut Your Aperture. Browse all spots on the USA HI photo spots hub.
What to Pack
A focused landscape kit handles every shot at Diamond Head without breaking your back. Here is the working photographer's pack list — every link goes to B&H Photo Video (our primary supplier) or Amazon (for accessories and same-day delivery in the US).
| What & Why | B&H | Amazon |
|---|---|---|
Wide-angle zoom (14-35mm range) The single most important lens for sweeping vistas. Pair with a circular polarizer for skies and water. | Shop B&H → | Shop Amazon → |
Sturdy travel tripod Carbon fiber, packs to 15 inches, holds steady in wind off the coast. Essential for blue-hour and long-exposure work. | Shop B&H → | Shop Amazon → |
Circular polarizer (77mm or 82mm) Cuts haze, deepens sky, reveals texture in water. Non-negotiable for landscape work. | Shop B&H → | Shop Amazon → |
10-stop ND filter For 30-second exposures that turn moving water and clouds into silk. | Shop B&H → | Shop Amazon → |
Extra batteries (3 minimum) Cold weather and long exposures eat batteries. Carry triple what you think you need. | Shop B&H → | Shop Amazon → |
Fast SD/CFexpress cards V90 or CFexpress depending on your body. Two cards minimum so a failure mid-trip is recoverable. | Shop B&H → | Shop Amazon → |
Microfiber lens cloths Salt spray, mist, and dust will ruin every shot if you don't carry a cloth. | Shop B&H → | Shop Amazon → |
B&H and Amazon links are affiliate links. We earn a small commission on purchases at no extra cost to you. We only recommend gear we use or would buy ourselves.