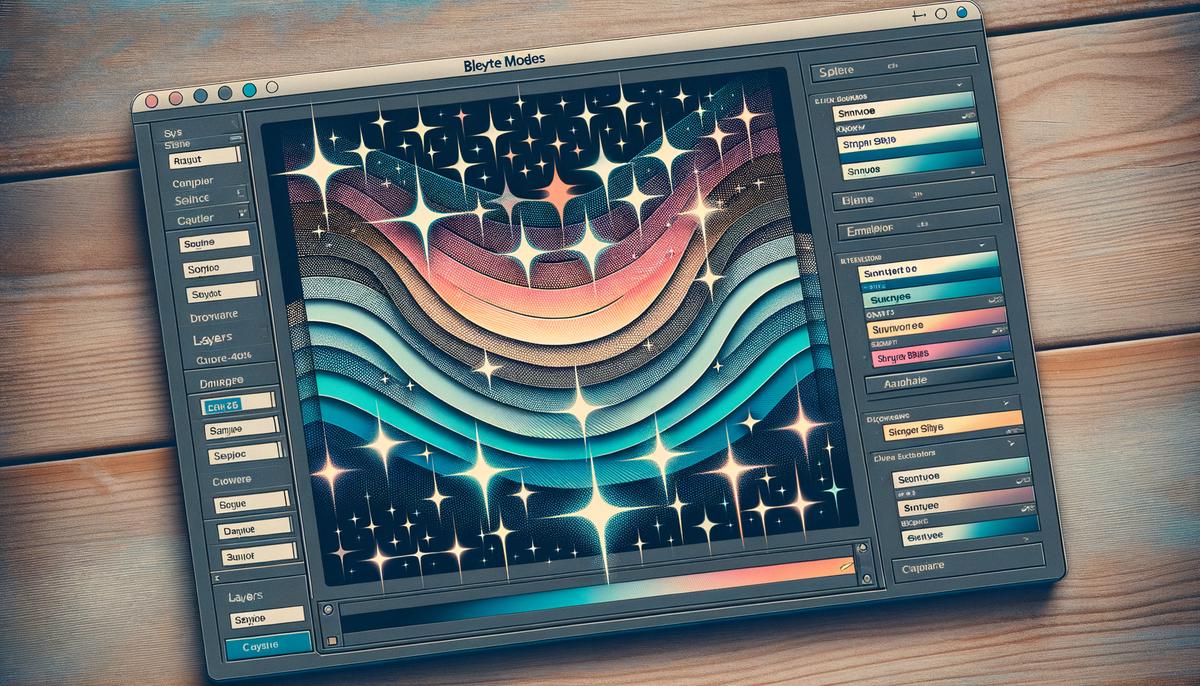
The night sky has always captivated the human imagination, sparkling with the infinite possibility that each star represents. In the digital realm, Adobe Photoshop offers a celestial array of tools to bring that luminous wonder into our artwork. This essay demystifies the digital cosmos by diving deep into the heart of Photoshop—its layers—and equips you with the mastery to wield layers like an interstellar artist. From there, we’ll traverse the universe of brushes and custom shapes, empowering you to create starry designs that twinkle with creativity. And as we journey further, you’ll unlock the secrets of layer styles and effects, which are the very essence of Photoshop’s magic, to give your star effects the brilliance they deserve. Ready your digital canvas; we’re about to embark on a journey to the stars.
Understanding Photoshop Layers
Title: Illuminating the Heavens: Mastering Layered Star Effects in Adobe Photoshop
Artists and starry-eyed creators, ever wonder how celestial scenes with those gleaming pinpoints of light that punctuate the night sky come to life in digital art? The cosmos is at your fingertips with Adobe Photoshop, a canvas bound only by the limits of imagination. Let’s embark on a voyage through the Photoshop universe to explore how layers work to create those captivating star effects.
First, understanding layers in Photoshop is akin to imagining a stack of translucent sheets. Each layer holds different elements that can be edited independently—an absolute delight for creatives who treasure both control and flexibility. Now, let’s apply this magic to the stars!
- Create a New Canvas:
Start your cosmic journey by opening a new file. Choose a size that suits your celestial ambitions and an appropriate resolution—300 dpi (dots per inch) is ideal for those wishing to print their interstellar masterpiece.
- Start with a Solid Background:
Select the Paint Bucket tool and fill the Background layer with a deep, rich black. This will serve as the infinite void of space—the perfect canvas for your luminous stars.
- Add a New Layer for Stars:
Click the ‘Create New Layer’ icon at the bottom of the Layers panel. Name it ‘Stars’ to keep your workspace organized. This layer will hold your points of light, allowing you to edit them without disturbing the serene darkness beneath.
- Paint Your Stars:
Select the Brush tool and find a hard round brush. Adjust the size to match the scale of stars you desire. White is a classic choice for a star’s color, but feel free to experiment with hues that evoke the temperature and distance of a star, from warm yellows to icy blues.
- Sprinkle the Night Sky:
With artistic zeal, tap your canvas to place stars. Vary the brush size and opacity for a more dynamic effect. Remember, less is often more—a sky too busy may lose its celestial charm.
- Add Glow with Outer Glow:
Double-click your ‘Stars’ layer to open the Layer Style window. Navigate to ‘Outer Glow’ for a delicate haze around your stars. Adjust the blend mode to ‘Screen’, pick a soft color, and play with the size and spread until your stars twinkle just right.
- Enhance with More Layers:
Imagination beckons for more than simple points of light. Duplicate the ‘Stars’ layer and use Filter > Blur > Gaussian Blur to create larger, diffuse glows representing distant galaxies or nebulae.
- Create Depth with Layer Modes:
Blend modes are your artistic allies. The ‘Screen’ mode brightens, ‘Multiply’ darkens, while ‘Overlay’ intensifies. By experimenting with these modes on different star layers, you establish depth, creating a cosmos that pulls viewers into its depths.
As eyes peer into the depths of your digital sky, remember that each layer is an opportunity to refine, a chance to bring a celestial wonder to life through art. Treasure the process, relish in the brushstrokes of light, and know that with layers as your starscape, the universe is yours to paint, with Adobe Photoshop as your trusted palette and brush.
 Save
SaveUsing Brushes and Custom Shapes
Unlocking the Celestial Canvas: Crafting Stars with Brushes and Custom Shapes in Photoshop
Making stars in Photoshop can elevate a night sky scene from ordinary to extraordinary. By utilizing brushes and custom shapes, artists can infuse their celestial landscapes with a sprinkle of cosmic charm. Here’s how one transforms a digital canvas into a star-studded tapestry.
The Stellar Brush Collection
First, select the Brush Tool (B) from the toolbar. Photoshop provides a range of default brushes, but to create realistic stars, one may need to import a custom brush set. These specialized brushes replicate the nuances of starlight and are often available for free or for purchase from talented artists.
To import, go to the Brush panel, click on the settings gear, choose ‘Import Brushes…’, and select the .abr file you’ve downloaded. Once the brushes are loaded, they’ll appear in the Brush panel. There, you can adjust settings such as size, scattering, and hardness to achieve different star effects.
Crafting Constellations with Custom Shapes
Custom shapes offer a structured approach to star creation. To find the Custom Shape Tool (U), hold down the Rectangle Tool on the toolbar until a fly-out menu appears. With the Custom Shape Tool selected, navigate to the Options bar and open the shape library. The trick is to find star-like shapes, or if you’re aiming for a specific star such as a five-point or a nova design, you might want to import a custom shape.
To import a custom shape, similar to brushes, go to the Custom Shape Options, select ‘Import Shapes…’, and load the appropriate file. Once a shape is selected, draw it onto the new stars layer by clicking and dragging. Maintain consistency in size, or go for a naturalistic look by varying the scale – after all, no two stars in the sky shine the same.
Brush Technique Mastery
When using the Brush Tool, dabbing with a mouse or a digital pen can create individual stars. Vary the brush size and opacity to mimic stars of different magnitudes. Don’t forget to use the Scatter setting found in the Brushes panel to randomly distribute stars and give your night sky an organic feel.
Transforming Shapes into Twinkling Stars
Once a shape is on the canvas, it can be transformed into a twinkling star with a few additional steps. First, add a layer style by right-clicking the shape layer and choosing ‘Blending Options’. Jump to ‘Outer Glow’ and select a bright, luminescent color. Tweak the Size and Spread sliders to get just the right glow.
Automation for Speed and Uniformity
For those who fancy efficiency, Photoshop actions can automate the star-making process. Create an action that includes the steps producing your desired star effect. Every time the action is played, it will replicate the process, saving time and maintaining a uniform look if desired.
This journey of celestial creation allows artists to shine their creativity through a digital universe. With brushes and custom shapes in hand, the night sky becomes a canvas awaiting personal expression. As each star takes its place in the cosmic landscape, so does the artist’s vision become a luminous reality. In the boundless realm of Photoshop, the only limit is the imagination, and with each star placed, the celestial masterpiece grows ever nearer to completion.
 Save
SaveApplying Layer Styles and Effects
Title: Twinkling Tips: Mastering Realistic Star Effects in Photoshop
When the canvas of the night calls for a sprinkling of stars, Adobe Photoshop provides the palette and brushes to create a celestial masterpiece. Beyond the foundational techniques, achieving realistic star effects is all about the subtle interplay of lights and shadows, the nuances of glow and twinkle, and the strategic use of effects that bring a scene to life.
To elevate the stargazing experience, one must harness the power of Layer Styles and add nuanced effects. Here are the essential steps to capture the ethereal beauty of the night sky:
Step 1: Adding Starry Brilliance
Select the layer with your hand-painted stars or custom shapes. Navigate to ‘Layer’ > ‘Layer Style’ > ‘Bevel & Emboss.’ This adds dimension, making each star pop. ‘Inner Bevel’ is a preferred style for that subtle bulge in the center of a star. Keeping the depth low, adjust the size until there’s just a hint of a 3D effect—like a star slightly puffing outward into the vastness of space.
Step 2: Enhancing Stars with Inner Shadow
Apply an ‘Inner Shadow’ to give depth to your stars, simulating a faint corona or the atmospheric distortion seen from Earth. Set the blend mode to ‘Screen’ or ‘Overlay,’ depending on the background color, which allows the shadow to brighten and enhance the interior edges of stars. Keep the distance short, and experiment with the size for a soft, diffuse glow that seems to emanate from within.
Step 3: Outer Glow for Atmospheric Light
A crucial ingredient for realism is the ‘Outer Glow.’ This Layer Style mimics the scattering of light in the atmosphere. Opt for a white or slightly off-white color with a blend mode set to ‘Screen.’ Manipulate the spread and size sliders to achieve a gradation that suggests the star’s light is gently tapering off into the surrounding darkness.
Step 4: Adding a Spark with Inner Glow
Navigate to ‘Inner Glow’ for that extra twinkle. This subtle inner ring of light can be colored a pale yellow or blue to suggest temperature variances in stars. Blending modes like ‘Hard Light’ or ‘Vivid Light’ can yield intriguing results. Tweak the opacity and size to imbue each star with a spark of individuality.
Step 5: Color Overlay for Star Varieties
Stars aren’t just white; they’re a tapestry of colors. A subtle ‘Color Overlay’ can add variety to your stars, reflecting their temperatures from cool blues to warm reds. Set a low opacity for this overlay, using blend modes like ‘Overlay’ or ‘Soft Light’ to gently tint stars without overpowering their luminosity.
Step 6: Satin for Subsurface Scatter
The underutilized ‘Satin’ effect can simulate the complexity of stars’ subsurface scattering. This versatile option can give a slight contour to the star’s surface, giving it a more natural and less uniform look. By experimenting with the opacity and angle, one can attain a sense of depth as if the star’s surface is unevenly distributing light.
Step 7: Sparkle and Shine with Specialized Brushes
Lastly, don’t overlook the magic of specialized brushes for adding smaller, distant stars or cosmic dust. With light taps of the brush tool, dance across the layer, enhancing the depth and realism of your starry sky.
In art, as in the cosmos, beauty dwells in the details. The ‘Layer Styles’ in Photoshop are the stardust sprinkled across the canvas of creativity. Remember that each celestial body in the vast night sky holds its own story, its individual sparkle—a reminder that artistry meets science to capture the awe of the universe. Keep exploring the depths of creativity; in each layer and effect, there is a star waiting to shine.
 Save
SaveEmbarking on the journey through Photoshop’s star-studded toolset has propelled our skills beyond the earthly bounds, into a realm where we can cast celestial designs with mere clicks and keystrokes. The interplay of layers, brushes, and effects now dances at your fingertips, enabling you to infuse your digital universe with the sparkle of the stars. As you continue to practice and play with these powerful features, remember that each project is a new night sky waiting to be adorned. May your creative endeavors reach the stars and beyond, lighting up the canvas of your imagination with the glow of countless celestial wonders.


