Making a shooting star effect in Adobe Photoshop is an exciting project that can bring a bit of the cosmos into your digital creations. Setting up your workspace correctly is the first crucial step towards achieving this effect. This guide will help you organize your tools and options in Photoshop, so you can focus more on your creative expression and less on searching for the right settings. With a well-prepared workspace, you’re ready to embark on the creation of your celestial artwork.
Setting Up Your Photoshop Workspace
Preparing Your Photoshop Workspace for a Shooting Star Effect
Introduction
Creating a shooting star effect in Adobe Photoshop is a fun way to enhance your digital artwork or photography with a touch of cosmic marvel. To get started, it’s crucial to set up your Photoshop workspace efficiently. This guide walks you through the steps to prepare your workspace, ensuring you can focus on creativity and precision without unnecessary distractions.
Step 1: Open Your Image
Begin by launching Adobe Photoshop. Select “File” from the top menu, then choose “Open” to browse your files. Pick the image you wish to work with and click “Open.” If you’re starting from scratch, select “File” followed by “New” to open a blank canvas, specifying your desired dimensions and resolution.
Step 2: Arrange Your Workspace
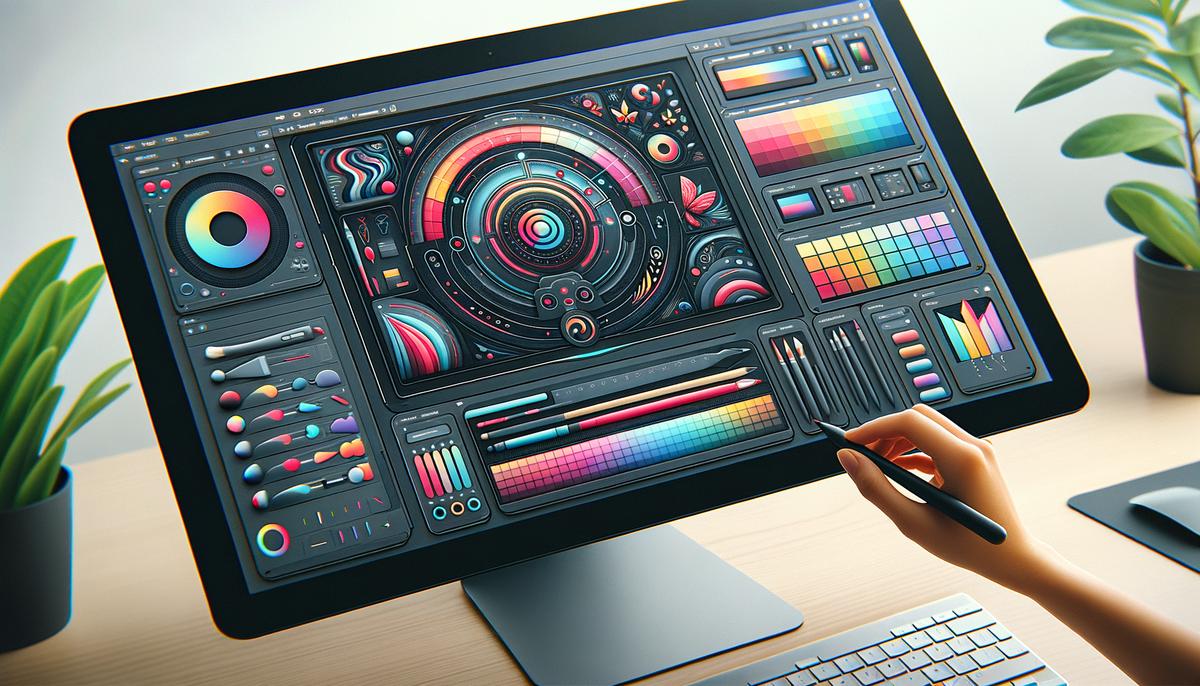
For an uncluttered environment, tailor your workspace to only show the tools and panels you need. Go to “Window” in the top menu and deselect any panels that won’t aid in creating your shooting star effect, such as “3D” or “Animation.” Keep essential panels like “Layers,” “Brushes,” and “History” checked for easy access.
Step 3: Activate Rulers and Guides
Helpful for precise alignment, activate rulers by selecting “View” in the top menu, then “Rulers,” or press Ctrl+R (Cmd+R on Mac). To create guides, click on the ruler and drag into your workspace. Place guides around the area where you want your shooting star to appear, ensuring symmetry and accuracy.
Step 4: Select the Brush Tool
From the toolbar (usually on the left side), choose the Brush Tool. It is essential for painting the shooting star. If the toolbar is not visible, activate it by going to “Window” and then “Tools.” Get familiar with the brush settings – you will adjust the brush size, opacity, and flow to achieve the effect later on.
Step 5: Create a New Layer
Preserving the original image’s integrity, create a new layer for your shooting star. Click the “Create a new layer” icon at the bottom of the Layers panel. Label this layer “Shooting Star” for easy identification. Working on separate layers allows for non-destructive editing, meaning you can make changes without permanently altering the original image.
Step 6: Customize Your Color Palette
Since shooting stars are vibrant, customize your color palette accordingly. Click on the “Foreground Color” to open the Color Picker. Choose a bright, dynamic color that resembles starlight – yellows, whites, and light blues work well. This color will be the primary hue of your shooting star.
Final Preparations
With your workspace now neatly organized and prepped, you have a solid foundation to start creating your shooting star effect. These initial steps are critical in setting up for efficient and streamlined digital art creation. Remember, the key to impressive results lies in both preparation and creativity. Happy designing!
 Save
SaveCreating the Star and Tail using Brush and Motion Blur
Step 7: Drawing the Star
To craft your star, begin by selecting a standard, hard-edged round brush from the Brush Tool menu. Adjust the size according to the scale of your star. With your chosen color ready, click once on the canvas where you want the center of the star to be. This action places a solid-colored circle, the foundation of our star. For a more refined star shape, employ the Pen Tool to draw sharp points extending from the circle. Connect these points back to the core circle to complete the star’s silhouette. Each line drawn should be smooth and precise to ensure the star’s points are clear and distinct.
Step 8: Adding the Tail
Switch to a softer, larger brush by adjusting the Brush Tool settings. This change is crucial for creating a tail that appears to flow from the star, symbolizing its movement across the sky. Lower the brush’s opacity to about 50% to give the tail a translucent look, mirroring the fleeting nature of a shooting star’s tail.
With your brush ready, click and drag from the star in the direction you want the tail to flow. The motion should be swift and fluid, with a slight curve to imply motion. You may wish to gradually decrease the brush size as you extend the tail to create a tapering effect, simulating the tail fading into the night sky.
Step 9: Enhancing the Effect
To enhance the shooting star’s glow, navigate to the “Layer” panel, right-click on the star layer, and select “Blending Options.” From here, you can add an “Outer Glow” effect. Choose a lighter shade of your star’s color for the glow. Adjust the size and spread to achieve a subtle yet noticeable halo around your star, boosting its brightness against the dark sky backdrop.
Step 10: Adding Streaks to the Tail
To introduce more dynamism into the tail, create a new layer above the tail layer. Using a smaller, harder brush with a slightly lighter color than the tail, add individual streaks along the tail’s path. These streaks should be thin and varied in length, pointing away from the star to mimic the effect of the star displacing the celestial particles as it shoots across the sky.
Step 11: Final Touches
Review your shooting star, ensuring each element harmonizes to create a convincing spectacle. Fine-tune any details that may enhance its realism, such as adjusting color balances, sharpness, and layer opacity. Remember, subtlety is key in achieving a natural and awe-inspiring shooting star effect.
Congratulations! You’ve now crafted a stunning shooting star, complete with a radiant star and a dynamically flowing tail. Through thoughtful application of brush tools, layer effects, and precise motion, your artwork brings the fleeting beauty of a shooting star into a tangible form.
 Save
SaveAdding Glow and Color Adjustments for Realism
Now, let’s delve deeper into how glow and color adjustments can significantly enhance the realism of the shooting star effect. This step is vital because it adds depth and vibrancy, making the star seem like it’s truly soaring across the sky in your image.
Step 17: Refining Glow Effects
After you’ve added the initial outer glow, it’s time to refine it to achieve a more realistic appearance. Go to the layer with the star and its trail, and double-click on it to open the ‘Layer Style’ window again. This time, focus on the ‘Inner Glow’ section. Select an inner glow color that is slightly brighter than your star’s primary color. Adjust the size and opacity to create a subtle inner light that appears to emanate from the core of the star. This technique helps in portraying the intense heat and energy at the star’s center.
Step 18: Enhancing Color Dynamics
Color plays a crucial role in adding realism. Shooting stars are not just white; they can exhibit various colors depending on their chemical composition. To mimic this, select the ‘Color Balance’ adjustment layer option from the layers panel. Experiment with the color balance sliders for shadows, midtones, and highlights to introduce hues of blues, greens, or reds subtly into the star and its tail. These adjustments can simulate the burning of different elements as the star descends, adding a layer of authenticity.
Step 19: Adjusting Gradient Overlay
To seamlessly blend the shooting star with the background and enhance its glow, apply a gradient overlay. Go back to the ‘Layer Style’ window for your star’s layer and select ‘Gradient Overlay’. Choose a gradient that transitions from a transparent to a slightly lighter shade of your star’s primary color. Adjust the scale and angle to ensure that the gradient enhances the star’s motion effect, giving a more dynamic appearance to its path across the sky.
Step 20: Fine-tuning Saturation and Brightness
The final color adjustment involves tweaking the saturation and brightness to ensure the star stands out but remains harmonious with the overall image. Create a ‘Hue/Saturation’ adjustment layer and a ‘Brightness/Contrast’ adjustment layer. Increase the saturation slightly to make the colors pop but avoid over-saturation which can make the image look artificial. Adjust the brightness and contrast to ensure the star is the focal point, catching the viewer’s attention without overwhelming the rest of the image.
By carefully refining the glow effects, enhancing color dynamics, adjusting the gradient overlay, and fine-tuning the saturation and brightness, you dramatically improve the realism of the shooting star effect in your digital artwork. These steps help create a captivating and believable celestial event that adds depth and wonder to your image. Remember, subtlety is key; the aim is to simulate natural phenomena, so slight adjustments can often make a big difference.
 Save
SaveBy following these detailed steps, from organizing your workspace to adding the final touches of glow and color adjustments, your digital canvas now hosts a breathtaking shooting star. Each step, crafted with care and precision, has elevated your artwork, bringing the wonder of the night sky into view. Your commitment to enhancing the realism of this celestial phenomenon has resulted in a piece that not only captures attention but also ignites imagination. Let this achievement inspire further exploration of the boundless possibilities within digital art, where each new project is an opportunity to showcase the beauty of our universe.


