How to Photograph Eiffel Tower
Quick promise: this guide gives you a shot list, GPS-pinned viewpoints, and a repeatable settings workflow so you can come home with a clean ‘postcard’ frame plus a few unique angles. For practitioners, see our breakdown of tethered capture in Lightroom. For practitioners, see our breakdown of shutter for wedding flash.
nnnnGet the Eiffel Tower Paris Ultimate Photographer’s Guide
Every location below — pre-mapped with GPS, golden-hour timing, gear recommendations, cultural rules, and a 14-day itinerary. Downloaded by 200+ working photographers.
Quick visual map: 5 best viewpoints (with GPS)
nnnn- n
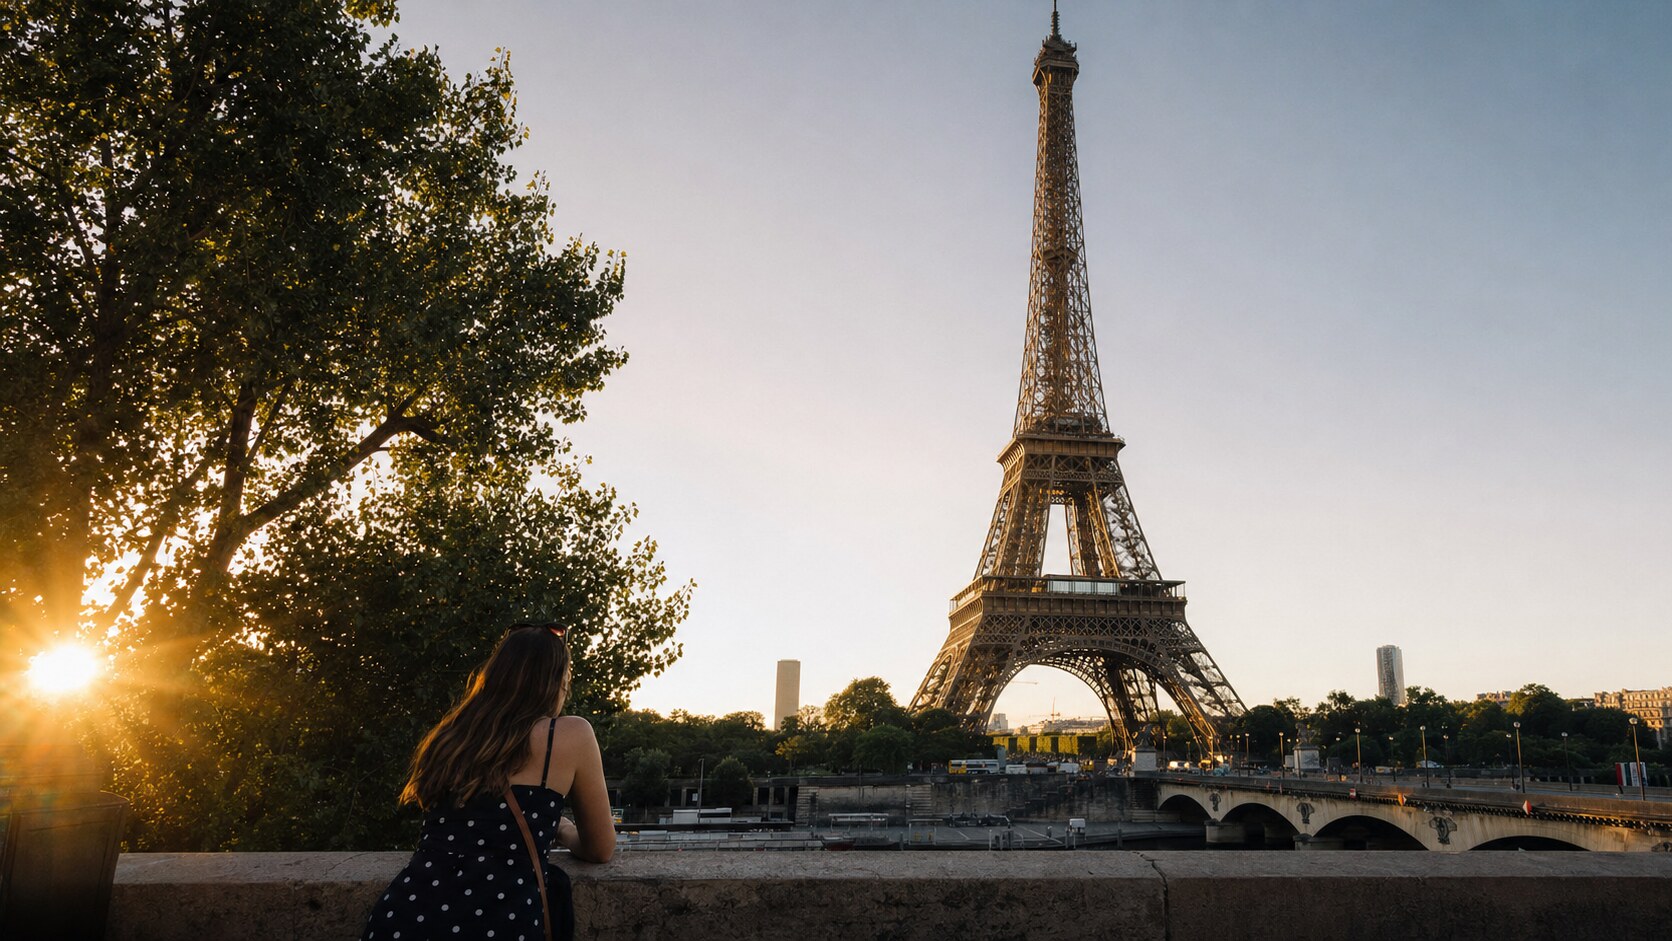
- Trocadéro / Place du Trocadéro (48.862900, 2.288900) — Classic head-on view across the Seine; wide lens for full tower + fountains. n
- Champ de Mars lawns (48.855900, 2.298600) — Iconic green foreground; best at sunrise for fewer people and soft light. n
- Pont de Bir-Hakeim (48.857600, 2.287000) — Strong leading lines and arches; great for sunrise silhouettes and blue-hour traffic trails. n
- Avenue de Camoëns (48.863400, 2.289200) — Frames the tower between Parisian buildings; strong for portrait compositions. n
- Seine riverbank near Passerelle Debilly (48.861600, 2.293000) — Cleaner riverside compositions and reflections on calm mornings. n
 Save
SaveWhen to photograph (sunrise, golden hour, blue hour)
nnnnSunrise: best for empty frames and soft contrast. Arrive 30–45 minutes early to set up and find clean foreground lines.
nnnnGolden hour: side light adds texture to stone and metal. If you want warm color without harsh shadows, shoot the first half of golden hour and keep highlights protected.
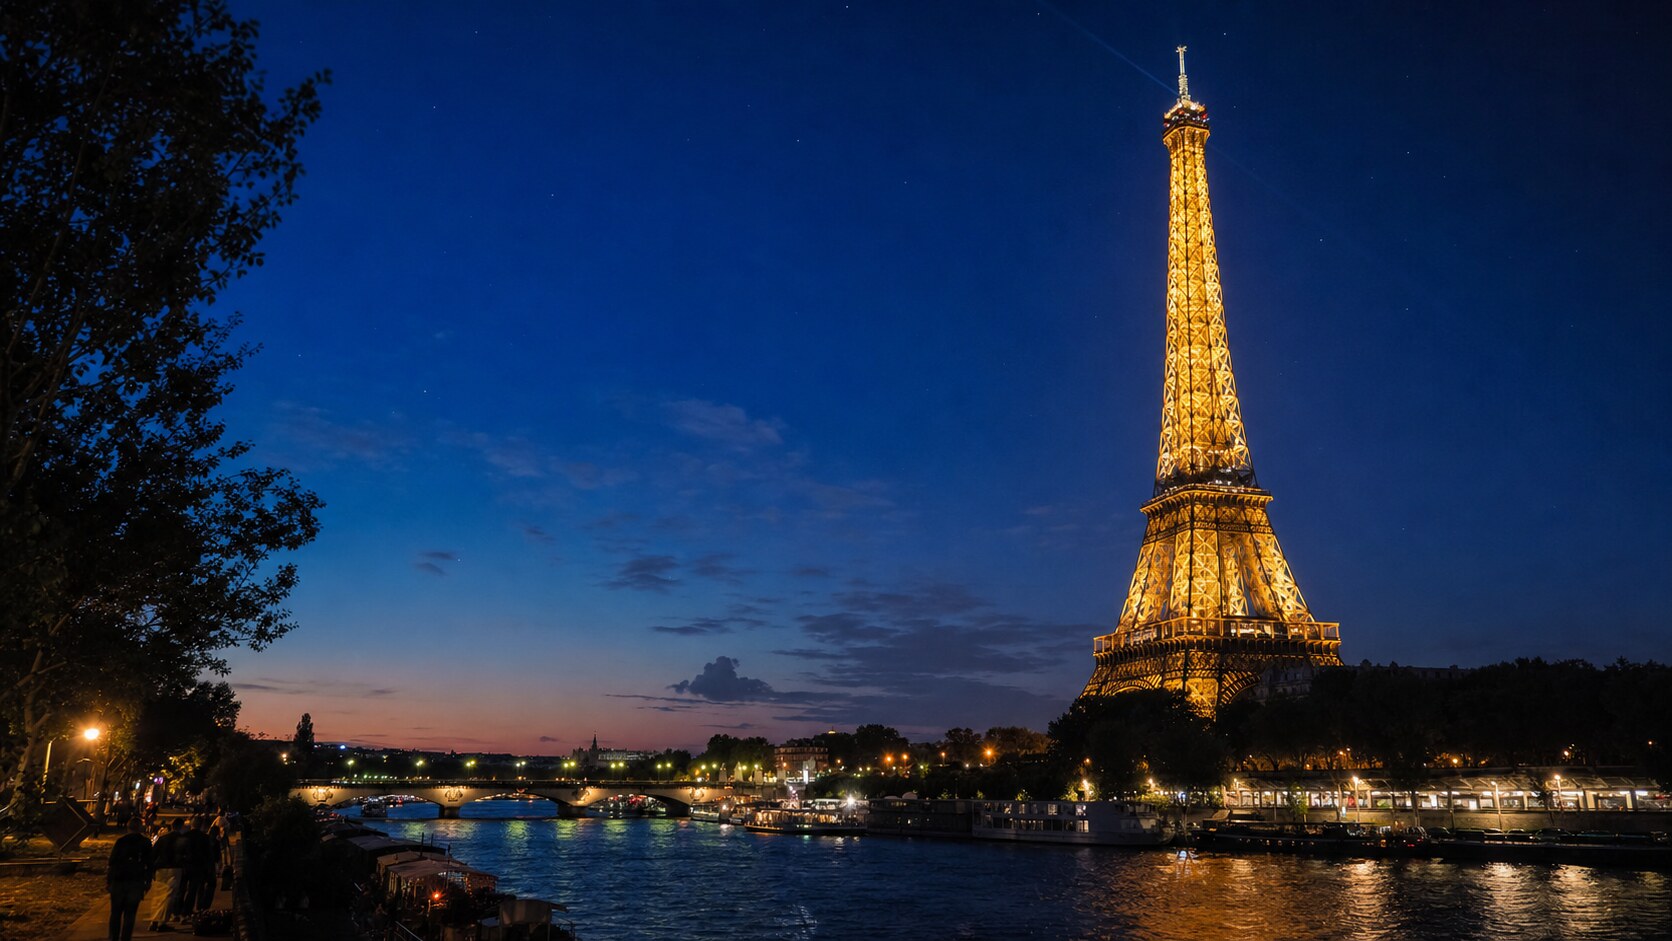
nnnnBlue hour: the most reliable ‘wow’ moment for landmarks in cities. Start shooting about 10 minutes after sunset and continue for 25 minutes as the sky deepens and the city lights balance out.
nnnn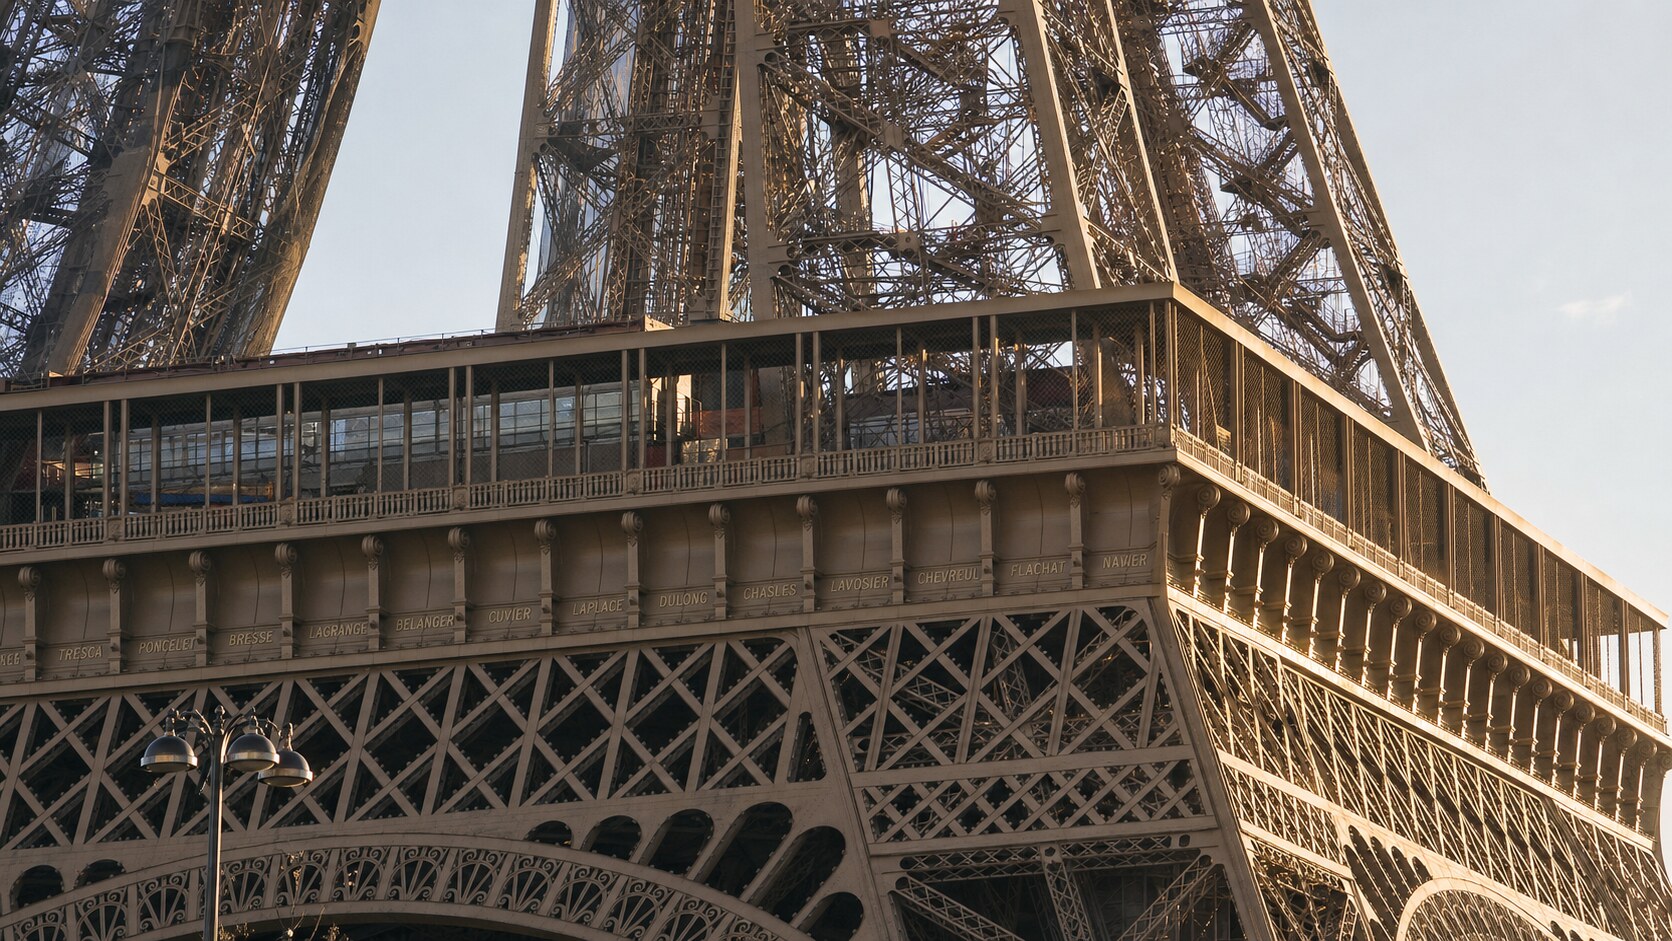 Save
SaveCamera + lens recommendations
nnnn- n
- Wide zoom (14–16mm / 16–35mm): tight viewpoints, dramatic leading lines, and the classic full-structure frame. n
- Standard zoom (24–70mm): flexible ‘people for scale’ shots and quick reframes without moving. n
- Tele zoom (70–200mm): compression, isolating details, layering with city backgrounds, and reducing clutter. n
- Tripod: ideal for blue hour and long exposures; always verify local rules (see restrictions section below). n
 Save
SaveSettings cheat sheet (copy/paste starts)
nnnn| Scene | Mode | Starting settings | Notes |
|---|---|---|---|
| Sunrise wide scene | A/Av | f/8, ISO 100, adjust shutter | Use exposure compensation to protect highlights. |
| Blue hour city glow | M | f/8, ISO 100–200, 1–5s | Tripod if allowed; otherwise stabilize and shoot bursts. |
| Handheld street + landmark | A/Av | f/2.8–4, ISO 800–3200, 1/125s | Raise ISO before dropping shutter below 1/80s. |
| Detail compression | A/Av | f/4–5.6, ISO 100–400 | Use 70–200mm; watch heat shimmer on warm days. |
The complete Eiffel Tower Paris guide is $47
All vantage points above + 5 bonus secret spots, printable map, gear pack list, and editing recipes. One-time payment, instant download, lifetime updates.
Viewpoints in detail (how to shoot each one)
nnnnUse the GPS pins above as your navigation anchors. At each spot, start with the ‘postcard’ frame, then add one variation: foreground subject, reflection, or a tighter detail.
nnnnMicro-shot list: (1) wide classic, (2) vertical portrait frame, (3) detail compression, (4) people-for-scale, (5) one long exposure at blue hour (if possible).
nnnnCrowds + timing strategy
nnnnFor clean frames, prioritize sunrise or the first hour after the site opens. For blue-hour frames, show up early and lock a position with the best leading lines; you can usually shoot multiple compositions without changing location.
nnnnPhoto restrictions + tripod policy
nnOpening times: Opening hours vary by date; the official site provides a day-by-day calendar and notes that times are subject to change without notice. See the official calendar: rates & opening times. Tickets: official ticket office.
nImage rights note: Daytime images are in the public domain; the tower’s nighttime lighting (golden illumination, twinkling lights, beacon, event lighting) is protected and professional use of images showing the illuminated tower requires prior authorization. (official policy).
nnnPost-processing workflow (fast, natural edits)
nnnn- n
- Enable lens corrections and remove chromatic aberration. n
- Level the horizon; then correct verticals (architecture almost always needs it). n
- Recover highlights first (sky and bright lights), then lift shadows gently. n
- Add local contrast/texture to the landmark (masking helps avoid crunchy skies). n
- Finish with a subtle vignette and targeted sharpening on edges/details. n
Get the complete field guide (PDF) + matching presets
nnnnIf you want the full shot list, a printable timing plan, and editing recipes you can follow on your phone while you shoot, grab the premium guide and the matching Lightroom preset pack below.
nnn nnnnAll links go to Viator (a TripAdvisor company), the world’s largest marketplace for guided experiences. Tagged as affiliate per FTC.
Related guides (next landmarks)
nnnn- n
- How to Photograph Tower Bridge London n
- How to Photograph Louvre Museum Paris n
- How to Photograph Arc De Triomphe Paris n
FAQ
nnnnDo I need a tripod? For blue hour and long exposures, yes — but many city locations restrict tripods; use railings, straps, and burst shooting as a backup.
nnnnWhat lens should I bring? A wide zoom plus a short tele (or 24–70mm) covers most landmark scenarios.
nnnnHow do I avoid crowds? Sunrise and weekday mornings are best. If you must shoot at peak time, use longer focal lengths to isolate details and wait for clean gaps.
nnnnSources
nnnnnnnnnComposition tip: If the scene feels ‘been-there’, add a foreground layer (railing, trees, reflections) and shoot both a clean version and a layered version. Two safe variations: a low-angle wide shot, and a tighter crop that emphasizes patterns and symmetry.
nnnnExposure tip: For bright skies, meter for highlights and let shadows fall — you can lift shadows later. If you’re handheld at dusk, prioritize shutter speed first, then raise ISO, then open aperture.
nnnnWorkflow tip: Shoot a short bracket (−1, 0, +1 EV) for high-contrast scenes. Even if you don’t blend HDR, the darker frame can rescue sky color and light detail.
nnnnnComposition tip: If the scene feels ‘been-there’, add a foreground layer (railing, trees, reflections) and shoot both a clean version and a layered version. Two safe variations: a low-angle wide shot, and a tighter crop that emphasizes patterns and symmetry.
nnnnExposure tip: For bright skies, meter for highlights and let shadows fall — you can lift shadows later. If you’re handheld at dusk, prioritize shutter speed first, then raise ISO, then open aperture.
nnnnWorkflow tip: Shoot a short bracket (−1, 0, +1 EV) for high-contrast scenes. Even if you don’t blend HDR, the darker frame can rescue sky color and light detail.
nnnnnComposition tip: If the scene feels ‘been-there’, add a foreground layer (railing, trees, reflections) and shoot both a clean version and a layered version. Two safe variations: a low-angle wide shot, and a tighter crop that emphasizes patterns and symmetry.
nnnnExposure tip: For bright skies, meter for highlights and let shadows fall — you can lift shadows later. If you’re handheld at dusk, prioritize shutter speed first, then raise ISO, then open aperture.
nnnnWorkflow tip: Shoot a short bracket (−1, 0, +1 EV) for high-contrast scenes. Even if you don’t blend HDR, the darker frame can rescue sky color and light detail.
nnnnnComposition tip: If the scene feels ‘been-there’, add a foreground layer (railing, trees, reflections) and shoot both a clean version and a layered version. Two safe variations: a low-angle wide shot, and a tighter crop that emphasizes patterns and symmetry.
nnnnExposure tip: For bright skies, meter for highlights and let shadows fall — you can lift shadows later. If you’re handheld at dusk, prioritize shutter speed first, then raise ISO, then open aperture.
nnnnWorkflow tip: Shoot a short bracket (−1, 0, +1 EV) for high-contrast scenes. Even if you don’t blend HDR, the darker frame can rescue sky color and light detail.
nnnnnComposition tip: If the scene feels ‘been-there’, add a foreground layer (railing, trees, reflections) and shoot both a clean version and a layered version. Two safe variations: a low-angle wide shot, and a tighter crop that emphasizes patterns and symmetry.
nnnnExposure tip: For bright skies, meter for highlights and let shadows fall — you can lift shadows later. If you’re handheld at dusk, prioritize shutter speed first, then raise ISO, then open aperture.
nnnnWorkflow tip: Shoot a short bracket (−1, 0, +1 EV) for high-contrast scenes. Even if you don’t blend HDR, the darker frame can rescue sky color and light detail.
nnnnnComposition tip: If the scene feels ‘been-there’, add a foreground layer (railing, trees, reflections) and shoot both a clean version and a layered version. Two safe variations: a low-angle wide shot, and a tighter crop that emphasizes patterns and symmetry.
nnnnExposure tip: For bright skies, meter for highlights and let shadows fall — you can lift shadows later. If you’re handheld at dusk, prioritize shutter speed first, then raise ISO, then open aperture.
nnnnWorkflow tip: Shoot a short bracket (−1, 0, +1 EV) for high-contrast scenes. Even if you don’t blend HDR, the darker frame can rescue sky color and light detail.
nnnnnComposition tip: If the scene feels ‘been-there’, add a foreground layer (railing, trees, reflections) and shoot both a clean version and a layered version. Two safe variations: a low-angle wide shot, and a tighter crop that emphasizes patterns and symmetry.
nnnnExposure tip: For bright skies, meter for highlights and let shadows fall — you can lift shadows later. If you’re handheld at dusk, prioritize shutter speed first, then raise ISO, then open aperture.
nnnnWorkflow tip: Shoot a short bracket (−1, 0, +1 EV) for high-contrast scenes. Even if you don’t blend HDR, the darker frame can rescue sky color and light detail.
nnnnnComposition tip: If the scene feels ‘been-there’, add a foreground layer (railing, trees, reflections) and shoot both a clean version and a layered version. Two safe variations: a low-angle wide shot, and a tighter crop that emphasizes patterns and symmetry.
nnnnExposure tip: For bright skies, meter for highlights and let shadows fall — you can lift shadows later. If you’re handheld at dusk, prioritize shutter speed first, then raise ISO, then open aperture.
nnnnWorkflow tip: Shoot a short bracket (−1, 0, +1 EV) for high-contrast scenes. Even if you don’t blend HDR, the darker frame can rescue sky color and light detail.
nnCommon questions about the Eiffel Tower Paris guide
Is the Eiffel Tower Paris photography guide worth $47?
For most photographers, yes. The guide saves 8-12 hours of trip-planning research and prevents the most common mistake of Eiffel Tower Paris photography: shooting at the wrong time of day. If a single better frame is worth $47 to you, the guide pays for itself on day one. Buyers get every GPS coordinate, every golden-hour window, every cultural rule, and a printable shot list.
Does the Eiffel Tower Paris guide include GPS coordinates?
Yes — every vantage point in the guide has Google Maps-ready GPS coordinates so you can pin them before you fly. The guide also includes a printable map showing all locations clustered by walking distance, so you can build efficient half-day routes.
What's in the Eiffel Tower Paris PDF that isn't in this article?
The article shows the highlights. The PDF includes: 5 additional secret spots not published online, a 14-day itinerary with daily routes, the full camera-settings cheat sheet for every scenario in Eiffel Tower Paris, a printable gear packing list, post-processing recipes with screenshot examples, and a list of local guides we trust for portrait commissions.
Do I get the Lightroom presets too?
The $47 guide is the PDF only. The matching Eiffel Tower Paris preset pack is a separate $19 download — most buyers grab both as a bundle and save the editing time. Both are instant download, both work on Lightroom Classic and Lightroom Mobile.
Will the guide work for a Eiffel Tower Paris trip in 2026?
Yes. The guide is updated annually as fees, restrictions, and new vantage points change. All buyers get free lifetime updates. The 2026 edition includes the latest drone rules, museum photography policies, and seasonal light data for the year.
Visiting more than Eiffel Tower Paris?
Bundle multiple destination guides and save planning time across the trip:
- Notre-Dame Paris Photographer’s Guide ($47)
- Sacré-Cœur Photographer’s Guide ($47)
- Arc de Triomphe Photographer’s Guide ($47)
- The Louvre Photographer’s Guide ($47)
- Stonehenge Photographer’s Guide ($47)
Or get all 60+ destinations in one bundle: Photo Atlas — every guide, every map, $97.
What to Pack
A focused landscape kit handles every shot at Eiffel Tower without breaking your back. Here is the working photographer's pack list — every link goes to B&H Photo Video (our primary supplier) or Amazon (for accessories and same-day delivery in the US).
| What & Why | B&H | Amazon |
|---|---|---|
Wide-angle zoom (14-35mm range) The single most important lens for sweeping vistas. Pair with a circular polarizer for skies and water. | Shop B&H → | Shop Amazon → |
Sturdy travel tripod Carbon fiber, packs to 15 inches, holds steady in wind off the coast. Essential for blue-hour and long-exposure work. | Shop B&H → | Shop Amazon → |
Circular polarizer (77mm or 82mm) Cuts haze, deepens sky, reveals texture in water. Non-negotiable for landscape work. | Shop B&H → | Shop Amazon → |
10-stop ND filter For 30-second exposures that turn moving water and clouds into silk. | Shop B&H → | Shop Amazon → |
Extra batteries (3 minimum) Cold weather and long exposures eat batteries. Carry triple what you think you need. | Shop B&H → | Shop Amazon → |
Fast SD/CFexpress cards V90 or CFexpress depending on your body. Two cards minimum so a failure mid-trip is recoverable. | Shop B&H → | Shop Amazon → |
Microfiber lens cloths Salt spray, mist, and dust will ruin every shot if you don't carry a cloth. | Shop B&H → | Shop Amazon → |
B&H and Amazon links are affiliate links. We earn a small commission on purchases at no extra cost to you. We only recommend gear we use or would buy ourselves.