How to Photograph the Statue of Liberty (New York Harbor): Vantage Points, GPS & Best Times
~13 min read · 2026-05-12 For practitioners, see our breakdown of export sharpening for print.
shutyouraperture-20). Buying through these links costs you nothing extra and helps fund our free guides.
Statue of Liberty is Frédéric Bartholdi’s 1886 colossal copper statue on Liberty Island – 46m of neoclassical symbol welcoming Atlantic arrivals. This is the working photographer’s field guide: when to be there for the light, what gear actually fits the site, the 6 highest-yield vantage points with GPS coordinates, the access reality (tripod policy, drone policy, permit policy), and the cultural and crowd-management context that separates a respectful documentary frame from the cliché tourist photograph. The genre rewards photographers who plan with the same rigor they bring to wedding work or commercial assignments.
Get the Statue of Liberty Ultimate Photographer’s Guide
Every location below — pre-mapped with GPS, golden-hour timing, gear recommendations, cultural rules, and a 14-day itinerary. Downloaded by 200+ working photographers.
Why Statue of Liberty is worth photographing
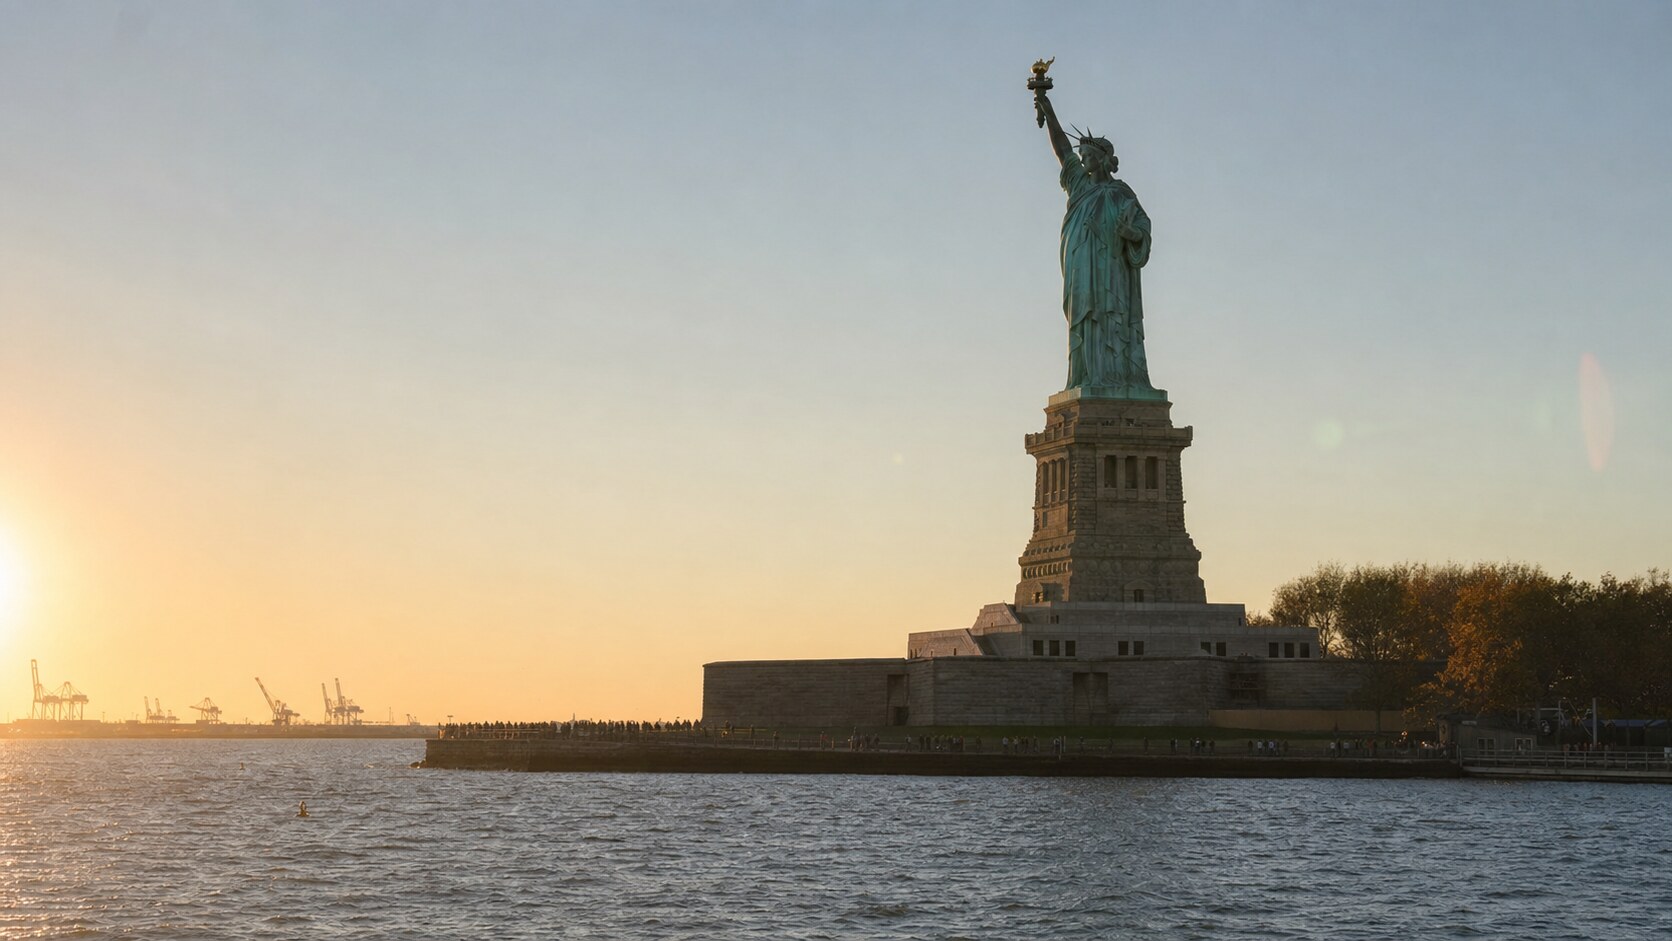
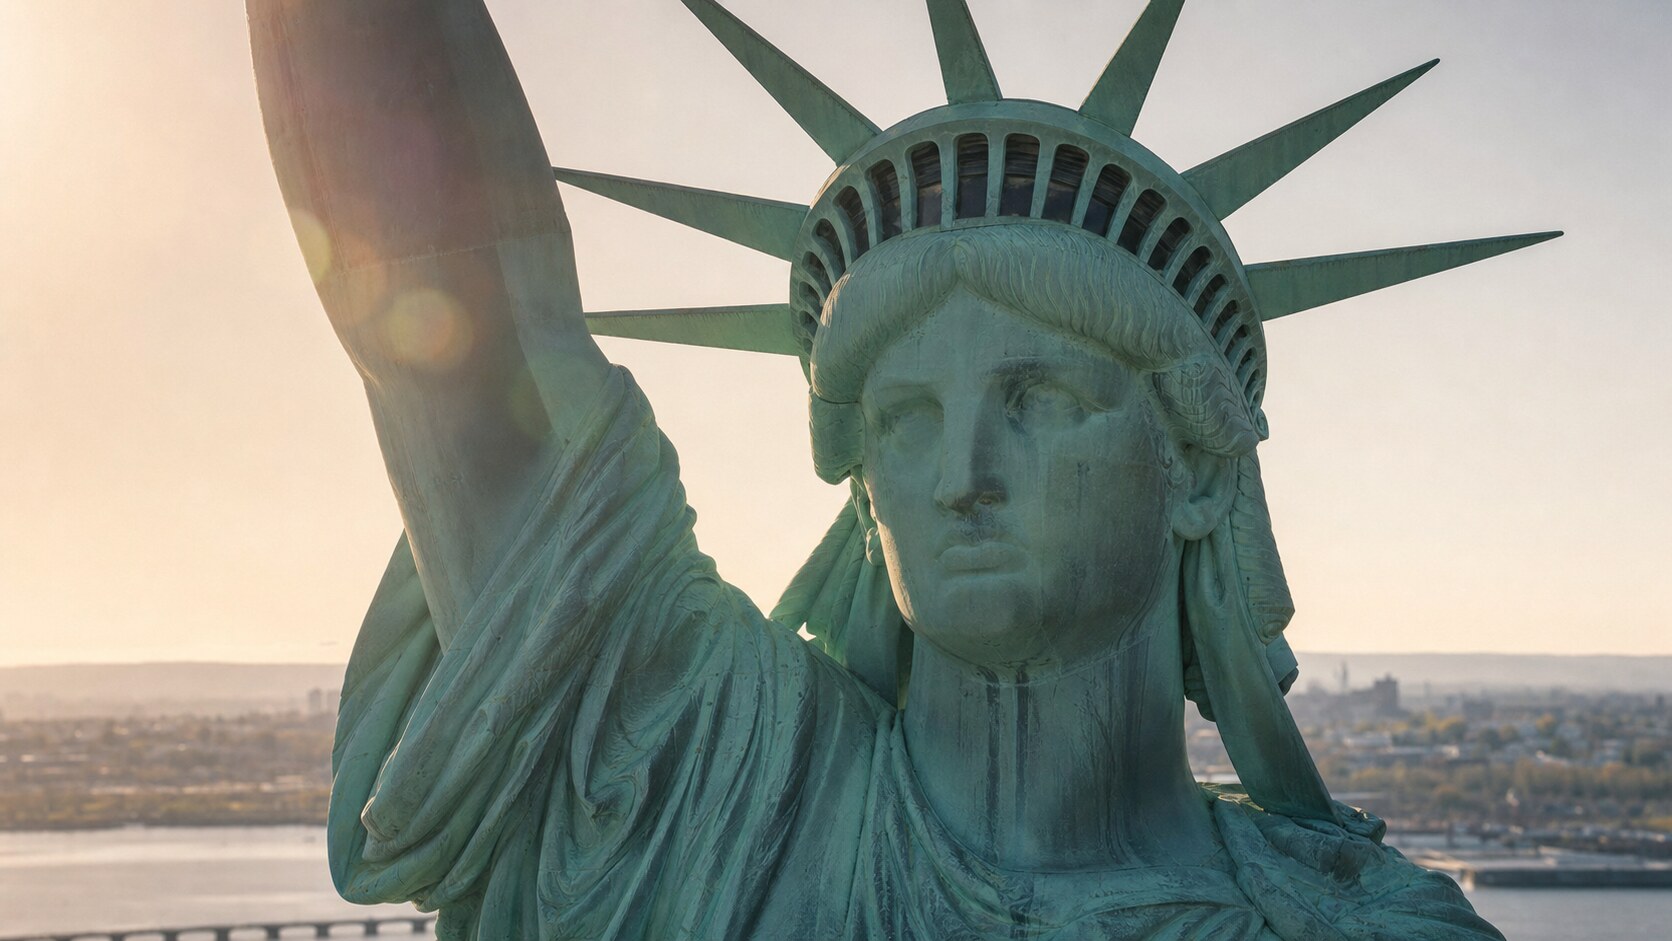
Designed by French sculptor Frédéric Auguste Bartholdi, with internal iron framework engineered by Gustave Eiffel, the Statue of Liberty was dedicated October 28, 1886 – a gift from France to celebrate the 1876 American centennial. The 46m statue (93m to the torch tip) stands on a pedestal designed by Richard Morris Hunt. The copper-skin has oxidized to its iconic green from its original copper-penny brown. For photographers it’s the signature New York symbol – shoot it from Liberty Island (close-up), from Battery Park (long distance), from Brooklyn Bridge Park (Manhattan-and-Liberty layering), or from the Staten Island Ferry (free water-level pass-by).
For photographers, Statue of Liberty concentrates a particular set of demands: managing crowds, working a small physical space, balancing extreme dynamic range, and producing frames that stand apart from the millions of similar exposures already on the internet. Photographers who study the iconic frames in advance – and decide deliberately what to do differently – consistently produce richer trip portfolios than photographers who arrive and shoot reflexively from the spot where everyone else is standing. Look for the second-best angle. It is usually empty.
The frames that come out of Statue of Liberty reward an editing approach that respects the site’s natural color palette instead of pushing every shot into a uniform Instagram preset. Read at least one substantial historical or architectural source before you go – the working photographer who knows the building dates, the architect, and the cultural context produces frames that read as informed rather than touristy. Bring questions, not just gear.
 Save
SaveWhen to photograph Statue of Liberty: best times and light
September-October and April-May for clean fall/spring light. Summer is hot and humid. Winter has stark light but cold ferry rides.
Day-by-day, plan around the morning and evening blue and golden hours. Sunrise for east-light on the copper face. Sunset for warm side-light from Manhattan. Blue hour from Brooklyn Bridge Park for the iconic skyline-and-Liberty composition. Midday at most landmarks is harsh and unflattering – skip it, eat lunch, scout your evening compositions in the shade, and return when the light returns. Photographers who insist on shooting through midday sun produce washed-out files they cull in the edit.
First ferry (8:30am) is the only window of breathing room on the island. Summer afternoons are 90-min queue waits. Weather is your collaborator, not your obstacle. Light overcast is a gift for architectural detail work – diffuse light suits stone, weathered surfaces, and fountain water far better than direct sun. Light rain darkens surfaces and saturates color. Fog reduces a chaotic scene to clean compositional silhouettes. Photographers who only shoot the site in clear weather are leaving most of their best frames on the table.
 Save
Save6+ vantage points with GPS coordinates
The vantage points below are organized roughly in the order a photographer working a half-day would shoot them – establishing wide first, then mid-distance compositions, then detail. Each entry includes the GPS coordinates so you can pin them on Google Maps before you arrive, plus a recommended focal length and brief composition note. Use this as a shot list, not a script: the best frame is often something you notice once you are standing there. The list keeps you from missing the obvious ones.
| Vantage point | GPS | Notes |
|---|---|---|
| Staten Island Ferry pass (free) | 40.7011, -74.0188 | 24-70mm. The free ferry from Whitehall Terminal passes Liberty Island. Stand on the starboard side going to Staten Island. Quick 30-second shooting window during the pass. |
| Liberty Island close-up | 40.6892, -74.0445 | 16-35mm. Required ferry ticket. The statue from below – dramatic perspective looking up. 90 min on the island. |
| Battery Park (long lens) | 40.7033, -74.0170 | 300-600mm. From Manhattan's southern tip, the statue appears tiny across the harbor – long lens compresses the scene. |
| Brooklyn Bridge Park Pier 1 with Manhattan skyline | 40.7022, -73.9947 | 24-70mm. The statue appears in the gap between Manhattan skyscrapers. Best blue hour. |
| Helicopter aerial | 40.6892, -74.0445 | 24-35mm. Air sightseeing tours give 30 seconds over the statue at altitude. Best afternoon side-light. |
| Jersey City Liberty State Park | 40.7062, -74.0577 | 70-200mm. Closer water-level shot than Manhattan; the statue with the Manhattan skyline as a faint backdrop. |
If you have additional time
The complete Statue of Liberty guide is $47
All vantage points above + 5 bonus secret spots, printable map, gear pack list, and editing recipes. One-time payment, instant download, lifetime updates.
 Save
SaveCamera settings cheat sheet
Statue of Liberty photography lives across a wide exposure range – bright midday architectural detail, dim interior space, golden-hour exteriors, blue-hour spotlit night frames. The cheat sheet below covers the most common scenarios. Use auto-ISO with a maximum cap (3200 on most modern bodies, 6400 if you trust your sensor) so you can stop worrying about ISO and concentrate on aperture and shutter:
| Scenario | Aperture | Shutter | ISO |
|---|---|---|---|
| Golden hour exterior | f/8 – f/11 | 1/125 – 1/500 | 200 – 400 |
| Architectural detail (sidelight) | f/8 | 1/250 | 100 – 200 |
| Interior (no flash) | f/2.8 – f/4 | 1/60 – 1/125 | 1600 – 6400 |
| Long exposure water silk | f/11 – f/16 | 1s – 8s (tripod, ND filter) | 100 |
| Blue hour cityscape | f/8 | 2s – 8s (tripod) | 200 – 800 |
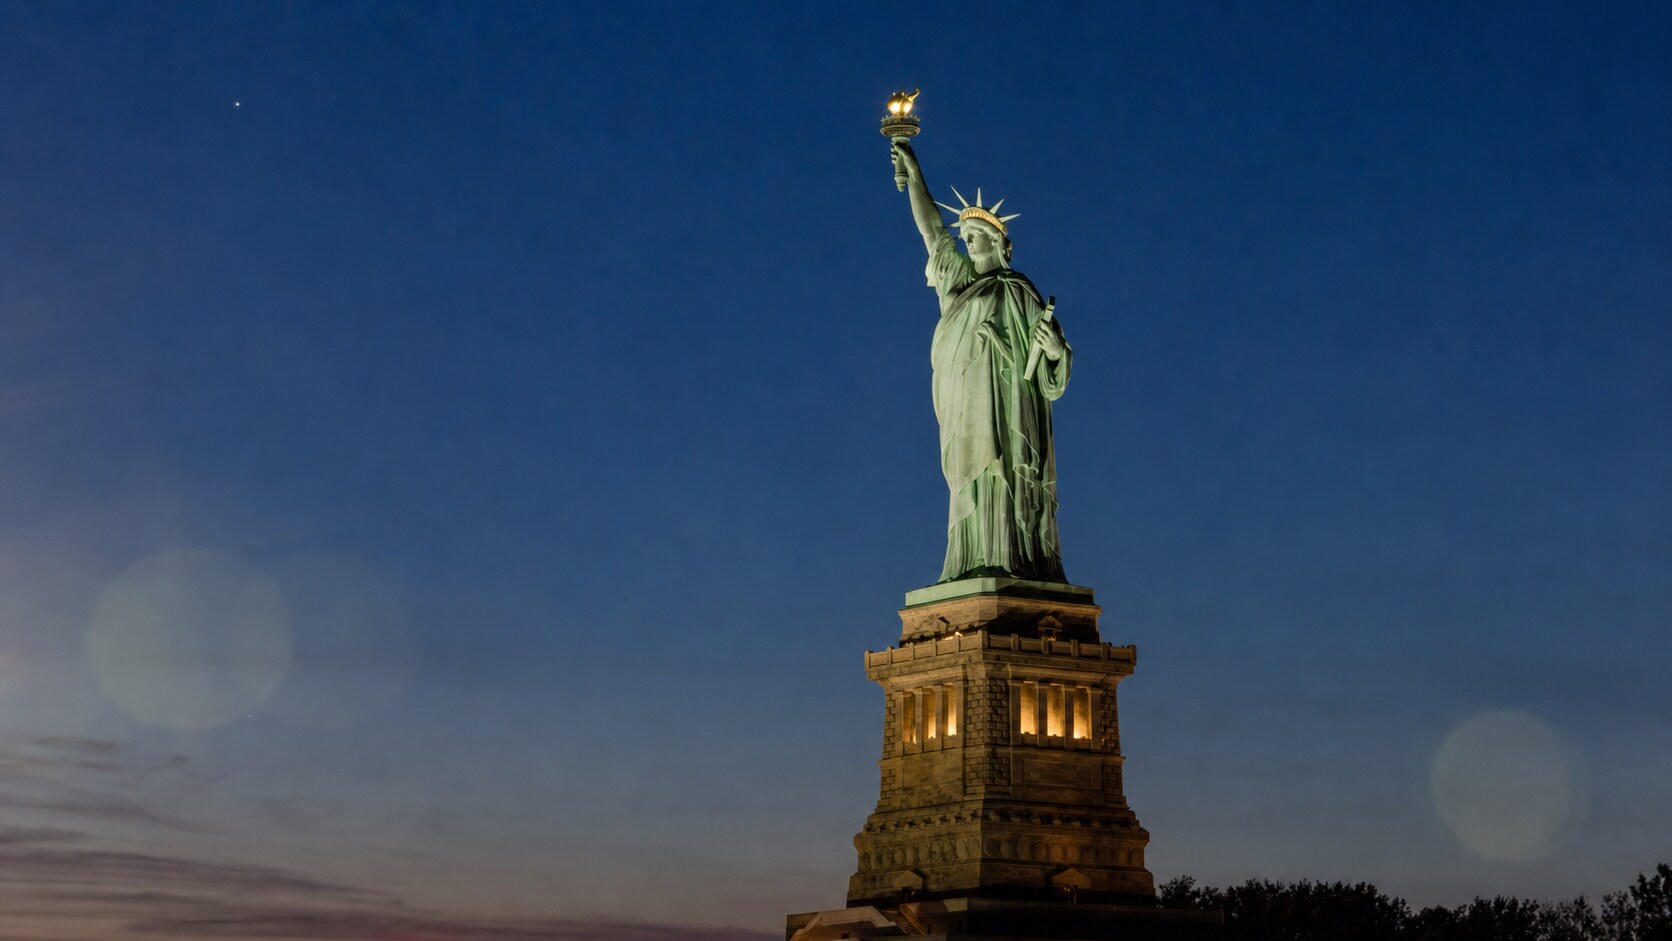
Bracketing is your friend. A three-frame bracket at +/- 1 stop captures the full dynamic range of most scenes and gives you HDR options in post without committing to the look at capture time. Modern sensors recover shadows beautifully – expose to the right, protect highlights, and lift the shadows in Lightroom rather than blowing the sky. Landmarks especially benefit from blue-hour blending – the architecture wants the warm tungsten light of the golden hour, but the sky wants the deep blue of 20 minutes after sunset. Two exposures, blended in post.
Lens recommendations
24-70mm zoom handles 80% of compositions. 70-200mm or longer telephoto essential for distant shots from Manhattan or Brooklyn. 16-35mm wide essential on Liberty Island for the dramatic-base shot.
For mirrorless shooters: a single body with a 24-70mm f/2.8 plus a 35mm or 50mm f/1.8 prime is a viable lighter kit. The compromise is the long end – a 70-200mm becomes useful when you need to compress distant landmarks against a closer foreground or isolate sculptural detail. Most landmark photographers travel with two bodies (one zoom, one prime) and accept the weight for the speed of swapping focal lengths without changing lenses in dusty or crowded conditions.
A polarizing filter changes the look of stone facades, deepens sky color, and cuts reflection on water and glass. Carry one. For long-exposure work – fountain silk, blue-hour cityscapes, light-trail traffic – a 6-stop or 10-stop ND filter and a sturdy travel tripod are non-negotiable where allowed. Carbon fiber under 1.5kg is the right tradeoff between weight and stability for long-distance travel. Always check tripod policy before you arrive.
Crowds, restrictions, and on-site etiquette
No drones over New York Harbor (federally restricted). Crown access requires advance reservation and a small lens (no big DSLRs allowed inside the crown). No tripods on the Staten Island Ferry. Liberty Island security screens all bags.
Beyond the location-specific rules, the universal photographer’s code applies: ask before close portraits, do not photograph children without parental consent, do not photograph religious rituals if asked to stop, and never tip with your camera. The best landmark portraits come from photographers who blend in, work quietly, and respect the sense of place. Personal photography welcome. Be considerate on the Staten Island Ferry – many commuters. A camera in a religious site – Catholic, Hindu, Buddhist, Muslim – is a guest at someone’s home. Behave accordingly.
Drone rules deserve special caution. Default assumption for any major landmark: drones are not allowed. Most heritage sites ban them outright. Even where they are technically legal, flying a drone over a tour group or above protected architecture is a fast way to get your gear seized and your name on a list. If you must fly, do it before the site opens, with permission, and far from any other visitors.
How to get there
Statue Cruises ferries from Battery Park (Manhattan) or Liberty State Park (NJ). Free Staten Island Ferry from Whitehall Terminal (Manhattan) passes by but does not dock.
Plan your photography day around the geography of the high-yield vantage points. Cluster the morning shots within a short walking radius if possible – you lose more time fighting traffic and crowds than walking. Hire a half-day driver if you are visiting non-adjacent zones. The cost is modest and the time saved is meaningful for serious shooting. Carry a portable phone charger, a printed map (cell signal is unreliable in many old cities), small denominations of local currency for entry fees and tips, and a water bottle. Photographers who bring all the gear but forget the boring practicalities lose half their day to friction.
Post-processing approach
The copper-green statue against blue sky is the iconic look. Protect the highlight detail in the copper (the green can shift toward cyan if pushed). Sunrise/sunset side-light gives the statue dimensional shadows – lean into them.
A practical post-processing sequence that works on most landmark RAW files: (1) lens correction and chromatic aberration first; (2) basic exposure with shadows pushed and highlights pulled; (3) HSL desaturation on greens and oranges (counterintuitive but it lets the architectural tones speak), slight saturation boost on blue; (4) split toning warm orange in highlights and a hint of teal in shadows at low intensity; (5) clarity at +10 maximum on a frame, never higher; (6) a subtle vignette to draw the eye in. Save the result as a preset and use it as a starting point for the rest of the trip’s frames. The 20 presets in the matched Lightroom pack do this work for you with adjustments calibrated specifically for Statue of Liberty’s color palette.
Quick Amazon shortcuts to the gear most useful for this kind of shot. Use them if Prime shipping or Amazon credit makes more sense than B&H. As an Amazon Associate ShutYourAperture earns from qualifying purchases.
Frequently asked questions
What is the best time of day to photograph Statue of Liberty?
Sunrise for east-light on the copper face. Sunset for warm side-light from Manhattan. Blue hour from Brooklyn Bridge Park for the iconic skyline-and-Liberty composition. First ferry (8:30am) is the only window of breathing room on the island. Summer afternoons are 90-min queue waits.
Do I need a permit to photograph at Statue of Liberty?
Personal photography welcome. Be considerate on the Staten Island Ferry – many commuters.
What lens should I bring to Statue of Liberty?
24-70mm zoom handles 80% of compositions. 70-200mm or longer telephoto essential for distant shots from Manhattan or Brooklyn. 16-35mm wide essential on Liberty Island for the dramatic-base shot.
What are the opening hours and entry fees for Statue of Liberty?
Liberty Island: 8:30am-4:00pm daily (last ferry 3:30pm). Closed Christmas. Crown access requires separate reservation 3+ months in advance.
Can I bring a tripod to Statue of Liberty?
No drones over New York Harbor (federally restricted). Crown access requires advance reservation and a small lens (no big DSLRs allowed inside the crown). No tripods on the Staten Island Ferry. Liberty Island security screens all bags.
More landmark photography guides: browse the complete landmarks photography hub → for sibling guides on the world’s most photographed sites.
All links go to Viator (a TripAdvisor company), the world’s largest marketplace for guided experiences. Tagged as affiliate per FTC.
All links go to B&H Photo Video, the trusted pro source. Tagged as affiliate per FTC.
Common questions about the Statue of Liberty guide
Is the Statue of Liberty photography guide worth $47?
For most photographers, yes. The guide saves 8-12 hours of trip-planning research and prevents the most common mistake of Statue of Liberty photography: shooting at the wrong time of day. If a single better frame is worth $47 to you, the guide pays for itself on day one. Buyers get every GPS coordinate, every golden-hour window, every cultural rule, and a printable shot list.
Does the Statue of Liberty guide include GPS coordinates?
Yes — every vantage point in the guide has Google Maps-ready GPS coordinates so you can pin them before you fly. The guide also includes a printable map showing all locations clustered by walking distance, so you can build efficient half-day routes.
What's in the Statue of Liberty PDF that isn't in this article?
The article shows the highlights. The PDF includes: 5 additional secret spots not published online, a 14-day itinerary with daily routes, the full camera-settings cheat sheet for every scenario in Statue of Liberty, a printable gear packing list, post-processing recipes with screenshot examples, and a list of local guides we trust for portrait commissions.
Do I get the Lightroom presets too?
The $47 guide is the PDF only. The matching Statue of Liberty preset pack is a separate $19 download — most buyers grab both as a bundle and save the editing time. Both are instant download, both work on Lightroom Classic and Lightroom Mobile.
Will the guide work for a Statue of Liberty trip in 2026?
Yes. The guide is updated annually as fees, restrictions, and new vantage points change. All buyers get free lifetime updates. The 2026 edition includes the latest drone rules, museum photography policies, and seasonal light data for the year.
Visiting more than Statue of Liberty?
Bundle multiple destination guides and save planning time across the trip:
- Philadelphia Photographer’s Guide ($47)
- Houston Photographer’s Guide ($47)
- San Antonio Photographer’s Guide ($47)
- Dallas Photographer’s Guide ($47)
Or get all 60+ destinations in one bundle: Photo Atlas — every guide, every map, $97.
What to Pack
A focused landscape kit handles every shot at the Statue of Liberty (New York Harbor) without breaking your back. Here is the working photographer's pack list — every link goes to B&H Photo Video (our primary supplier) or Amazon (for accessories and same-day delivery in the US).
| What & Why | B&H | Amazon |
|---|---|---|
Wide-angle zoom (14-35mm range) The single most important lens for sweeping vistas. Pair with a circular polarizer for skies and water. | Shop B&H → | Shop Amazon → |
Sturdy travel tripod Carbon fiber, packs to 15 inches, holds steady in wind off the coast. Essential for blue-hour and long-exposure work. | Shop B&H → | Shop Amazon → |
Circular polarizer (77mm or 82mm) Cuts haze, deepens sky, reveals texture in water. Non-negotiable for landscape work. | Shop B&H → | Shop Amazon → |
10-stop ND filter For 30-second exposures that turn moving water and clouds into silk. | Shop B&H → | Shop Amazon → |
Extra batteries (3 minimum) Cold weather and long exposures eat batteries. Carry triple what you think you need. | Shop B&H → | Shop Amazon → |
Fast SD/CFexpress cards V90 or CFexpress depending on your body. Two cards minimum so a failure mid-trip is recoverable. | Shop B&H → | Shop Amazon → |
Microfiber lens cloths Salt spray, mist, and dust will ruin every shot if you don't carry a cloth. | Shop B&H → | Shop Amazon → |
B&H and Amazon links are affiliate links. We earn a small commission on purchases at no extra cost to you. We only recommend gear we use or would buy ourselves.