How to Photograph Maldives Beaches: A Photographer’s Guide
Turquoise lagoon beaches on an island chain spanning the equator.
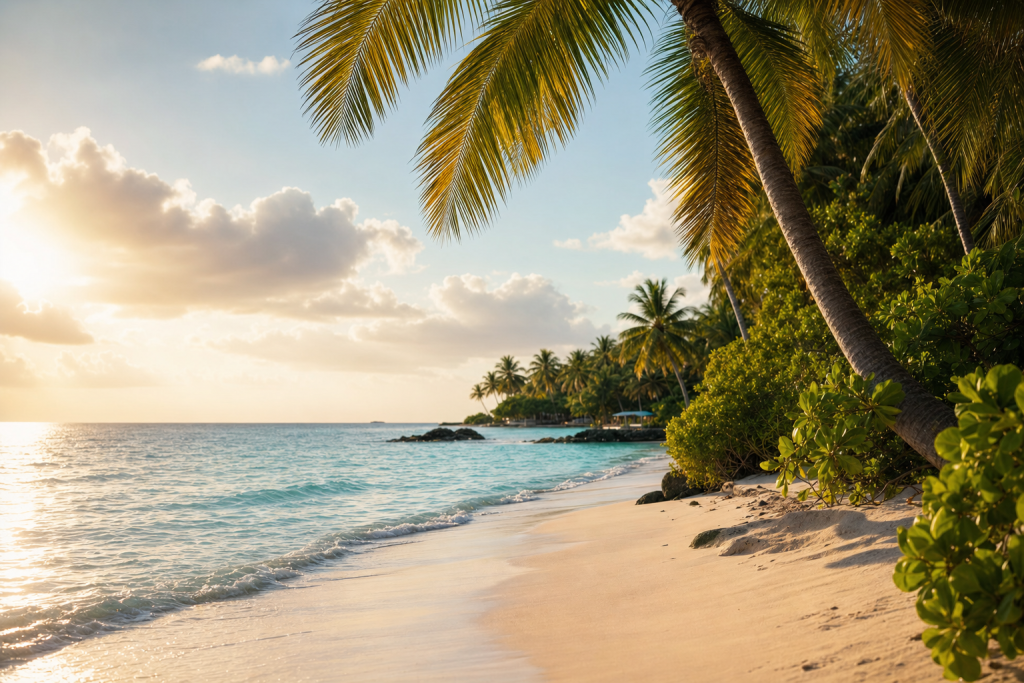
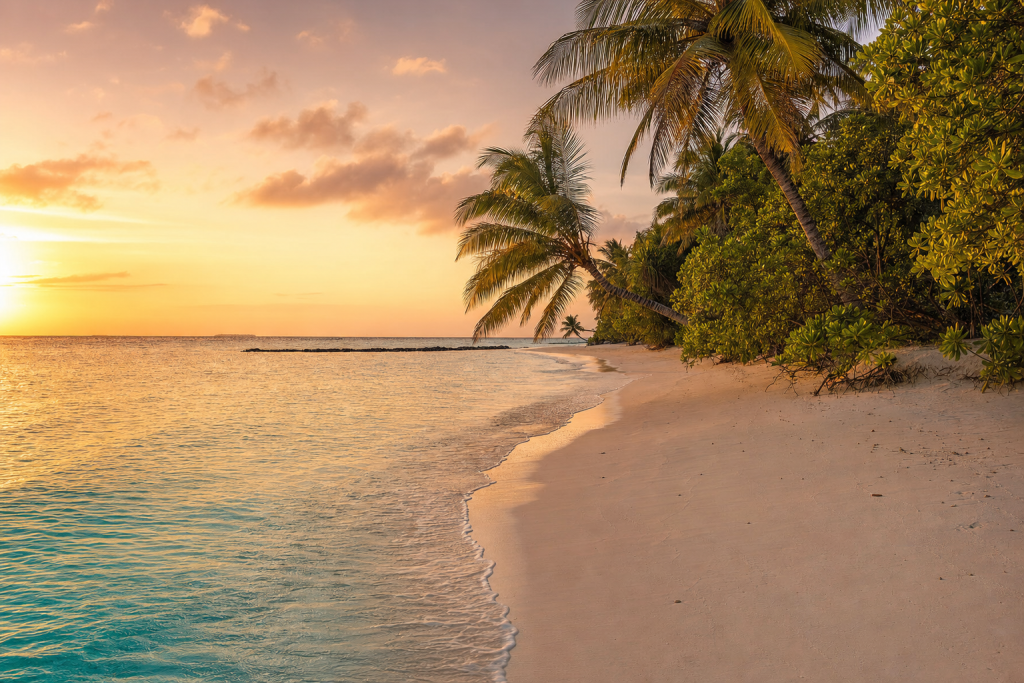
The Maldives is a classic photographer’s beachscape: powder-white sand, ultra-clear lagoon water, and a horizon broken by reefs, jetties, and low coral islands. Around Malé and nearby atolls, the light is especially strong at sunrise and sunset, when the water turns glassy and the sand glows warm. It’s best for minimalist seascapes, aerial symmetry, and long-lens compressions of piers, sandbars, and distant islands rather than dramatic cliffs or surf.
Why photograph Maldives Beaches
The Maldives is a classic photographer’s beachscape: powder-white sand, ultra-clear lagoon water, and a horizon broken by reefs, jetties, and low coral islands. Around Malé and nearby atolls, the light is especially strong at sunrise and sunset, when the water turns glassy and the sand glows warm. It’s best for minimalist seascapes, aerial symmetry, and long-lens compressions of piers, sandbars, and distant islands rather than dramatic cliffs or surf.
Best months and best time of day
Best months: January to April for clearest skies and calmest seas; June to August for moodier skies, stronger swell, and surf texture
Best time of day: Golden hour over a falling tide; low tide is best for revealing sandbars and shallow-water color gradients
| Sand Type | White coral sand / white silica |
| Tide Table Url | Not officially published — verify on site |
| Swell Notes | Southwest off-season swell from the south-southwest to southwest; biggest surf generally June to August, with lighter, flatter conditions January to March |
GPS vantage point map
| Vantage point | GPS | Best time | Lens |
|---|---|---|---|
| East-facing lagoon edge near 3.2028, 73.2207 | 3.2033, 73.2244 | Sunrise | 35mm |
| Outer sandbar bend near 3.2028, 73.2207 | 3.2009, 73.2196 | Low tide | 24mm |
| Lagoon shallows south of the coordinate | 3.1998, 73.2221 | Mid-morning | 50mm |
| Beach curve north of the coordinate | 3.206, 73.2218 | Sunset | 70mm |
| Reef-edge viewpoint offshore side | 3.2041, 73.226 | Blue hour | 16mm |
| Harbor-side beach approach | 3.2002, 73.2182 | Late afternoon | 85mm |
| Drone rise over central shoreline | 3.2037, 73.2207 | Sunrise or sunset | 24mm equivalent |
Detailed vantage points
East-facing lagoon edge near 3.2028, 73.2207
GPS: 3.2033, 73.2244 | Best time: Sunrise | Lens: 35mm
Calm dawn water and pastel sky reflections make this a strong starting frame for shoreline symmetry, especially when the sea is still and the reef line is visible just below the surface.
Outer sandbar bend near 3.2028, 73.2207
GPS: 3.2009, 73.2196 | Best time: Low tide | Lens: 24mm
At low water, exposed sand textures and shallow turquoise pools create graphic patterns. This is the best spot for wide compositions that emphasize the beach’s geometry and the contrast between bright sand and deep lagoon blues.
Lagoon shallows south of the coordinate
GPS: 3.1998, 73.2221 | Best time: Mid-morning | Lens: 50mm
Gentle ripples and clear water make this ideal for detail work: refracted light on the sand, tiny wavelets, and subtle color shifts. Use a slightly longer lens to isolate the texture without flattening the frame.
Beach curve north of the coordinate
GPS: 3.206, 73.2218 | Best time: Sunset | Lens: 70mm
A longer lens here compresses the shoreline curve and catches warm side-light on the sand. The angle is useful for minimalist beach scenes where the eye follows the arc of the coast into the distance.
Reef-edge viewpoint offshore side
GPS: 3.2041, 73.226 | Best time: Blue hour | Lens: 16mm
This is the most atmospheric option when the sky is deep cobalt and the sea turns reflective. The reef line and horizon separate cleanly, creating a clean, cinematic seascape with strong tonal layers.
Harbor-side beach approach
GPS: 3.2002, 73.2182 | Best time: Late afternoon | Lens: 85mm
A telephoto frame can isolate boats, jetty geometry, or surf texture without including crowds. Even if the beach itself feels simple, the surrounding human-made lines add scale and visual rhythm.
Drone rise over central shoreline
GPS: 3.2037, 73.2207 | Best time: Sunrise or sunset | Lens: 24mm equivalent
Top-down geometry is the strongest aerial option here: curved sand, aqua shallows, and the darker lagoon edge. Keep flights conservative and check local permissions before operating, especially near inhabited islands or resorts.
Gear for beaches
Bring a weather-sealed body if possible, plus a wide-angle zoom for shoreline geometry and a short telephoto for compressed horizons and detail frames. ND8 to ND64 filters help smooth water and clouds during bright tropical sun. Pack multiple microfiber cloths, a rocket blower, and a sealed dry bag for transfers. Salt spray is constant, so rinse gear carefully with fresh water afterward and keep a rain cover or shower cap in your bag for sudden squalls.
Restrictions, permits, and ethics
Drone use in the Maldives requires checking current Civil Aviation Authority guidance before flight; the official CAA site does not publish the full permit details on the page fetched here, so verify on site before bringing aircraft. Treat inhabited islands, resorts, and harbor areas as sensitive; avoid overflying people, buildings, or boat traffic. Access to public beaches is generally free, but some stretches near resorts may restrict non-guests. For exact local rules, confirm with island management or the nearest resort front desk.
Transit and access
If this coordinate is on the Malé / North Malé lagoon side, reach it by taxi or short transfer from Malé, then continue by ferry or speedboat if needed. From Velana International Airport, the common route is road transfer to the main island followed by a boat connection to nearby outer-island beaches. Exact access depends on whether the beach is on a local island, resort island, or airport-adjacent shoreline.
 Save
SavePost-processing approach
Aim for a clean, luminous tropical look with restrained contrast and careful highlight recovery. Keep whites bright but not clipped, and protect the cyan-to-turquoise transition in the water. Slightly cool the shadows, warm the sand, and reduce oversaturation so the scene feels expensive rather than artificial. For sunrise or sunset sets, use gentle dehaze and a subtle matte lift in the blacks only if you want a softer editorial feel.
Complete lens kit for Maldives Beaches
Coastal photography at Maldives Beaches punishes equipment that is not weather-sealed. A 16-35mm wide angle covers sweeping shoreline compositions, while a 24-70mm zoom is your everyday lens for people, boats, and tide-pool detail. A 70-200mm telephoto reaches across bays, isolates surfers or distant rocks, and compresses dramatic sunsets so the sun looks larger than reality. A circular polarizer makes water tones richer and removes haze; a graduated ND filter helps balance bright sky against shadowed sand. Carry ND filters for long-exposure work that turns restless surf into mist. A solid tripod with stainless or carbon legs and a quick rinse routine is essential because salt water destroys cheap hardware fast. Pack lens cloths, silica gel packs, and a sealed dry bag for the times you misjudge the tide. Knee-high rubber boots or water shoes you can hike in extend the compositions available to you at Maldives Beaches.
Light and timing playbook
Golden hour transforms Maldives Beaches. The 45 minutes before sunset turns wet sand into a mirror, side-lights waves, and saturates color enough that almost no editing is needed. The 30 minutes after sunset — civil twilight — is often more interesting than sunset itself because the sky goes purple and pink while the foreground holds enough detail to anchor the image. Sunrise gives you empty beaches and pastel skies; tide tables tell you whether the shore line is exposed or covered. Avoid mid-day unless you are deliberately shooting in harsh light for a graphic, high-key style. Watch the wind: onshore wind kicks up sand and salt that ruin lenses, while light offshore wind cleans the surf and is best for water spray photography.
Planning your coastal photography session
Plan a Maldives Beaches session in three blocks. First, scout from home using satellite imagery, sun-position tools like PhotoPills or The Photographer’s Ephemeris, and recent images from photographers who have worked the same vantage points. Second, plan a buffer arrival of 60 to 90 minutes before your target light so you have time to set up the tripod, dial in composition, and watch the light change before you press the shutter. Third, plan a contingency: an alternate vantage point a few minutes away that works when weather, crowds, or closures spoil your first choice. Bring a paper or offline-saved map; cell coverage is unreliable at many of the best vantage points at Maldives Beaches. Carry water, snacks, sunscreen, and a headlamp with red-light mode for pre-dawn and post-sunset work. Tell someone where you are going and when you expect to be back if the location is remote or off-trail in any way. Most of the best images at Maldives Beaches come from photographers who arrived early, stayed late, and were willing to come back twice when the first session did not deliver the light they had hoped for.
Post-processing workflow
A reliable post-processing workflow for Maldives Beaches starts in the field. Shoot RAW at the lowest native ISO that still gives you the shutter speed you need; bracket exposures when dynamic range is tight. In Lightroom or Capture One, begin with lens and chromatic-aberration corrections, then set the white balance by eye against a known neutral tone. Pull highlights down before lifting shadows so you preserve texture in the brightest part of the frame. Use the tone curve for global contrast and the HSL panel for color refinement — small luminance adjustments on the dominant colors of Maldives Beaches (water, foliage, stone, sky) often do more for the image than any saturation slider. Local adjustments come last: a graduated filter to balance sky, a radial filter to draw attention to the subject, and selective sharpening on the area of detail you want the eye to land. Export at full resolution for prints and at 2048px on the long edge for web. Skylum Luminar Neo is a strong companion tool for sky replacement and atmosphere on weather-challenged days; Photoshop is the right call for composite-style edits and serious dust spot work. Save preset stacks tuned to Maldives Beaches so the second visit is faster to edit than the first.
Photography ethics and permits at Maldives Beaches
Photography ethics at matter both for the location and for your ability to keep working there. Stay on marked paths and viewing platforms; off-trail boot prints damage soil and vegetation that take decades to recover. Respect closures, seasonal restrictions, and the working hours of staff. If a sign or staff member tells you to move, move — those rules usually exist for safety or preservation reasons that are not always obvious. Pack out every scrap of gear, food wrapper, and microfiber cloth you bring in. Drones are restricted or banned in many protected areas — check with local civil aviation rules and the site’s own policy before flying, and never fly within sight of wildlife. Model releases are required for any identifiable person you photograph commercially; commercial-use permits are required at many sites and the fees are usually small compared with the consequences of being asked to delete a card. If you publish identifiable locations of sensitive places, consider whether geotagging will make the spot crowded for the next visitor. Leave a place better than you found it and the next photographer benefits, too.
Common mistakes and how to avoid them
A short list of avoidable mistakes will dramatically improve your hit rate at Maldives Beaches. First, do not arrive at golden hour and start scouting then — scout earlier or on a separate trip so the best light is spent shooting, not finding the spot. Second, do not rely on auto white balance when warm or cool ambient color is part of the image you want; set it manually and trust the RAW file for recovery. Third, do not shoot at the highest ISO without thinking — modern sensors are clean to ISO 6400 but a polished, low-ISO long exposure on a tripod almost always beats a hand-held high-ISO frame for landscape work. Fourth, do not ignore the foreground; a strong foreground anchor is what separates a snapshot from a Maldives Beaches image that people stop scrolling on. Fifth, do not over-process. A muted, restrained edit ages well; an oversaturated, over-sharpened, sky-replaced edit looks dated within a year. Finally, do not skip backup. Format one card at a time, dual-card record when possible, and back up to a portable SSD before leaving the trip.
 Save
SaveFrequently asked questions
Are drones allowed on Maldives beaches?
Drone rules should be confirmed with the Maldives Civil Aviation Authority before travel. Because the official page fetched here does not list the full permit process or limits, assume you need prior approval and should not fly near people, resorts, boats, or sensitive infrastructure. When in doubt, ask island management on arrival.
What tide is best for beach photography?
Low tide is usually best because it reveals sandbars, shallow pools, and clean reflective textures. For sunrise or sunset, a falling tide can be ideal because it combines shoreline detail with better color in the water. If your goal is a pure lagoon look, mid-tide often gives the nicest balance.
What gear should I bring for salt spray?
Weather sealing helps, but the bigger difference is maintenance: keep lens cloths handy, store gear in a dry bag, and clean it after every boat ride. A blower, silica packets, and a protective front filter are useful. Avoid changing lenses in open wind if you can.
Is there parking at Maldives beaches?
On local islands, parking is usually not a major issue because beaches are reached by walking, taxi, or ferry rather than private car parks. On resort islands, transport is typically by transfer boat or seaplane, and access is controlled by the property. Verify the exact access point on arrival.
When are conditions calmest?
January through April is typically the calmest and clearest period, which is best for minimalist beach scenes and clean horizons. June through August brings more texture, bigger swell, and moodier weather, which can be excellent if you want dramatic skies and stronger water movement.
All links go to B&H Photo Video, the trusted pro source. Tagged as affiliate per FTC.
What to Pack
A focused landscape kit handles every shot at Maldives Beaches without breaking your back. Here is the working photographer's pack list — every link goes to B&H Photo Video (our primary supplier) or Amazon (for accessories and same-day delivery in the US).
| What & Why | B&H | Amazon |
|---|---|---|
Wide-angle zoom (14-35mm range) The single most important lens for sweeping vistas. Pair with a circular polarizer for skies and water. | Shop B&H → | Shop Amazon → |
Sturdy travel tripod Carbon fiber, packs to 15 inches, holds steady in wind off the coast. Essential for blue-hour and long-exposure work. | Shop B&H → | Shop Amazon → |
Circular polarizer (77mm or 82mm) Cuts haze, deepens sky, reveals texture in water. Non-negotiable for landscape work. | Shop B&H → | Shop Amazon → |
10-stop ND filter For 30-second exposures that turn moving water and clouds into silk. | Shop B&H → | Shop Amazon → |
Extra batteries (3 minimum) Cold weather and long exposures eat batteries. Carry triple what you think you need. | Shop B&H → | Shop Amazon → |
Fast SD/CFexpress cards V90 or CFexpress depending on your body. Two cards minimum so a failure mid-trip is recoverable. | Shop B&H → | Shop Amazon → |
Microfiber lens cloths Salt spray, mist, and dust will ruin every shot if you don't carry a cloth. | Shop B&H → | Shop Amazon → |
B&H and Amazon links are affiliate links. We earn a small commission on purchases at no extra cost to you. We only recommend gear we use or would buy ourselves.