
Let’s be real for a second: taking the photo is only half the battle. Back in the day, you’d spend hours in a darkroom smelling like chemicals just to get a decent print. Today, our "darkroom" is a laptop, a tablet, or even a smartphone. But with so many sliders, buttons, and AI-powered "magic" tools, it’s easy to feel overwhelmed.
If you’ve ever opened an editing app and thought, “I just wanted to make the sky look blue, why does it look like Mars?”: this guide is for you. We’re diving deep into the world of modern photo editing, from choosing the right software to mastering the AI tools that are changing the game in 2026.
The Shift: Why We Edit in the First Place
Editing isn't about "faking" a photo. It’s about bringing the image closer to what your eyes actually saw: or what your heart felt: when you pressed the shutter. Cameras, as great as they are, don't have the dynamic range of the human eye. They struggle with shadows, highlights, and that specific "vibe" of a sunset.
Modern editing is also about efficiency. We live in a world where speed matters. Whether you’re trying to find the fastest way to get better at landscape photography or you just want to share a shot from your latest trip, the goal is to get great results without spending ten hours behind a screen.
Choosing Your Weapon: The Best Software in 2026
The software landscape has fractured into a few different camps: the traditional powerhouses, the AI-first innovators, and the mobile-first creators.
1. Luminar Neo: The AI Powerhouse
If you want professional results without a four-year degree in graphic design, Luminar Neo is currently the king of the hill. It’s built from the ground up with AI tools that handle the heavy lifting. We’re talking about one-click sky replacements, automatic portrait skin retouching, and "Relight AI" which lets you change the lighting of a scene after you’ve already shot it.
The beauty of Luminar is that it doesn’t force you to learn complex masking. It "sees" the depth in your photo. It’s perfect for travel photographers who have a hard drive full of shots from hidden gem locations and need to process them quickly.
2. Adobe Lightroom & Photoshop
The old guard is still here, and they’ve integrated plenty of AI features to keep up. Lightroom remains the gold standard for managing massive libraries of photos. If you shoot 2,000 photos at a wedding, Lightroom’s cataloging is hard to beat. Photoshop, on the other hand, is for when you need to do heavy lifting: removing entire buildings or creating complex composites.
3. Capture One
Preferred by studio and fashion photographers, Capture One offers the best color science in the business. It’s expensive, but if you need total control over every tethered shot in a studio environment, it’s the go-to.
 Save
Save
Understanding the "RAW" Truth
Before you move a single slider, you need to be shooting in RAW. If you’re still shooting JPEGs, you’re basically letting your camera make all the creative decisions for you. A JPEG is a finished product; a RAW file is the ingredients.
Editing a RAW file allows you to recover blown-out highlights in a sunset or pull detail out of deep shadows in a forest. This is especially crucial when you’re working with majestic sunset photography, where the light changes by the second and your exposure might not be perfect.
The Modern Workflow: A Step-by-Step Guide
The secret to great editing isn't a "magic" button (though Luminar comes close); it’s the order in which you do things.
Step 1: Culling and Organization
Don't edit everything. Be ruthless. Pick the "keepers." If you’re back from a blogger trip, you likely have hundreds of similar frames. Pick the sharpest one with the best composition and move on.
Step 2: Global Adjustments
Start with the basics:
- Exposure: Is it too dark or too bright?
- White Balance: Does the light look natural? Or do you want it warmer for that "golden hour" feel?
- Contrast: Give the image some "pop" by separating the lights and darks.
Step 3: AI-Assisted Corrections
This is where the fun starts. Modern tools like Luminar Neo can analyze the scene. You can use "Structure AI" to add detail only where it’s needed, avoiding the "crunchy" look on skin or flat skies. If you’re shooting water photography, AI can help enhance the reflections without making the surrounding rocks look unnatural.
Step 4: Selective Editing (The "Masking" Phase)
You don’t always want the whole photo to be brighter. Maybe just the subject’s face or a specific leading line. Modern software now uses "Object Selection" AI. You just hover over a person or a mountain, and the software creates a perfect mask for you. No more tedious brushing.
Step 5: Color Grading and Style
This is where you develop your "look." Do you like desaturated, moody greens? Or bright, vibrant teals? This is highly subjective. You can explore using rare textures for tangible aesthetic photography to add a layer of film grain or dust for a more vintage feel.
 Save
Save
Mastering the Elements: Water, Land, and Sky
Different subjects require different editing mentalities.
Landscape & Nature
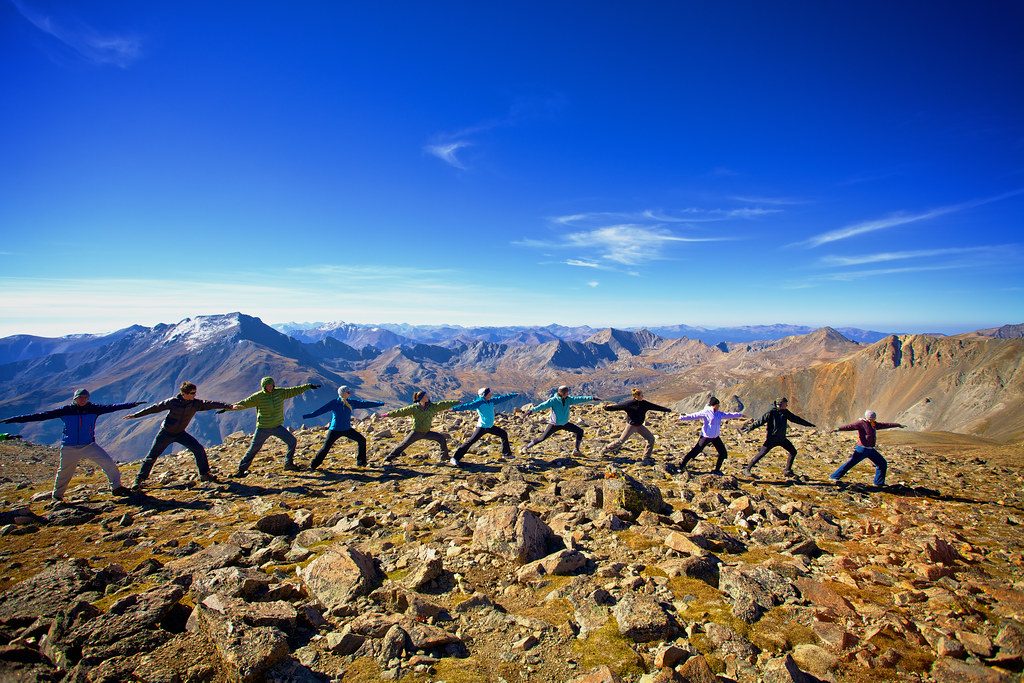
When editing landscapes, you're often dealing with extreme light. If you’ve discovered ethereal landscapes for captivating shots, you want to preserve that sense of wonder. Use graduated filters to darken the sky and keep the viewer's eye on the foreground.
Water Photography
Water is tricky. It reflects everything. Whether you are mastering water photography in any environment or shooting the ocean, your editing should focus on clarity and white balance. Water can quickly look muddy or overly blue. Use selective color tools to tweak the cyans and blues independently.
Urban & Architecture
Urban photography is all about lines and perspective. Most modern editing tools have a "Geometry" or "Transform" tab. Use it! Leaning buildings can ruin a great shot of a secluded paradise or a bustling city street.
The Rise of AI Integrated Cameras
We’re also seeing a massive shift in how the photos are captured. The line between "taking" and "editing" is blurring. Many people are talking about AI-integrated mirrorless cameras because these cameras start the "editing" process the moment you hit the shutter, using neural engines to recognize subjects and optimize settings in real-time. This doesn't replace editing, but it gives you a much better starting point.
AI Tools: Gimmick or Game Changer?
There's a lot of noise about AI in the photography world. Some say it's cheating. We say it's a tool, just like a tripod or a flash. Here are the AI features that actually matter in a modern workflow:
- Generative Erase: Ever have a perfect shot of a picturesque coastal escape ruined by a stray trash can or a tourist in a neon shirt? Generative AI can remove them and fill in the background so convincingly that you’ll never know they were there.
- Sky Replacement: Look, we can't control the weather. If you traveled halfway across the world to one of those lesser-known vistas and the sky was a flat, boring gray, Luminar Neo’s sky replacement can save the day. Just use it sparingly: don’t put a sunset in a photo where the shadows are pointing the wrong way!
- Noise Reduction: Modern AI noise reduction (like Topaz Photo AI or the built-in tools in Lightroom and Luminar) is mind-blowing. It allows you to shoot at high ISOs that were previously unusable, which is a lifesaver for enchanting urban photography at night.
 Save
Save
Keeping It Simple: Don’t Over-Edit
The biggest mistake beginners make? Doing too much.
- Too much saturation: Everyone looks like they have a bad spray tan.
- Too much HDR effect: The photo starts to look like a video game from 2005.
- Too much sharpening: You get weird halos around the edges of objects.
The key to a professional edit is subtlety. You want people to say "What a great photo," not "What a great edit." If you’re unsure, walk away from your computer for ten minutes. When you come back with fresh eyes, you’ll usually realize you went a little too far with the "Vibrance" slider.
For more technical deep dives, I always recommend checking out Shut Your Aperture. They have great breakdowns on the science behind these sensors.
Where to Learn More
If you’re feeling inspired to get out there and shoot, check out our guide on finding hidden gems for stunning travel photography. Once you have the shots, that’s when the real magic begins in the digital darkroom.
Editing is a journey, not a destination. Your style will evolve. You’ll look back at photos you edited two years ago and cringe: and that’s a good thing! It means you’re getting better.
Whether you’re using Luminar to speed up your workflow or diving into the complexities of Photoshop, the most important thing is to keep experimenting. For more news and updates on how technology is changing our craft, stay tuned to our latest photography news section.
Photography is about capturing a moment, but editing is about telling the story. Now go out there, shut your aperture, and then open up your laptop and create something awesome.
 Save
Save
Quick Tips for Better Edits Today:
- Calibrate your monitor: If your screen is too bright or has a color cast, your edits will look wrong on every other device.
- Use Presets as a starting point, not an end point: Presets are great for getting a "vibe" quickly, but always tweak them to fit the specific lighting of your shot.
- Watch the Histogram: It’s a mathematical representation of your exposure. Don't let the graph "hit" the left or right walls, or you're losing data.
- Edit in a dim room: Avoid glare on your screen so you can see the true contrast of your image.
- Check the "Before/After" constantly: It keeps you grounded and prevents you from over-editing.
For more inspiration on where to take your camera next, check out the top spots for stunning nature imagery. Happy editing!
Skylum’s Luminar Neo runs as a Lightroom plugin and adds AI-powered sky replacement, portrait retouching and noise reduction to your existing workflow. Tagged as affiliate per FTC.


