Camera Settings That Actually Work for Real Estate
After shooting over 2,000 listings, these are the settings that produce consistent, professional results for MLS, Zillow, and Realtor.com. No guesswork.
The Universal Starting Point
| Setting | Value | Why |
|---|---|---|
| Mode | Manual (M) | Full control over exposure for HDR brackets |
| Aperture | f/8 | Sweet spot: sharp corner-to-corner on wide angles, deep depth of field |
| ISO | 100 | Minimum noise, maximum dynamic range |
| Shutter Speed | 1/60s on tripod | Base exposure — brackets will go faster and slower |
| White Balance | 4500K custom | Splits the difference between daylight windows and tungsten interior lights |
| Focus | Manual at hyperfocal (~8ft at f/8 on 16mm) | Everything from 4ft to infinity is sharp |
| Drive Mode | 2-second timer or remote | No camera shake on tripod |
| Image Format | RAW | Maximum editing latitude for HDR merge |
HDR Bracketing: The Non-Negotiable Technique
Real estate interiors have extreme dynamic range — bright windows and dark corners. Single exposures cannot handle this. You need 3-5 bracket exposures:
 Save
Save- 3-bracket standard: -2EV, 0EV, +2EV — covers most rooms
- 5-bracket for tough scenes: -3EV, -1.5EV, 0EV, +1.5EV, +3EV — rooms with direct sunlight through windows
Merge in Lightroom (Photo > Photo Merge > HDR) or use Enfuse for a more natural look. The key: do NOT use the “Deghost” high setting in Lightroom HDR merge unless there is actual movement. It adds artifacts.
Window Pull Technique
The hallmark of professional RE photography. Instead of blowing out windows or HDR-merging them (which can look fake), shoot two frames:
- One exposed for the interior (windows blown white)
- One exposed for the window view (interior dark)
Blend in Photoshop using luminosity masks. The result looks natural — you can see the view AND the room. This is what separates $150 photographers from $500 photographers.
Flash Technique: Flambient Method
“Flambient” (flash + ambient) is the gold standard for luxury real estate:
- Shoot your ambient bracket series (3-5 frames)
- Add one frame with a bounce flash: speedlight at 1/4 power, bounced off the ceiling at 45°
- In post, layer the flash frame on top of the ambient HDR at 30-50% opacity
- Paint out any flash shadows
This fills in shadows naturally while keeping the ambient light feel. Equipment needed: any TTL speedlight ($200+) and a simple bounce card.
Lens Choice Matters More Than Camera Body
| Lens | Focal Range | Best For | Price |
|---|---|---|---|
| Sigma 16-28mm f/2.8 (Sony E) | 16-28mm | Best all-around RE lens | $899 |
| Canon RF 15-30mm f/4.5-6.3 IS | 15-30mm | Budget Canon option, IS helps handheld | $549 |
| Sony FE 12-24mm f/4 G | 12-24mm | Ultra-wide for tight spaces | $1,698 |
| Laowa 12mm f/2.8 Zero-D | 12mm prime | Zero distortion, manual focus | $899 |
| Nikon Z 14-24mm f/2.8 S | 14-24mm | Nikon flagship, filter-friendly | $2,396 |
Shoot at 16-18mm for most rooms. Only go wider than 16mm for very tight bathrooms or closets. Ultra-wide (12-14mm) makes rooms look bigger but can distort furniture and make spaces feel unnatural.
Post-Processing Workflow
- Import & cull: Delete duplicates, blurry frames, missed brackets
- HDR merge: Select brackets > Photo Merge > HDR (deghost: none or low)
- Lens corrections: Enable profile, remove chromatic aberration
- Transform: Guided mode, draw vertical lines along door frames/walls to fix converging verticals
- Exposure & color: Bring up shadows +30-50, highlights -20, whites +10, vibrance +10
- Apply your real estate Lightroom preset as a starting point, then fine-tune per image
- Export: JPEG, sRGB, 3000px wide, quality 85 for MLS; full-res for print
Skylum’s Luminar Neo has the industry’s best one-click sky replacement and atmosphere AI — the two edits real estate listings need most. Tagged as affiliate per FTC.
SaveFrequently Asked Questions
Do I need a full-frame camera for real estate photography?
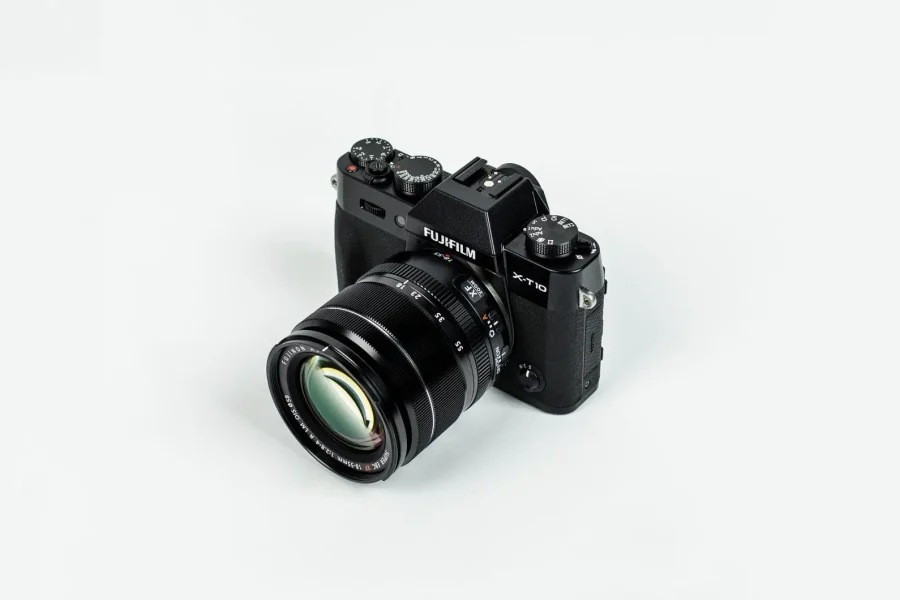
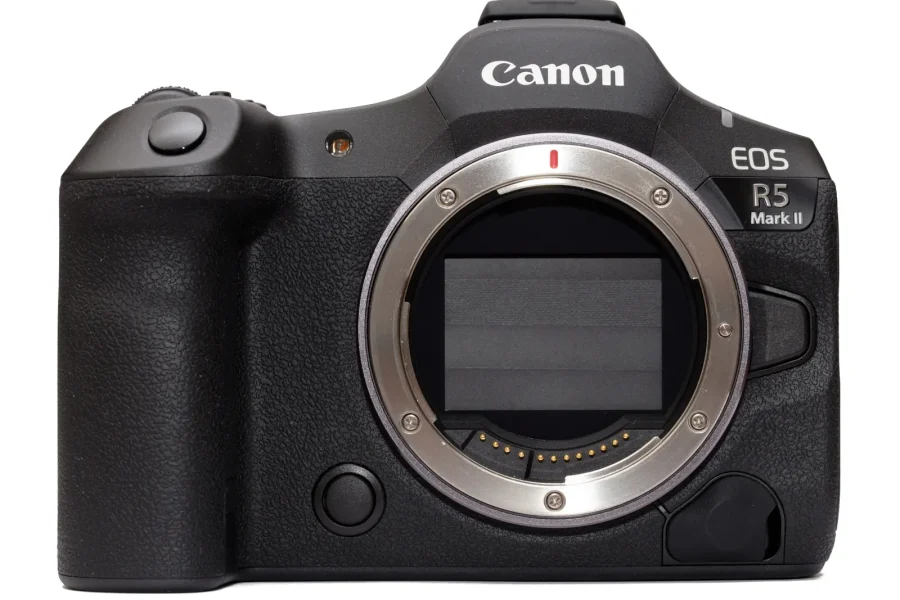
No. APS-C cameras like the Canon EOS R50 or Fujifilm X-T30 II work great with the right wide-angle lens. Full-frame gives you slightly better dynamic range for HDR, but the difference is minimal with modern sensors. Spend the savings on a better lens.
What tripod do I need?
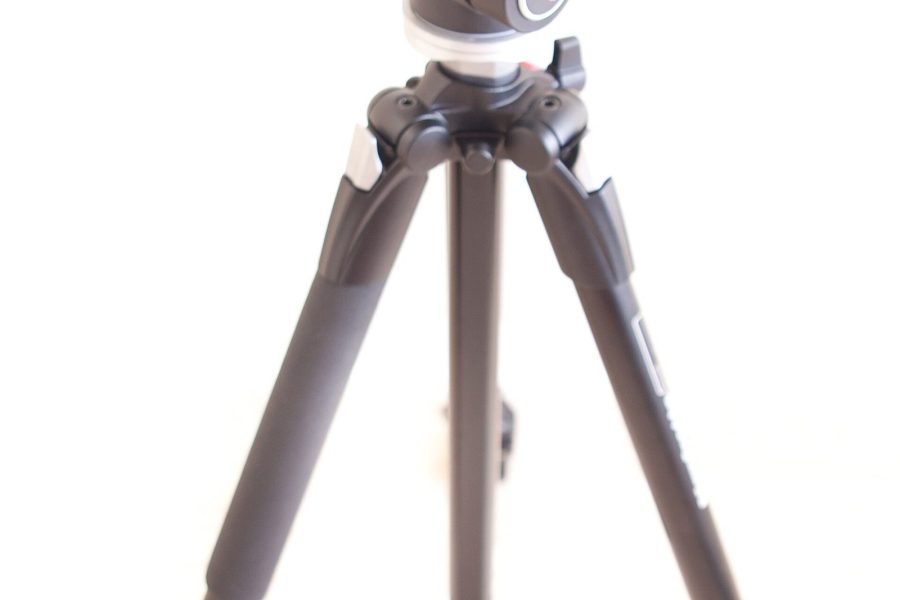
Any sturdy tripod with a ball head that can hold your camera steady. The Manfrotto Befree Advanced ($180) is popular because it folds compact for car travel. Make sure it has a hook to hang your camera bag for extra stability on wood floors.
Should I shoot vertical or horizontal for real estate?
Horizontal (landscape) for 90% of shots — that is what MLS and Zillow expect. Shoot vertical only for tall features like staircases, two-story foyers, or narrow hallways. Always deliver horizontal hero shots of living room, kitchen, and master bedroom.
How many photos should I deliver per listing?
MLS typically allows 25-50 photos. For a standard 2,000 sq ft home, deliver 25-30 photos. For luxury properties over 3,000 sq ft, deliver 40-50. Always include: exterior front, living room, kitchen (2-3 angles), each bedroom, each bathroom, backyard, and one detail/lifestyle shot.
What is the best time of day to shoot real estate exteriors?
Twilight (20-30 minutes after sunset) produces the most dramatic exteriors — warm interior lights glow against a blue sky. For standard shoots, overcast days are ideal because there are no harsh shadows. Avoid midday sun which creates dark shadows under eaves.