So, you finally did it. You went out and bought a "real" camera. Maybe it was a graduation gift, or maybe you finally decided that your smartphone just isn't cutting it for those epic sunset shots anymore. You’re holding this piece of high-tech glass and plastic, looking at all the buttons, and thinking: Now what?
Welcome to the club. At Shut Your Aperture, we believe everyone starts somewhere. You don’t need to be born with a Leica in your hand to take incredible photos. You just need to understand how light works and how to tell your camera what to do with it.
In this guide, we’re going to strip away the jargon and get down to the basics. No fluff, no gatekeeping, just everything you need to know to stop shooting on "Auto" and start making art.
The Secret Sauce: The Exposure Triangle
If you learn nothing else today, learn this. The "Exposure Triangle" sounds like a boring math concept, but it’s actually the holy trinity of photography. It consists of three elements: Aperture, Shutter Speed, and ISO.
Think of your camera like a window with shutters. Exposure is simply the amount of light that hits your camera’s sensor. Too much light? Your photo is a white mess (overexposed). Too little light? It’s a dark blob (underexposed).
1. Aperture (The "Eye" of the Lens)
Aperture is the hole inside your lens that lets light through. It’s measured in "f-stops" (like f/1.8 or f/11).
Here’s the counter-intuitive part: a small number (f/1.8) means a wide opening, and a big number (f/11) means a tiny opening.
- Wide Aperture (Low f-number): Lets in tons of light and gives you that blurry background (bokeh) everyone loves. Perfect for emotive portraits.
- Narrow Aperture (High f-number): Lets in less light but keeps everything from the foreground to the background sharp. This is what you want for landscapes.
2. Shutter Speed (The "Time" Keeper)
Shutter speed is how long the "window" stays open. It’s measured in fractions of a second (1/1000, 1/60, etc.).
- Fast Shutter Speed (1/1000+): Freezes time. If you’re trying to capture the action in sports, you need a fast shutter.
- Slow Shutter Speed (1/30 or slower): Blurs motion. This is how photographers get those silky-looking waterfalls. Just remember, if your shutter is slow, you probably need a tripod to avoid "camera shake."
3. ISO (The "Sensitivity")
ISO is how sensitive your camera sensor is to light.
- Low ISO (100-400): Use this when it’s bright outside. It gives you the cleanest, highest-quality image.
- High ISO (1600+): Use this in dark rooms or at night. It makes the sensor more sensitive to light, but it adds "noise" or grain to your photo.
 Save
Save
Moving Beyond "Auto" Mode
We get it. The "Green Mode" (Auto) is comfortable. It’s safe. But it’s also making decisions for you, and frankly, the camera doesn't know what you’re trying to achieve. It doesn’t know you want that specific flower to be sharp while the background disappears.
If you’re feeling overwhelmed, don’t jump straight to full Manual. Try Aperture Priority (A or Av). This lets you choose the aperture (how blurry you want the background), and the camera handles the rest. Once you’re ready to take the training wheels off, check out our guide on how to use manual mode without getting overwhelmed.
Mastering Focus: It’s Not Just Point and Shoot
In 2026, camera autofocus is basically magic. Whether you’re shooting with a brand-new mirrorless or a classic DSLR, your camera has different ways of seeing.
- Single Shot (AF-S): The camera focuses once and stays there. Best for stationary objects or portraits.
- Continuous (AF-C): The camera keeps focusing as the subject moves. Essential for destination wedding photography or kids running around.
- Eye Detection: Most modern mirrorless cameras can now lock onto a human (or animal) eye and never let go. It’s a game-changer.
If you’re still trying to decide which gear is right for you, we’ve compared the best mirrorless cameras in 2026 to help you find your match.
Composition: How to Frame Your Vision
You could have a $10,000 camera, but if your composition sucks, your photo will too. Composition is about where you place things in the frame.
The Rule of Thirds
Imagine a tic-tac-toe grid over your image. Instead of putting your subject dead center (which is usually boring), try placing them on one of the lines or intersections. It creates more balance and interest.
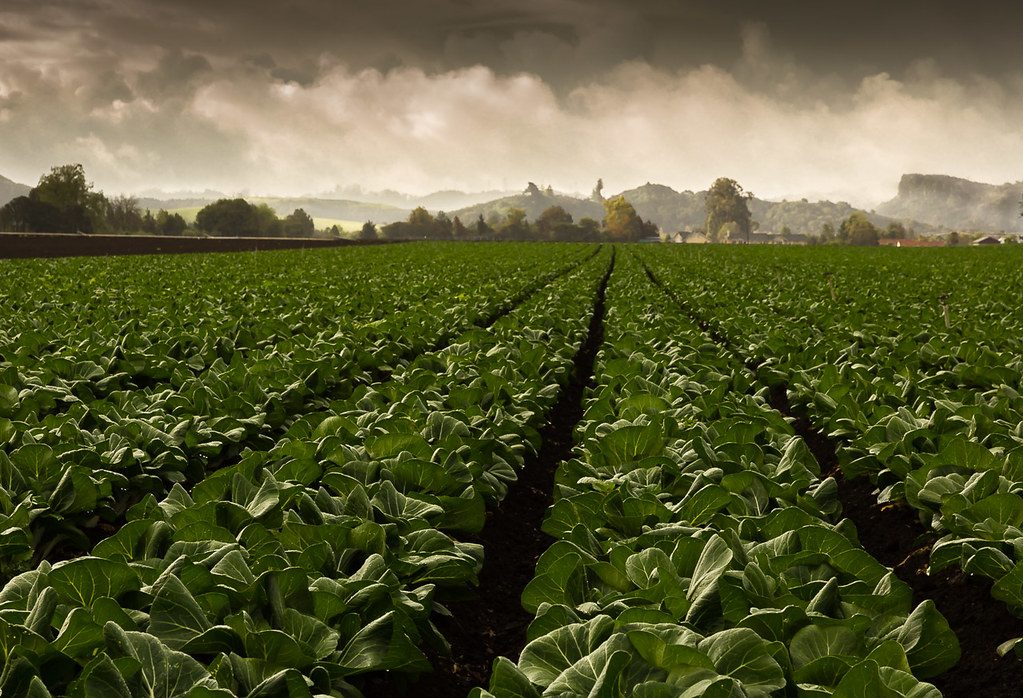
Leading Lines
Use natural lines, roads, fences, or even shadows, to lead the viewer’s eye toward your subject. This is one of the most powerful framing techniques in photography.
Perspective
Don't just stand at eye level. Get low. Climb something. Change your angle. A simple shift in perspective can turn a mundane shot into something professional.
 Save
Save
Equipment: What Do You Actually Need?
Do not, we repeat, do not, go into debt buying gear before you know how to use it. You can learn the fundamentals on a used DSLR or even a high-end point-and-shoot.
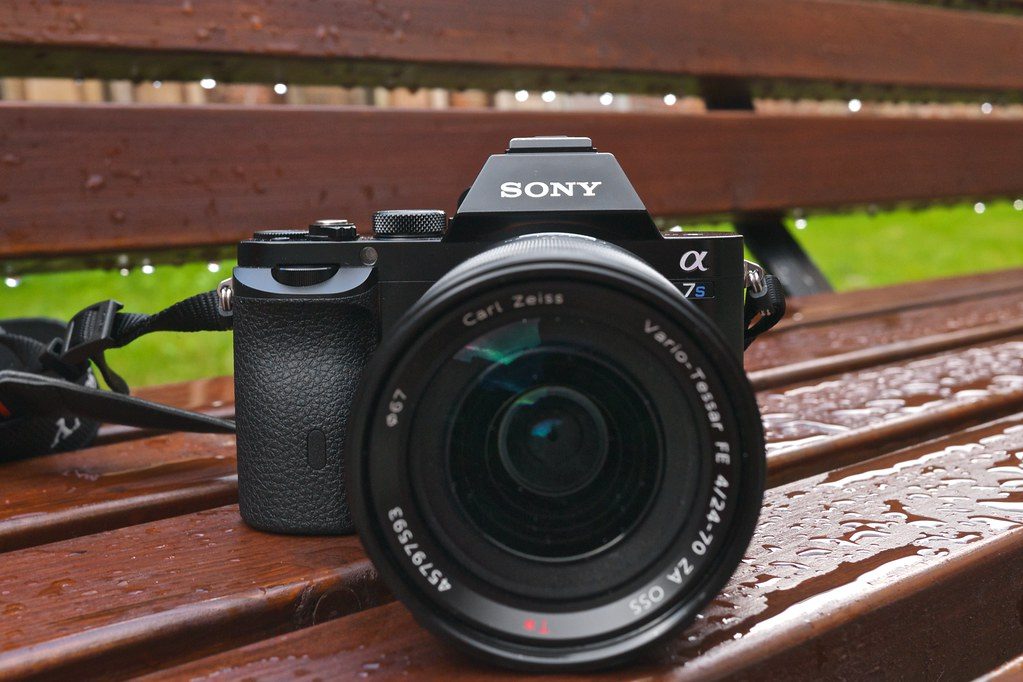
However, if you are looking to upgrade, there’s a reason why everyone is talking about mirrorless cameras in 2026. They are lighter, faster, and have better video capabilities.
The "Must-Have" List for Beginners:
- A Camera Body: Mirrorless or DSLR.
- A Prime Lens: A 50mm f/1.8 (often called the "Nifty Fifty") is cheap and will teach you more about light than any zoom lens.
- Extra Batteries: Because "Low Battery" is the saddest sight in the world.
- A Fast Memory Card: You don't want your camera lagging while it saves photos.
For more technical specs and the latest updates, keep an eye on Photography News Matters.
The Importance of Post-Processing
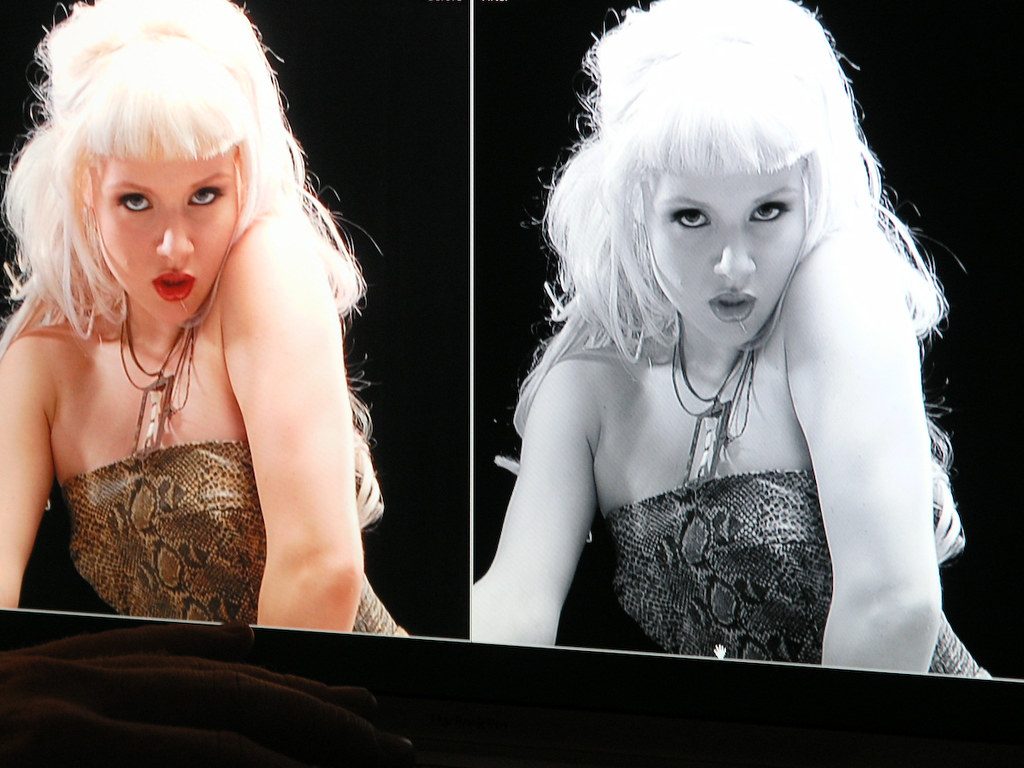
Taking the photo is only half the battle. The other half happens on your computer. Editing isn't "cheating"; it’s the digital equivalent of developing film in a darkroom. It allows you to fix exposure mistakes, enhance colors, and develop your personal style.
If you’re just starting out, check out our photo editing tutorials 101. We highly recommend using Luminar for beginners. It uses AI to handle the tedious stuff (like sky replacement or skin retouching) so you can focus on the creative side of things.
 Save
Save
Finding Your Niche
Photography is a massive world. Once you get the basics down, you might find yourself drawn to a specific style.
- Travel Photography: Capturing the world as you see it. Learn more about mastering travel photography techniques.
- Wedding Photography: It's high pressure but high reward. From black and white wedding shots to chic and affordable trends, there’s a lot to explore.
- Newborn Photography: All about patience and soft lighting. Check out these adorable newborn photography ideas.
No matter what you choose, the key is to stay inspired. Look at the work of others, like the top wedding photographers, and see what they’re doing differently.
Practical Tips for Your First Week
- Read Your Manual: I know, it’s boring. But your camera has features you don't even know exist.
- Shoot Every Day: Even if it’s just your coffee cup. Practice makes your fingers remember where the buttons are.
- Don’t Be Afraid to Fail: For every one great photo you see on Instagram, there were probably 50 blurry ones that got deleted.
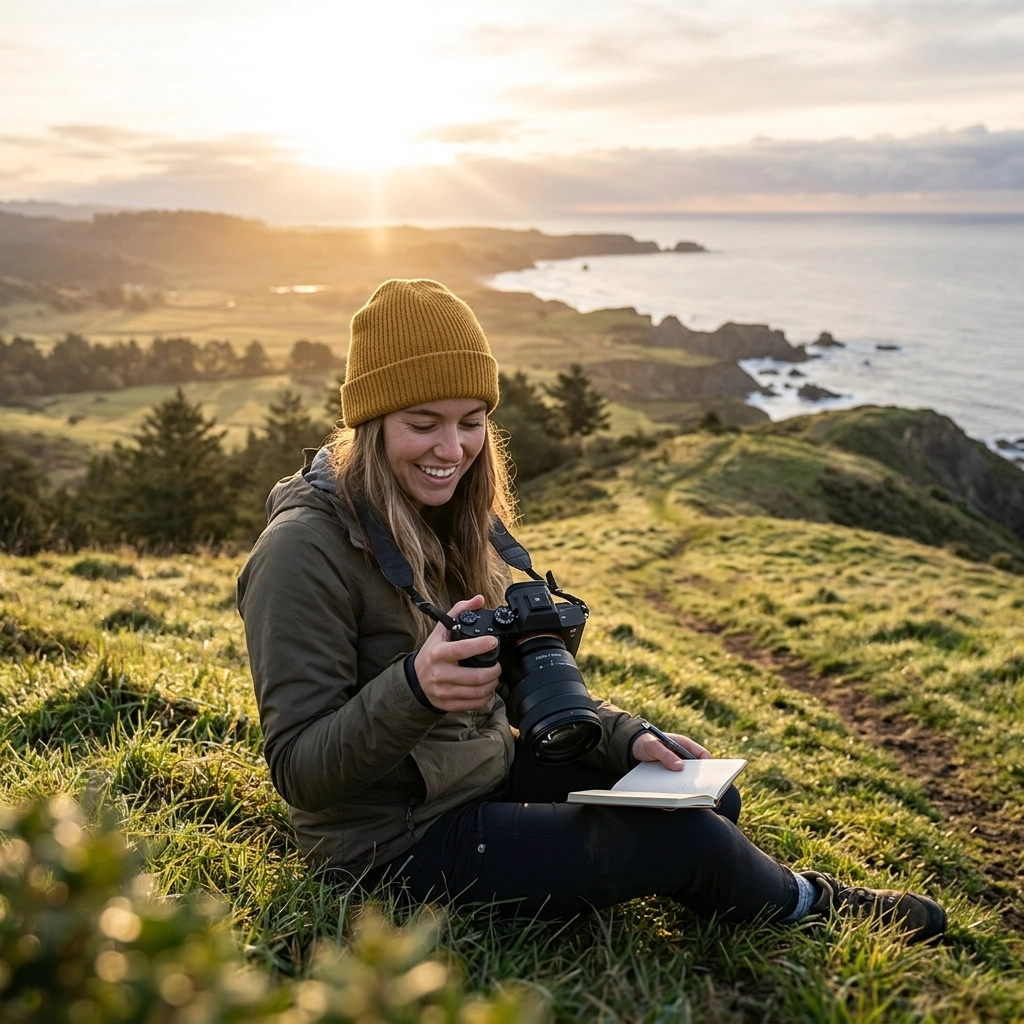
- Watch the Light: Start noticing how light changes throughout the day. The "Golden Hour" (just after sunrise or before sunset) is a photographer's best friend.
- Use Resources: Sites like Shut Your Aperture are fantastic for deep dives into specific technical questions.
 Save
Save
Your Journey Starts Now
Photography is considerably deeper than a hobby; it’s a way of seeing the world. It forces you to slow down, look closer, and find beauty in places you would normally walk right past.
Don't get bogged down in the technical stuff. Yes, you need to know what f/8 does, but don't let it stop you from pressing the shutter. The best camera in the world is the one you have with you, and the best photo is the one that makes you feel something.
If you ever feel stuck, come back and visit us at Shut Your Aperture or check out Edin's personal work at blog.edinchavez.com for some fresh inspiration. For professional services or high-end prints, you can always browse edinfineart.com or edinstudios.com. And if you're looking for professional gear rentals or shooting space, head over to proshoot.io.
Now, grab your camera, get out there, and start shooting. We can't wait to see what you capture.
 Save
Save


